Prerequisites
Before you begin, make sure you have:- A Tableau account with access to the target dashboard
- The full dashboard URL you plan to display
Step-by-Step Configuration
Create the Dashboard App in Pickcel
Log in to the Pickcel Console and navigate to Apps. Search for the Dashboard app and click on it. Then, click Create App.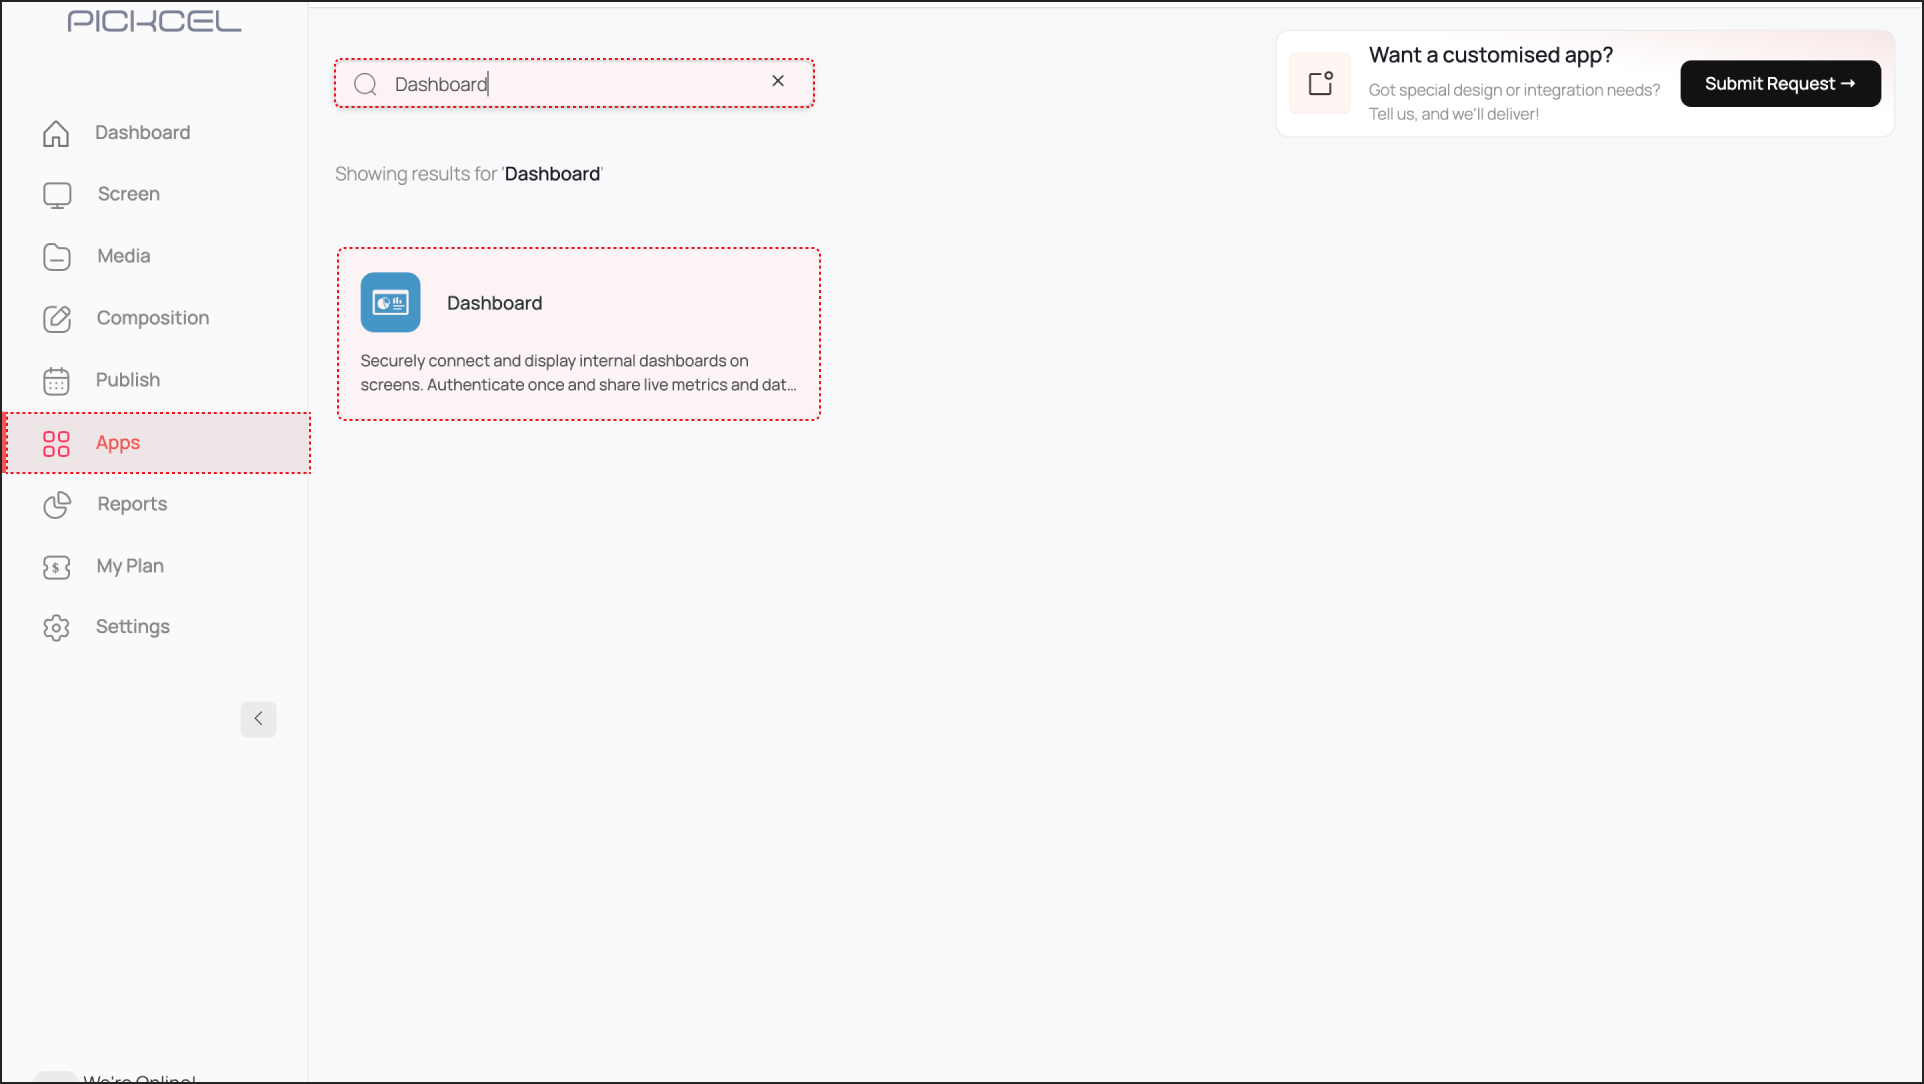 Now, select Tableau from the dropdown menu. The fields required for configuring your Tableau Dashboard will open on the right-hand side.
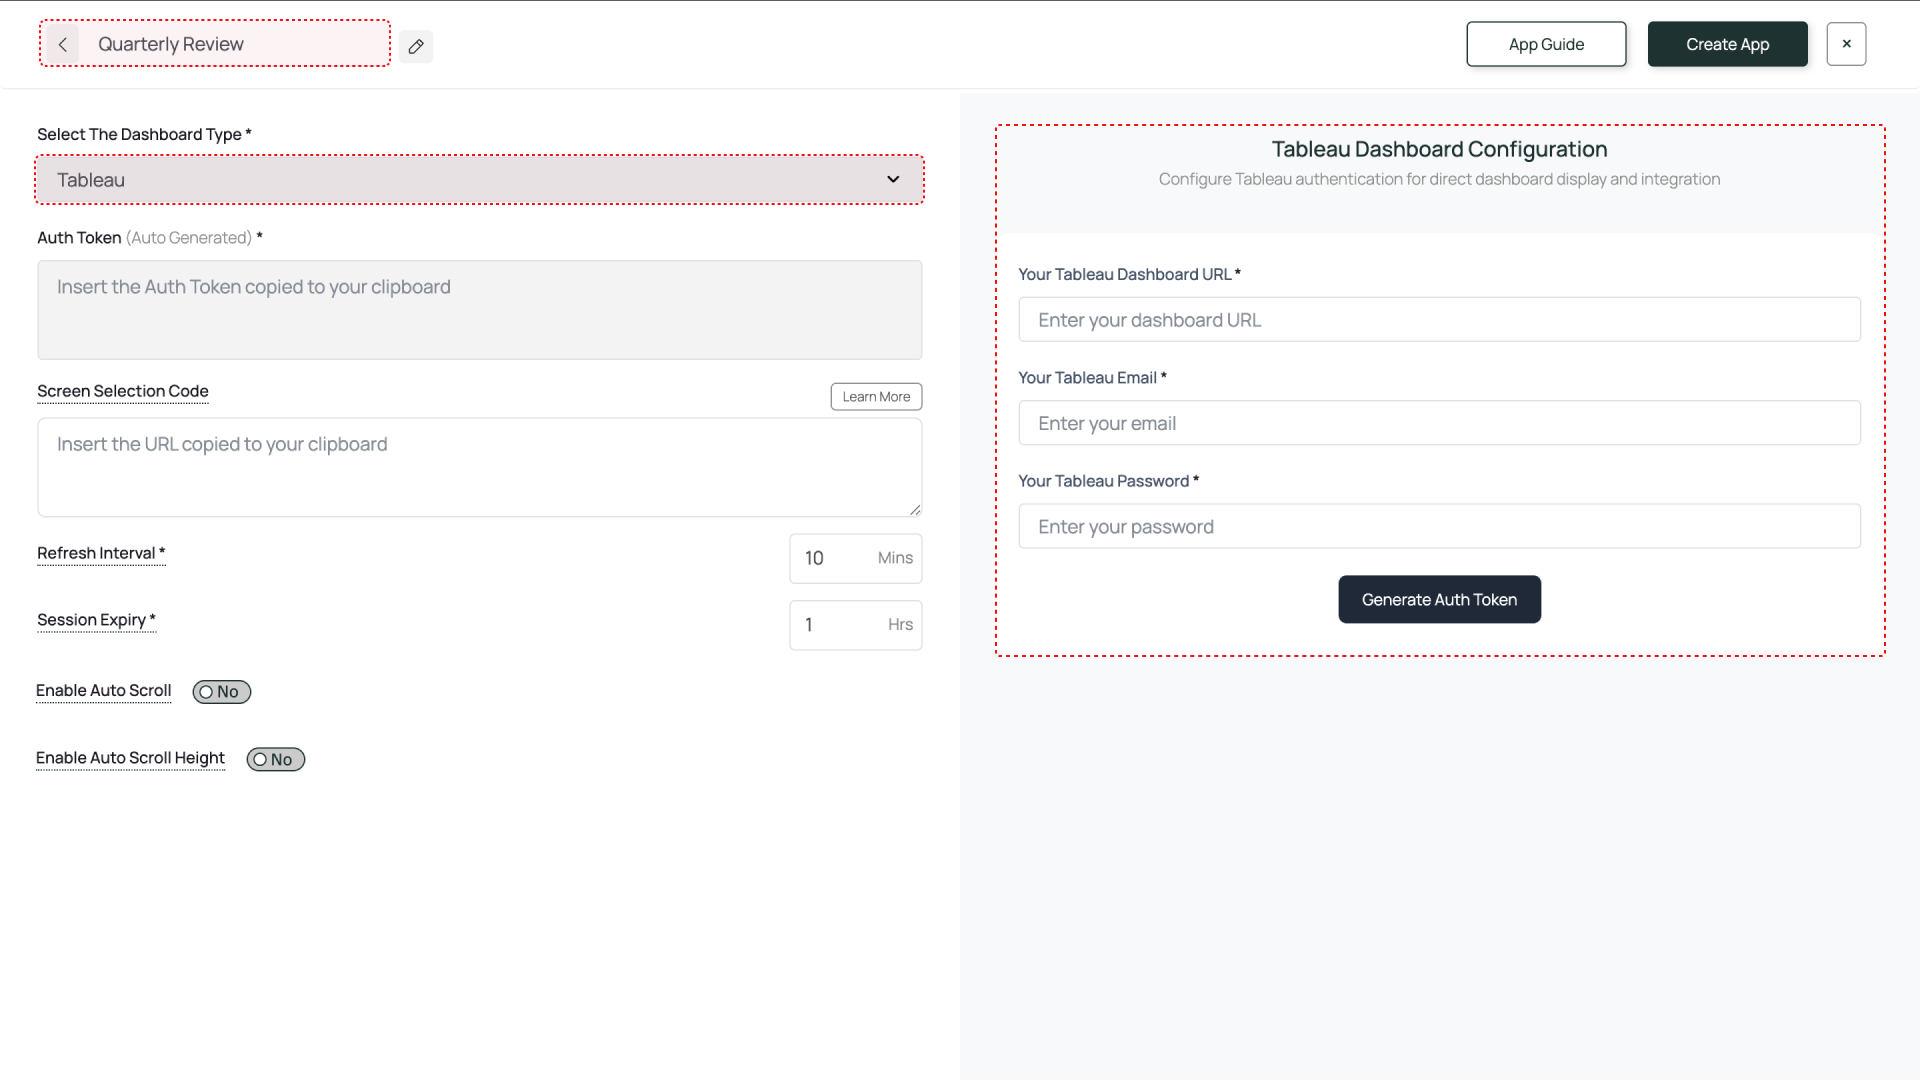
- Give a name to the app instance based on the dashboard you are configuring (e.g., “Quarterly Review - Tableau”).
Fill in the Fields for Tableau Dashboard Configuration
This section requires precise information to generate a correct and secure Auth Token.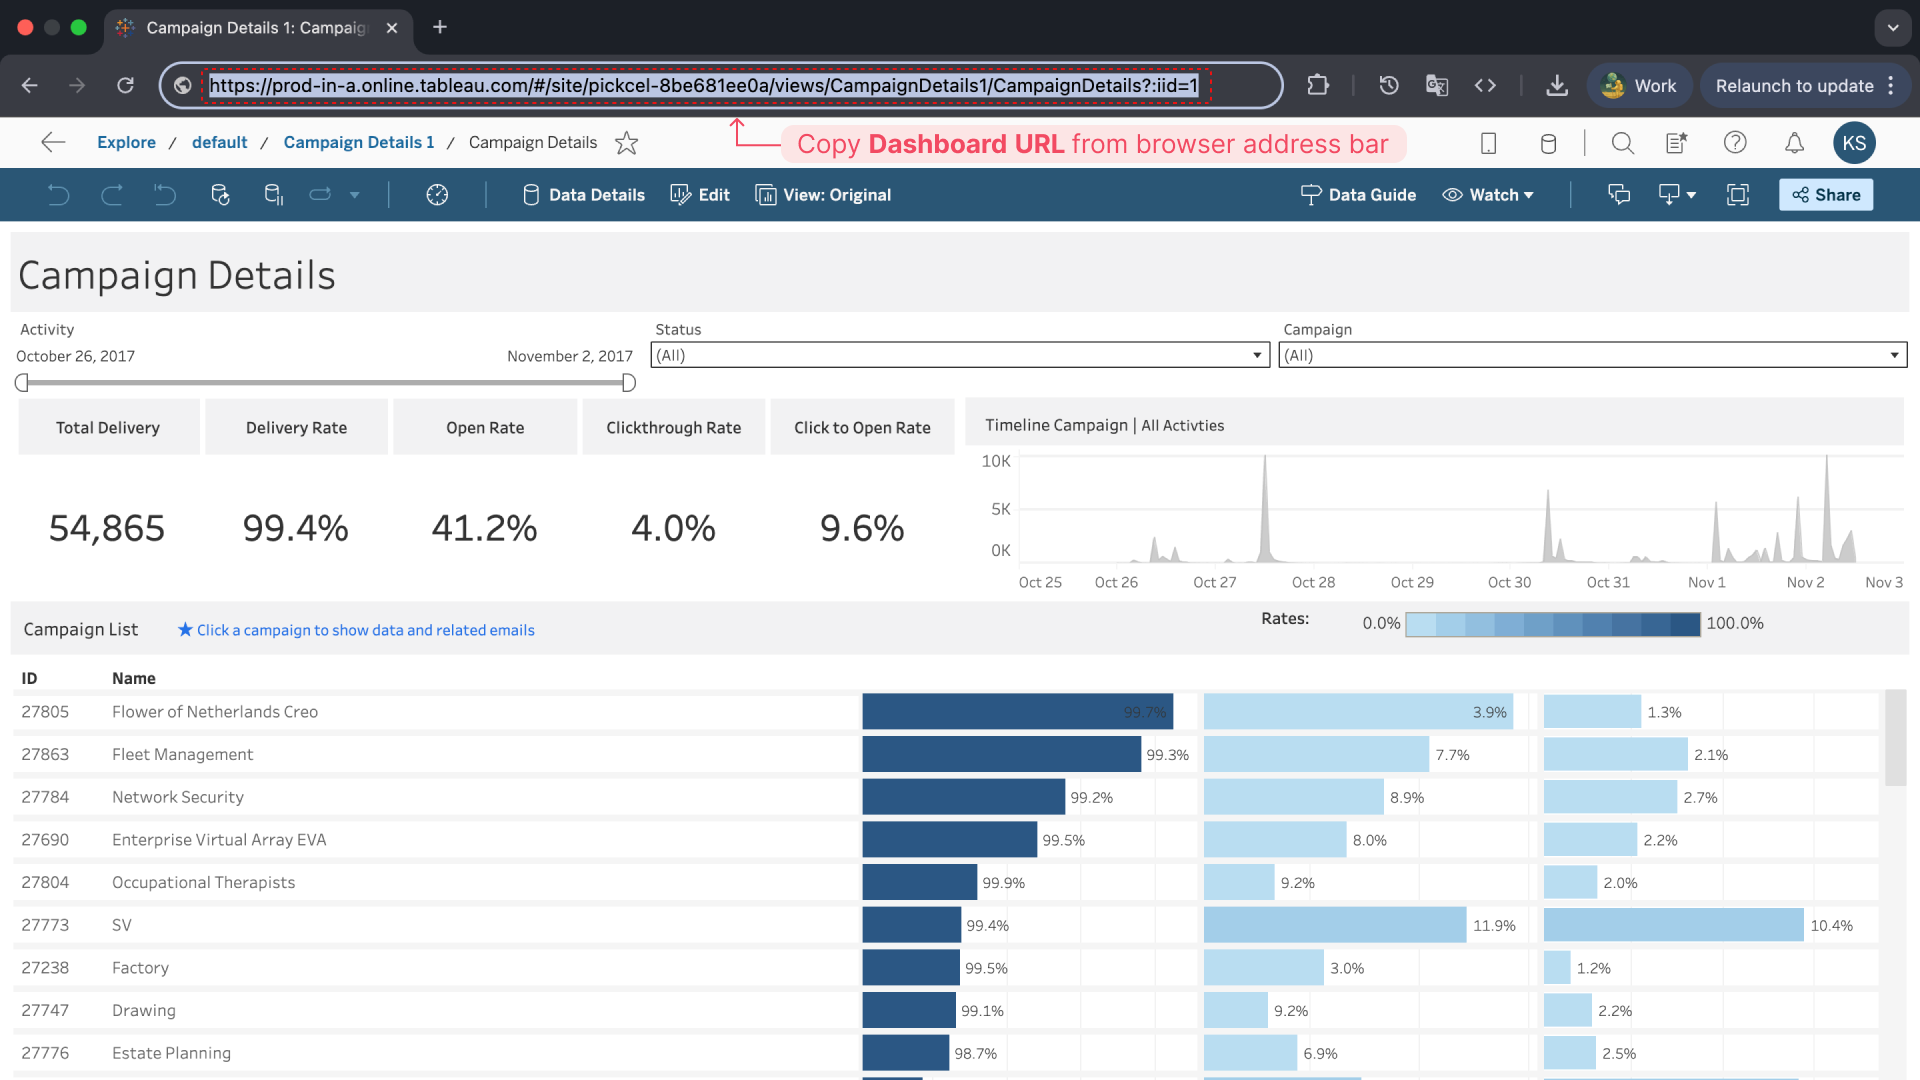
 Click Generate Auth Token. The token will be generated and automatically pasted into the Auth Token field on the left.
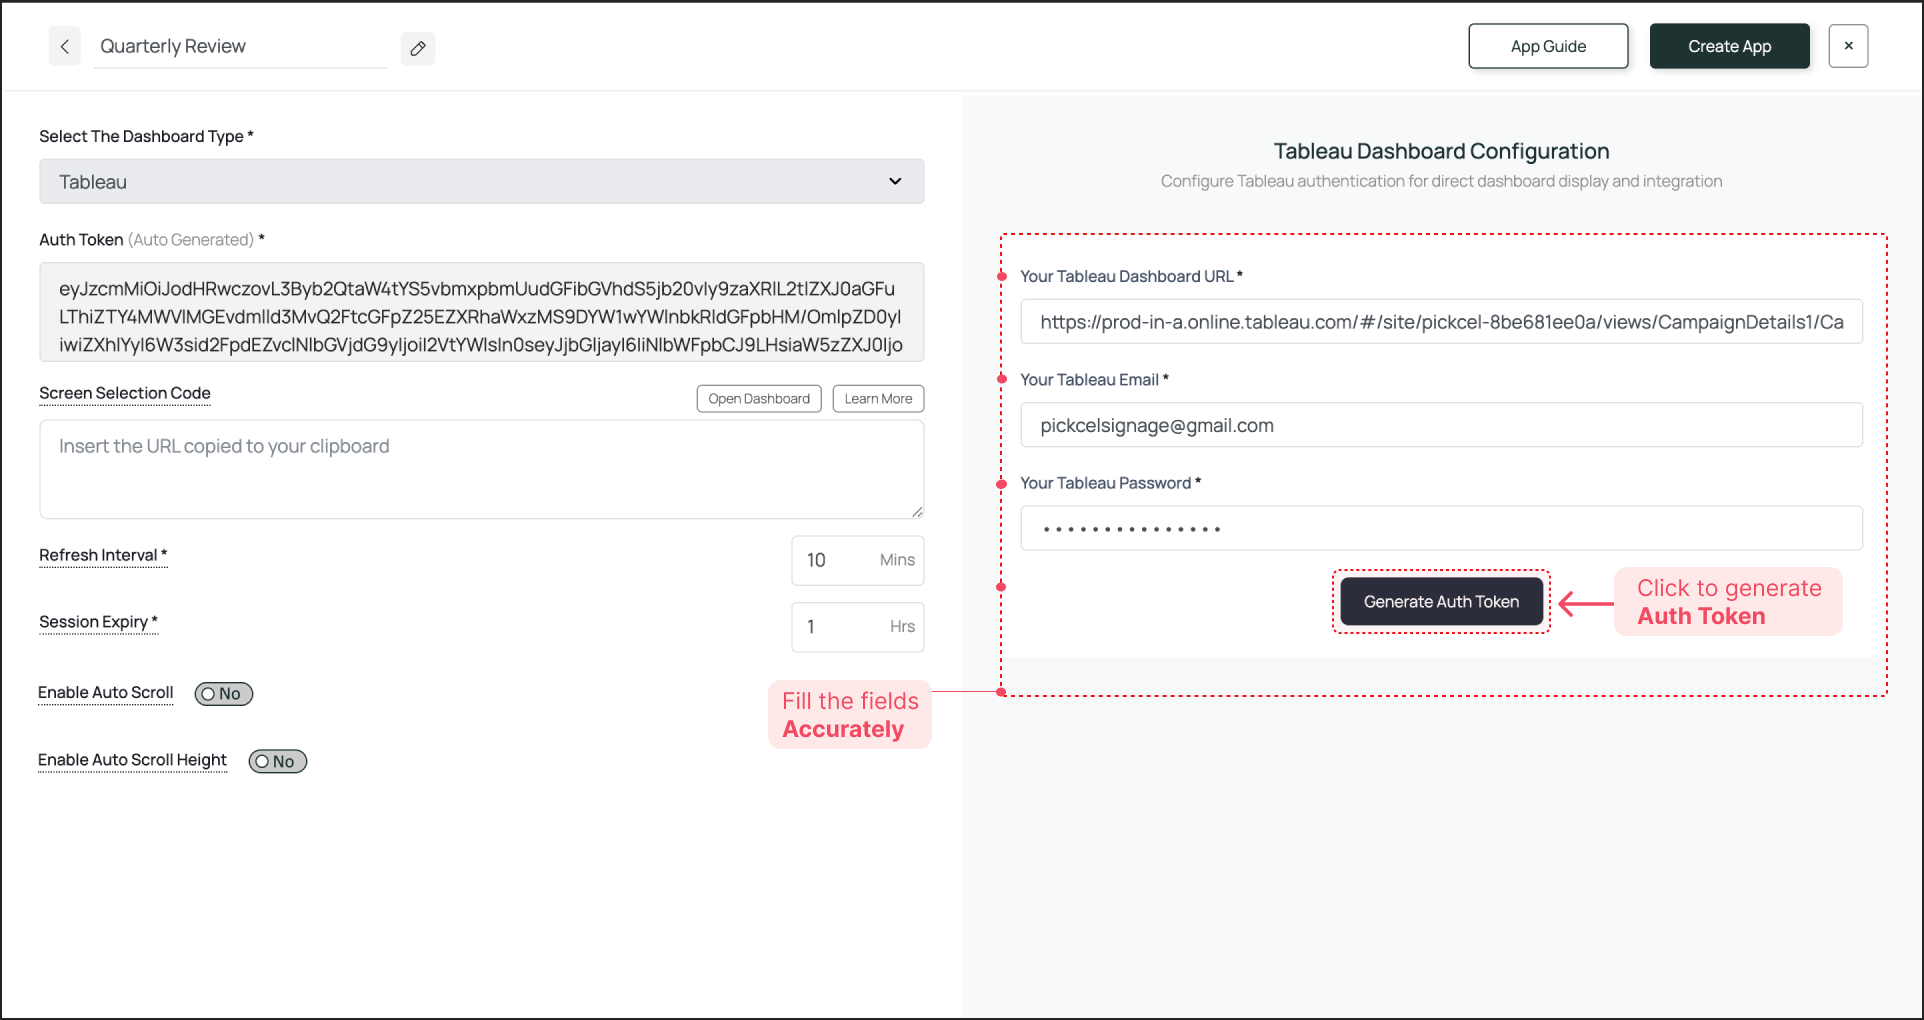
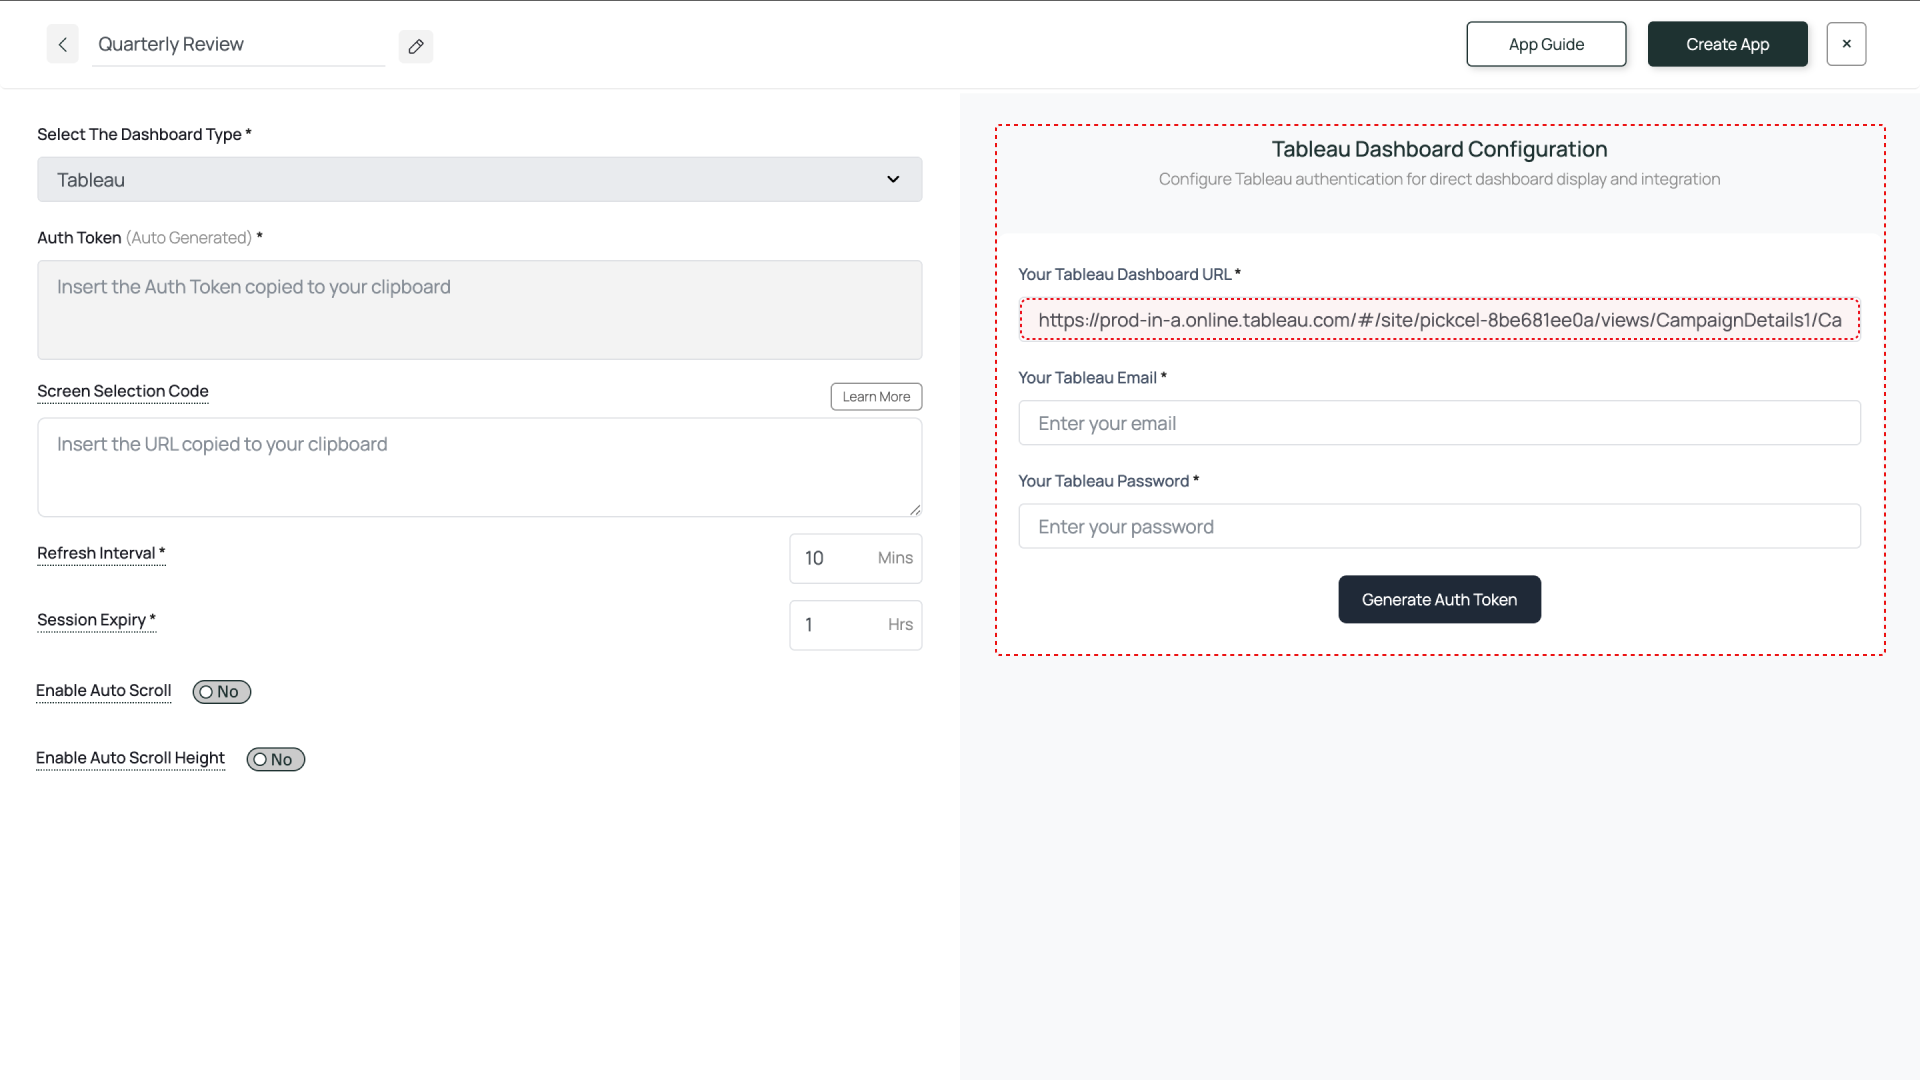
- Tableau URL: Log into your Tableau instance and navigate to the exact dashboard you want to display. Copy the entire URL from your browser’s address bar and paste it here.
- Tableau Email: Enter the Email ID of your dedicated Tableau account.
- Password: Enter the password for that account.
Enter Screen Selection Code (Optional)
If you want to display only a specific portion of the dashboard, use the Pickcel Dashboard Screen Mapper Extension. Select the area you want to display, and upon confirming the selection, the code will be copied to your clipboard. Paste this code into the Screen Selection Code field.Check this guide for more info: How to Use the Dashboard Screen Mapper Chrome Extension?
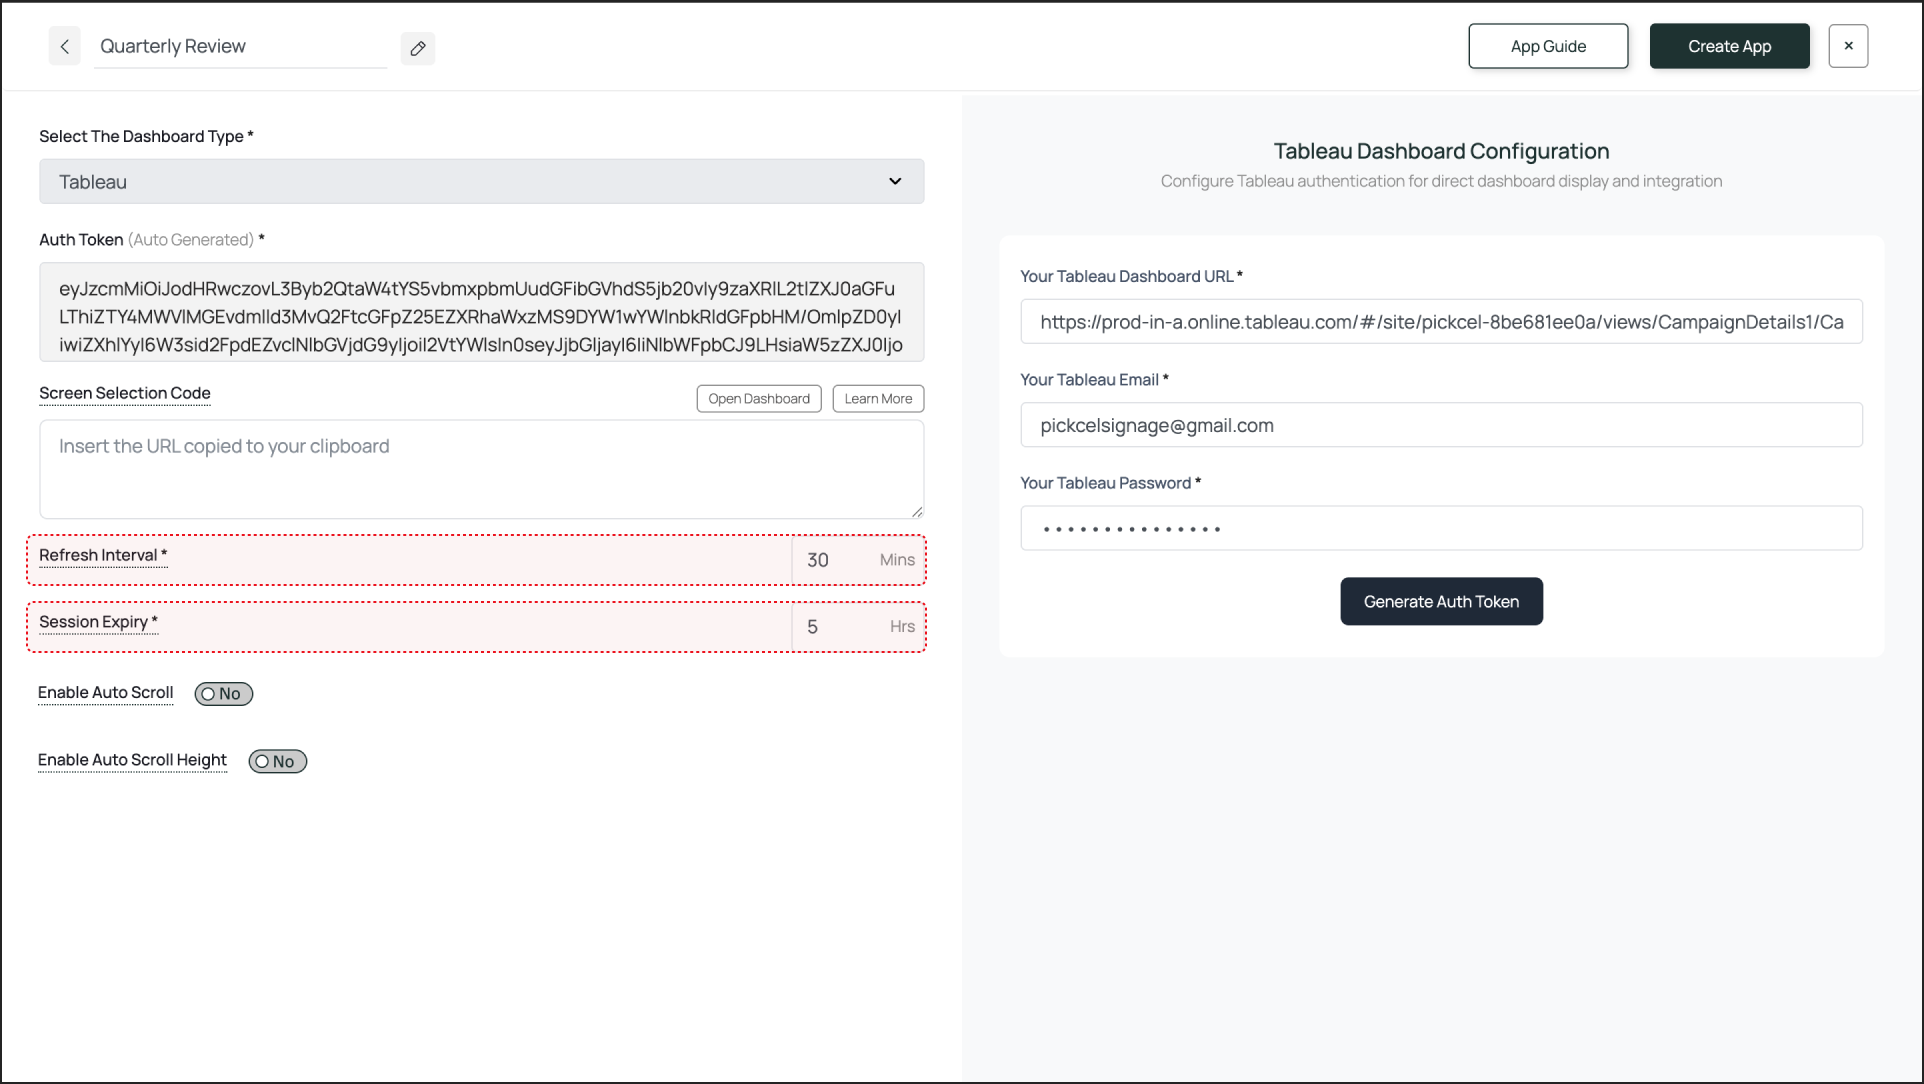
Set Refresh Interval and Session Expiry
- Refresh Interval: This setting defines how often the dashboard screenshot is updated. An interval of 30-60 minutes is sufficient for most dashboards. The signage screen will display a fresh view of your dashboard within that time frame.
- Session Expiry: This forces a fresh login to prevent session timeouts from the service provider. A value of 5-8 hours is recommended to ensure the session stays active throughout a business day.
Enable Scroll Option for the Dashboard (Optional)
If your dashboard content doesn’t fit on the screen vertically, you can use one of the following two scrolling options: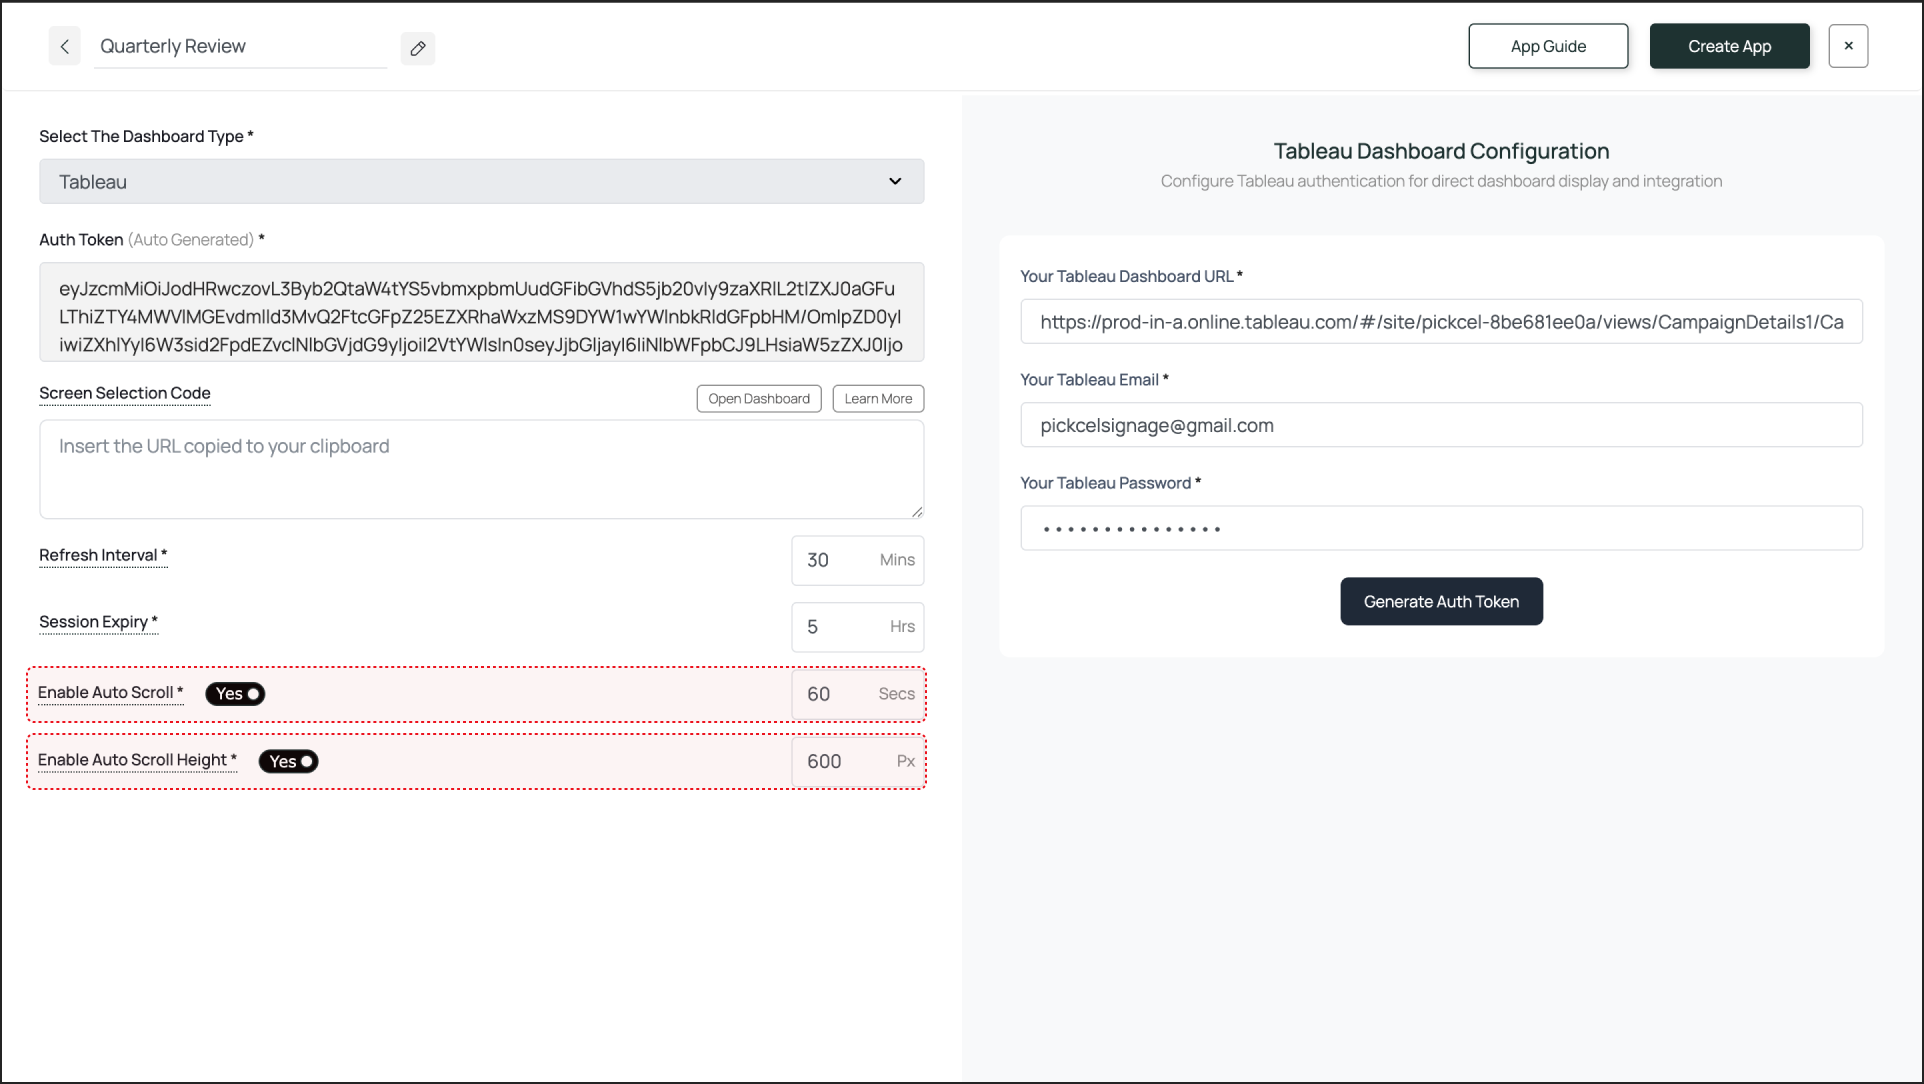
- Enable Auto Scroll: This lets you set a scroll duration in seconds. For example, if you set it to 60 seconds, the entire dashboard will scroll from top to bottom over 60 seconds.
- Enable Auto Scroll Height: This lets you set a scroll height in pixels. The screen will scroll down by the defined pixel height.
Create and Publish
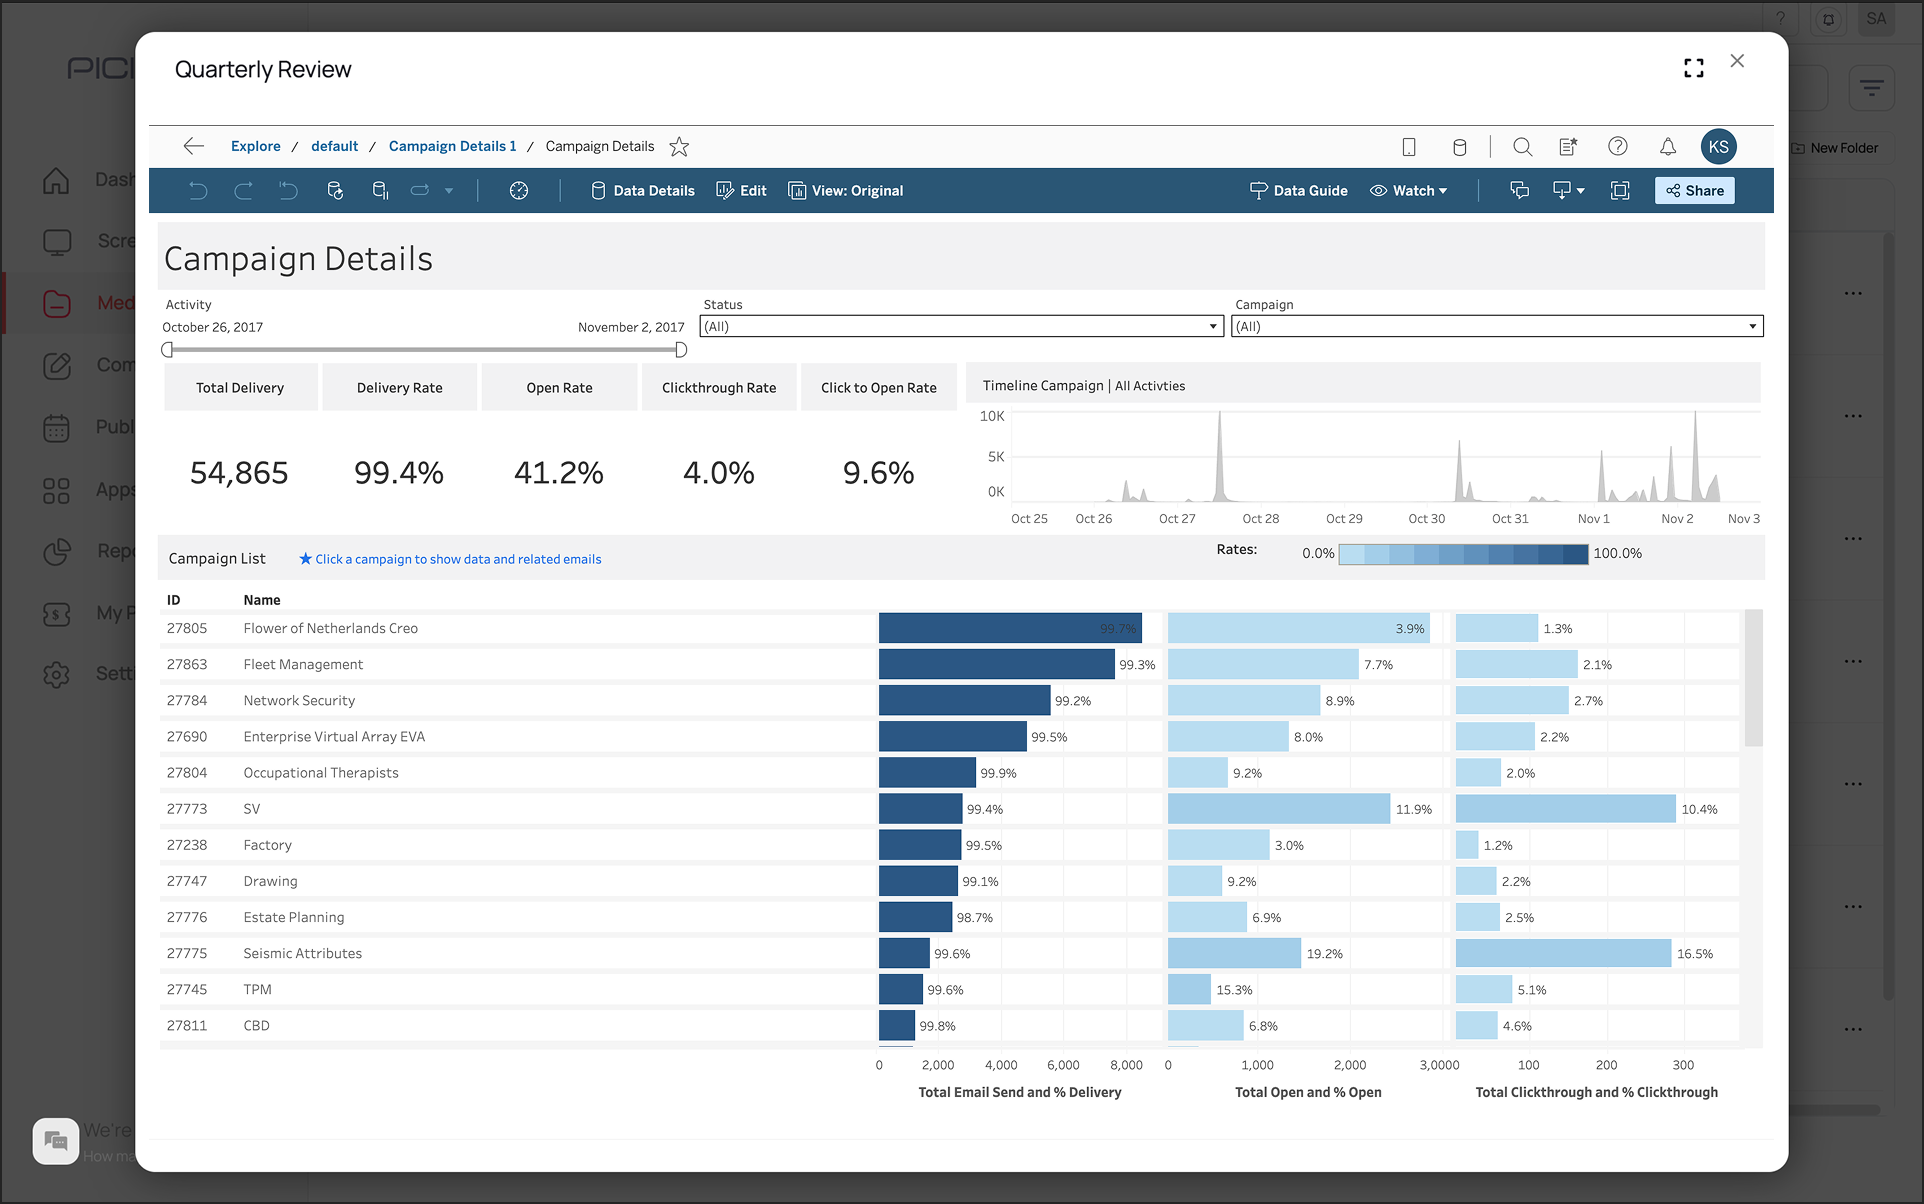
Once you are done with the configuration, click Create App. This successfully creates the app instance, which will be available to view in the Media section.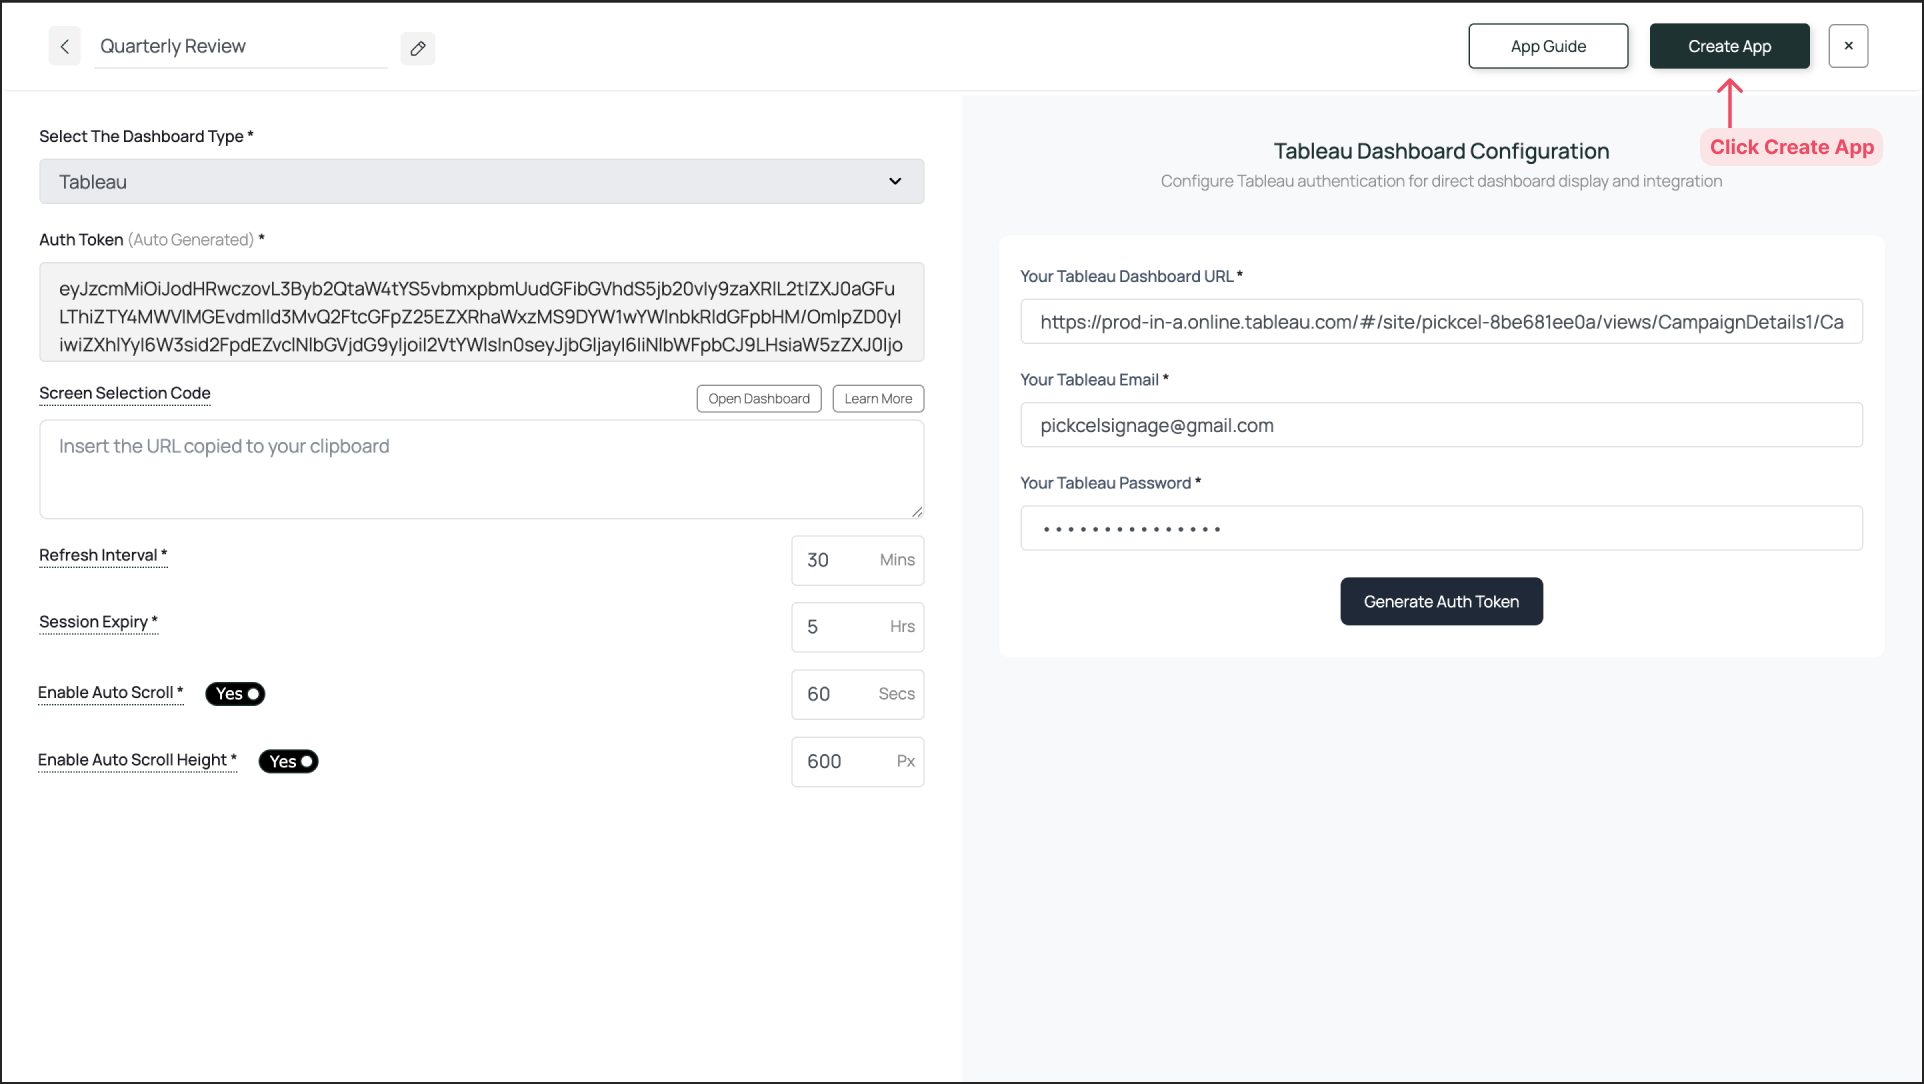 To preview the dashboard, go to Media, find the app instance by the name you created, and click on its thumbnail (magnifier icon). This will display a preview. If you are content with the result, assign it to your digital signage screens.
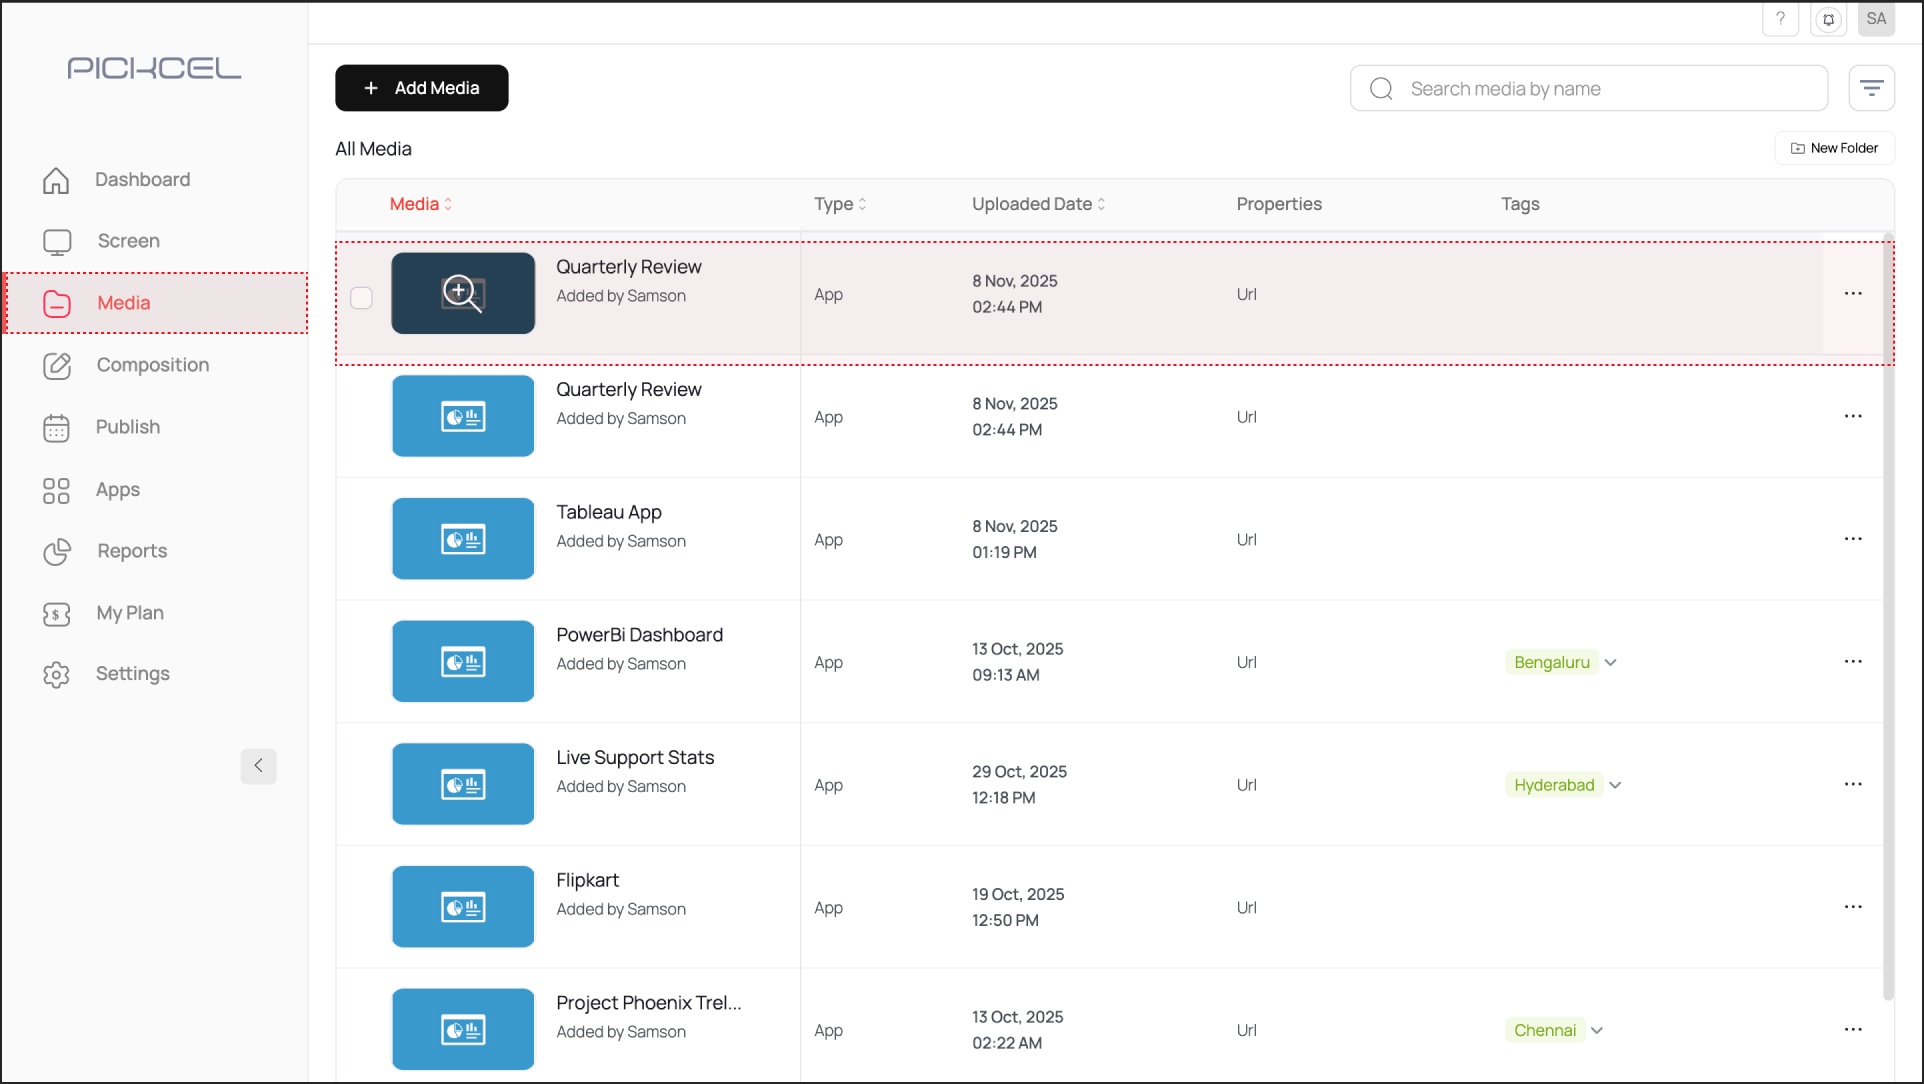
 It may take some time for the dashboard screenshot to load, depending on the complexity of the configured dashboard.
What’s Next?
Your Tableau Dashboard App is now ready. For further reading:
- To create a multi-zone layout: Learn about Compositions
- To send it to your screens: Learn how to Publish or Schedule Content