Access the Partner Console
Log in to the Partner Console
Log in to the Pickcel Partner Console at console.pickcel.com/partner.
Your login credentials are provided by the Pickcel Sales team.
Add a new entity
Click + Entity
After logging in, click + Entity to add a new user (organisation) for Pickcel’s services.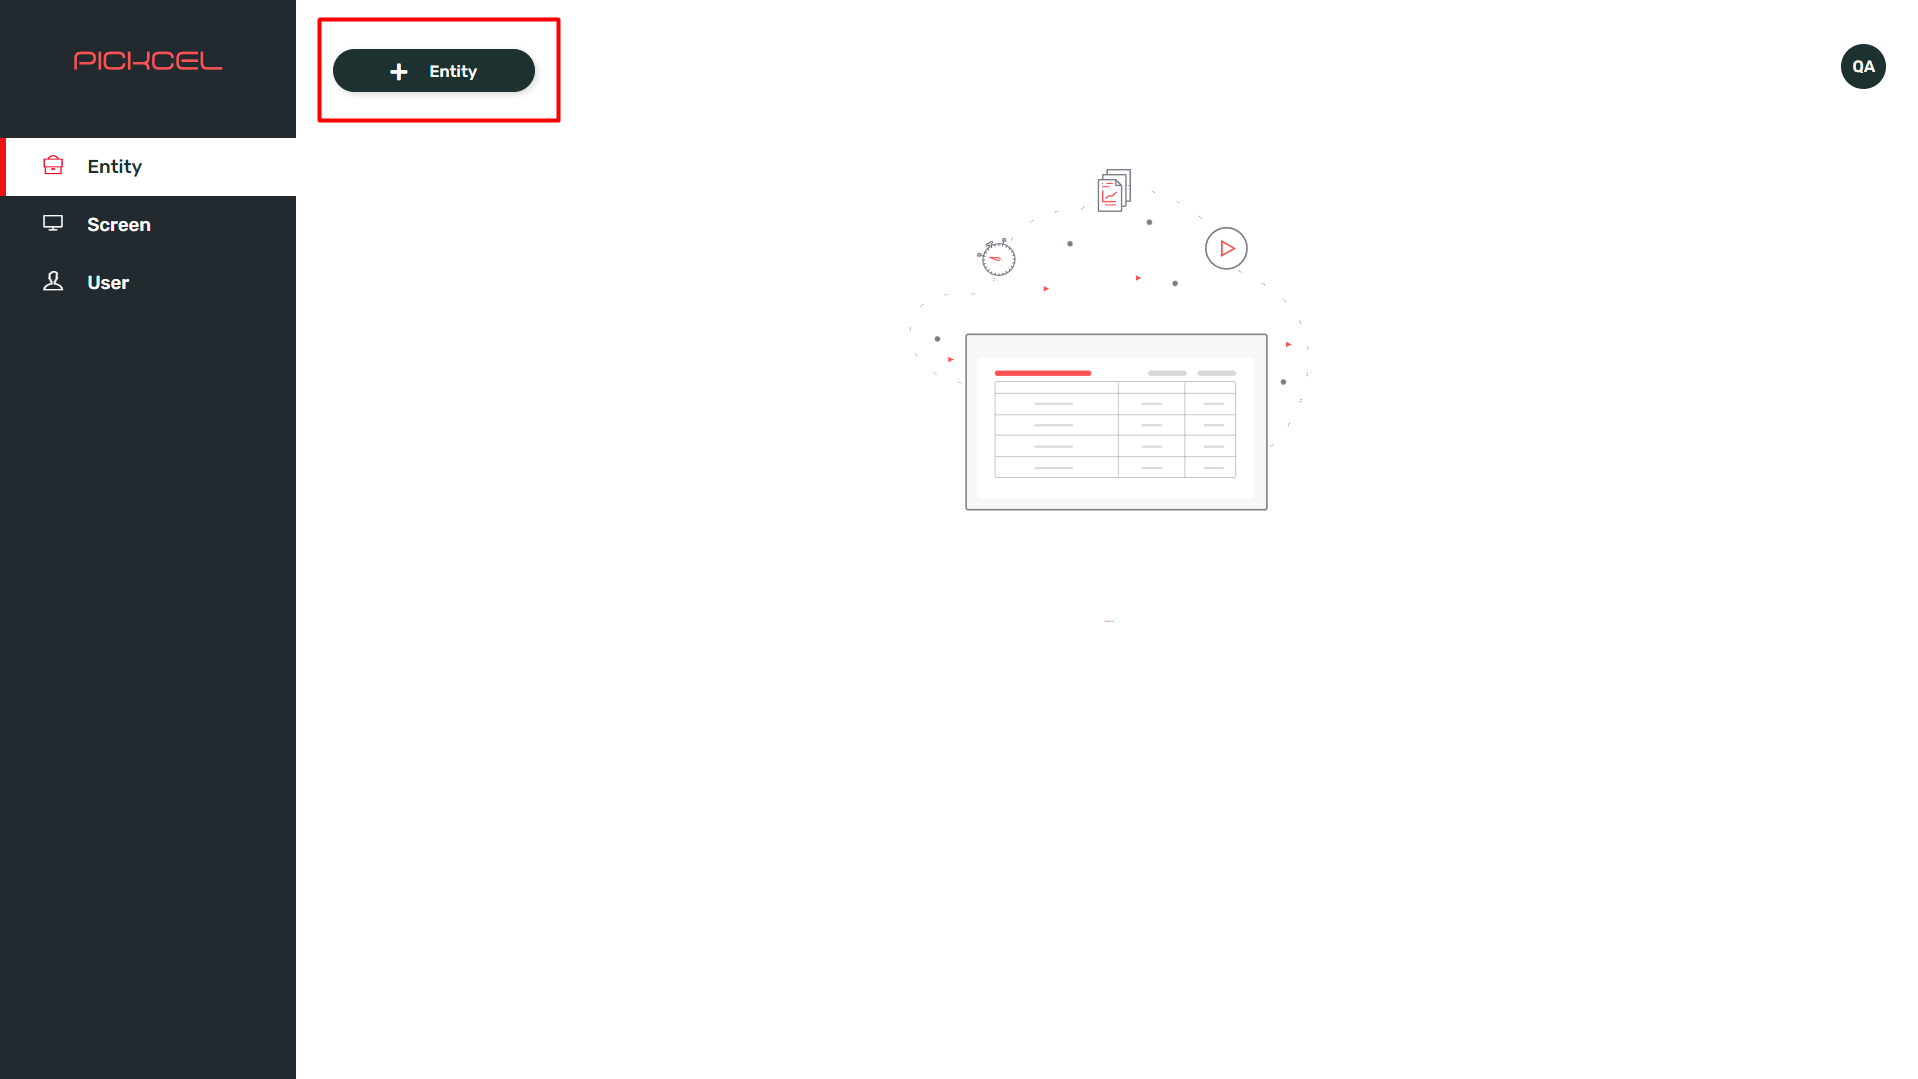
Fill in the entity details
Fill in the required details: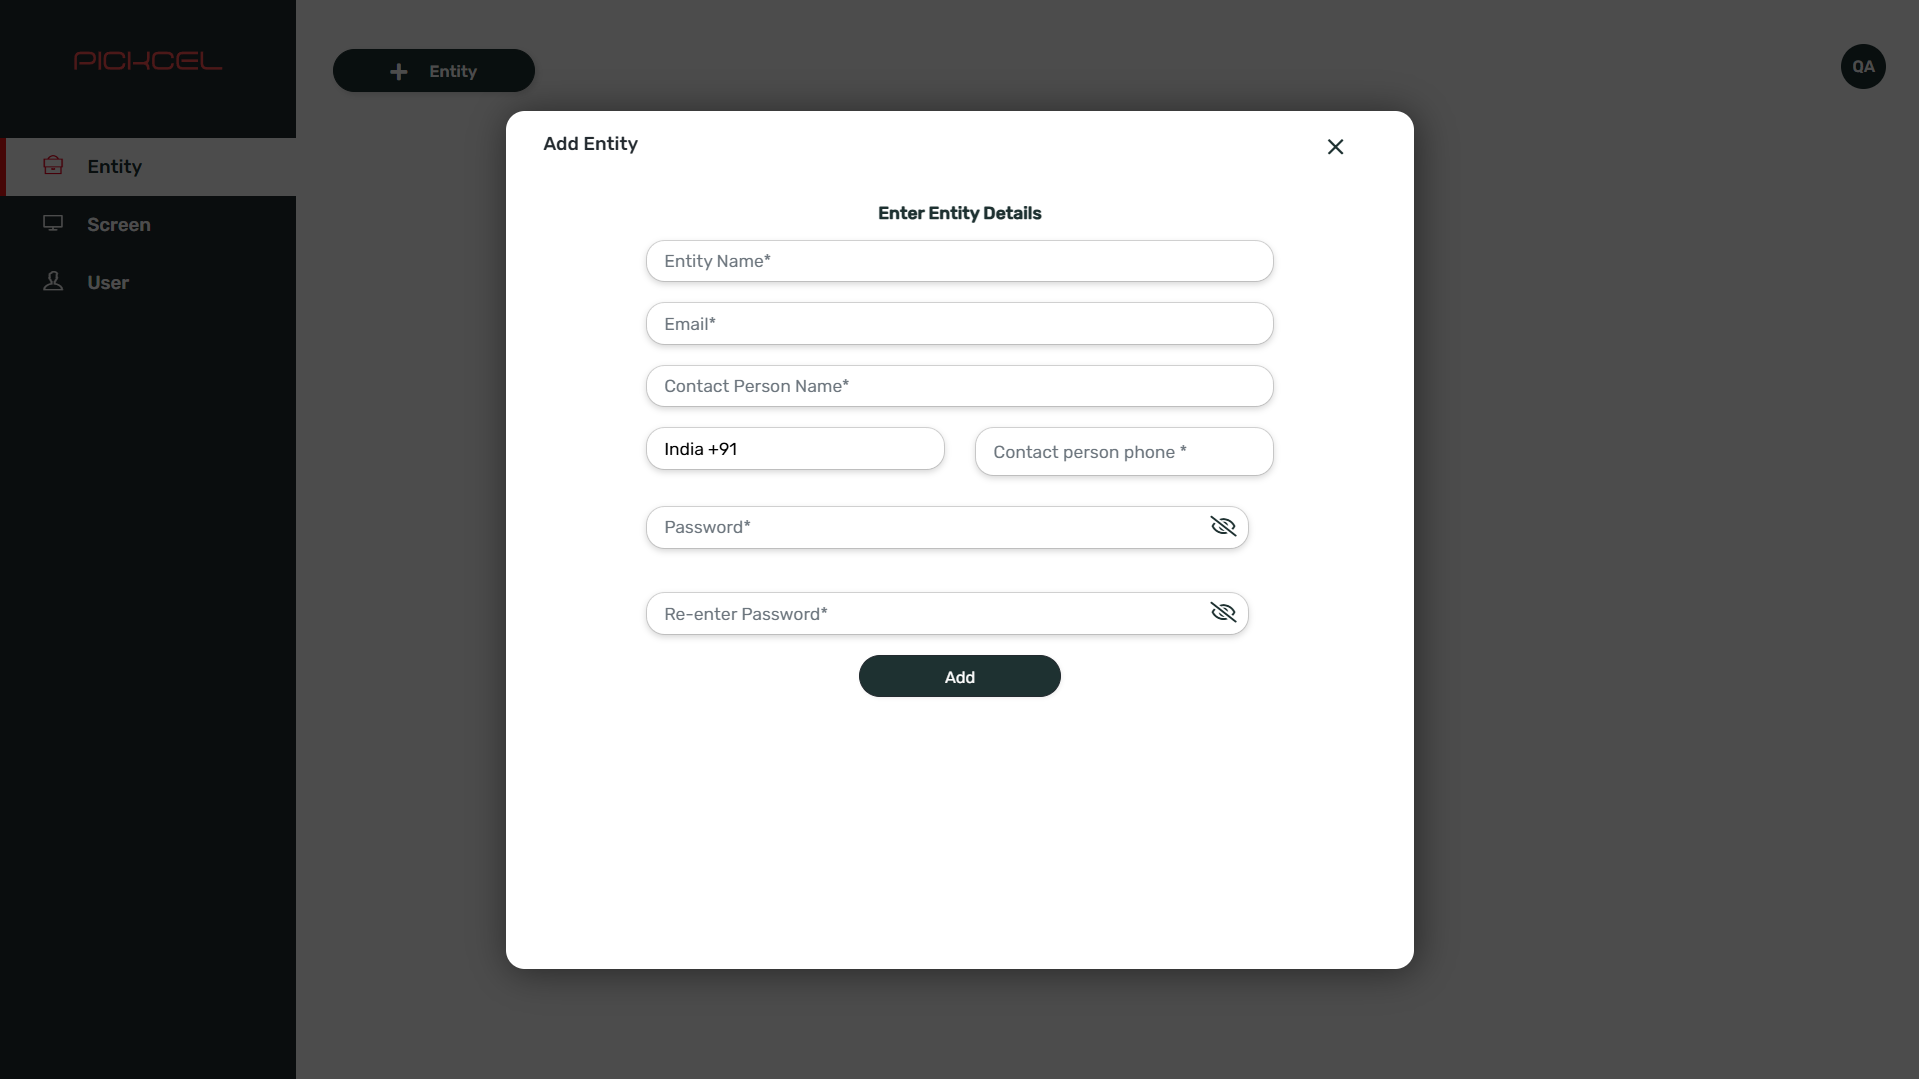
- Entity Name: The organisation’s name.
- Email ID: The user’s email address, used for login.
- Contact Person’s Name: The primary contact person for the entity.
- Mobile Number: The contact person’s mobile number.
- Password: A secure password for the user’s account.
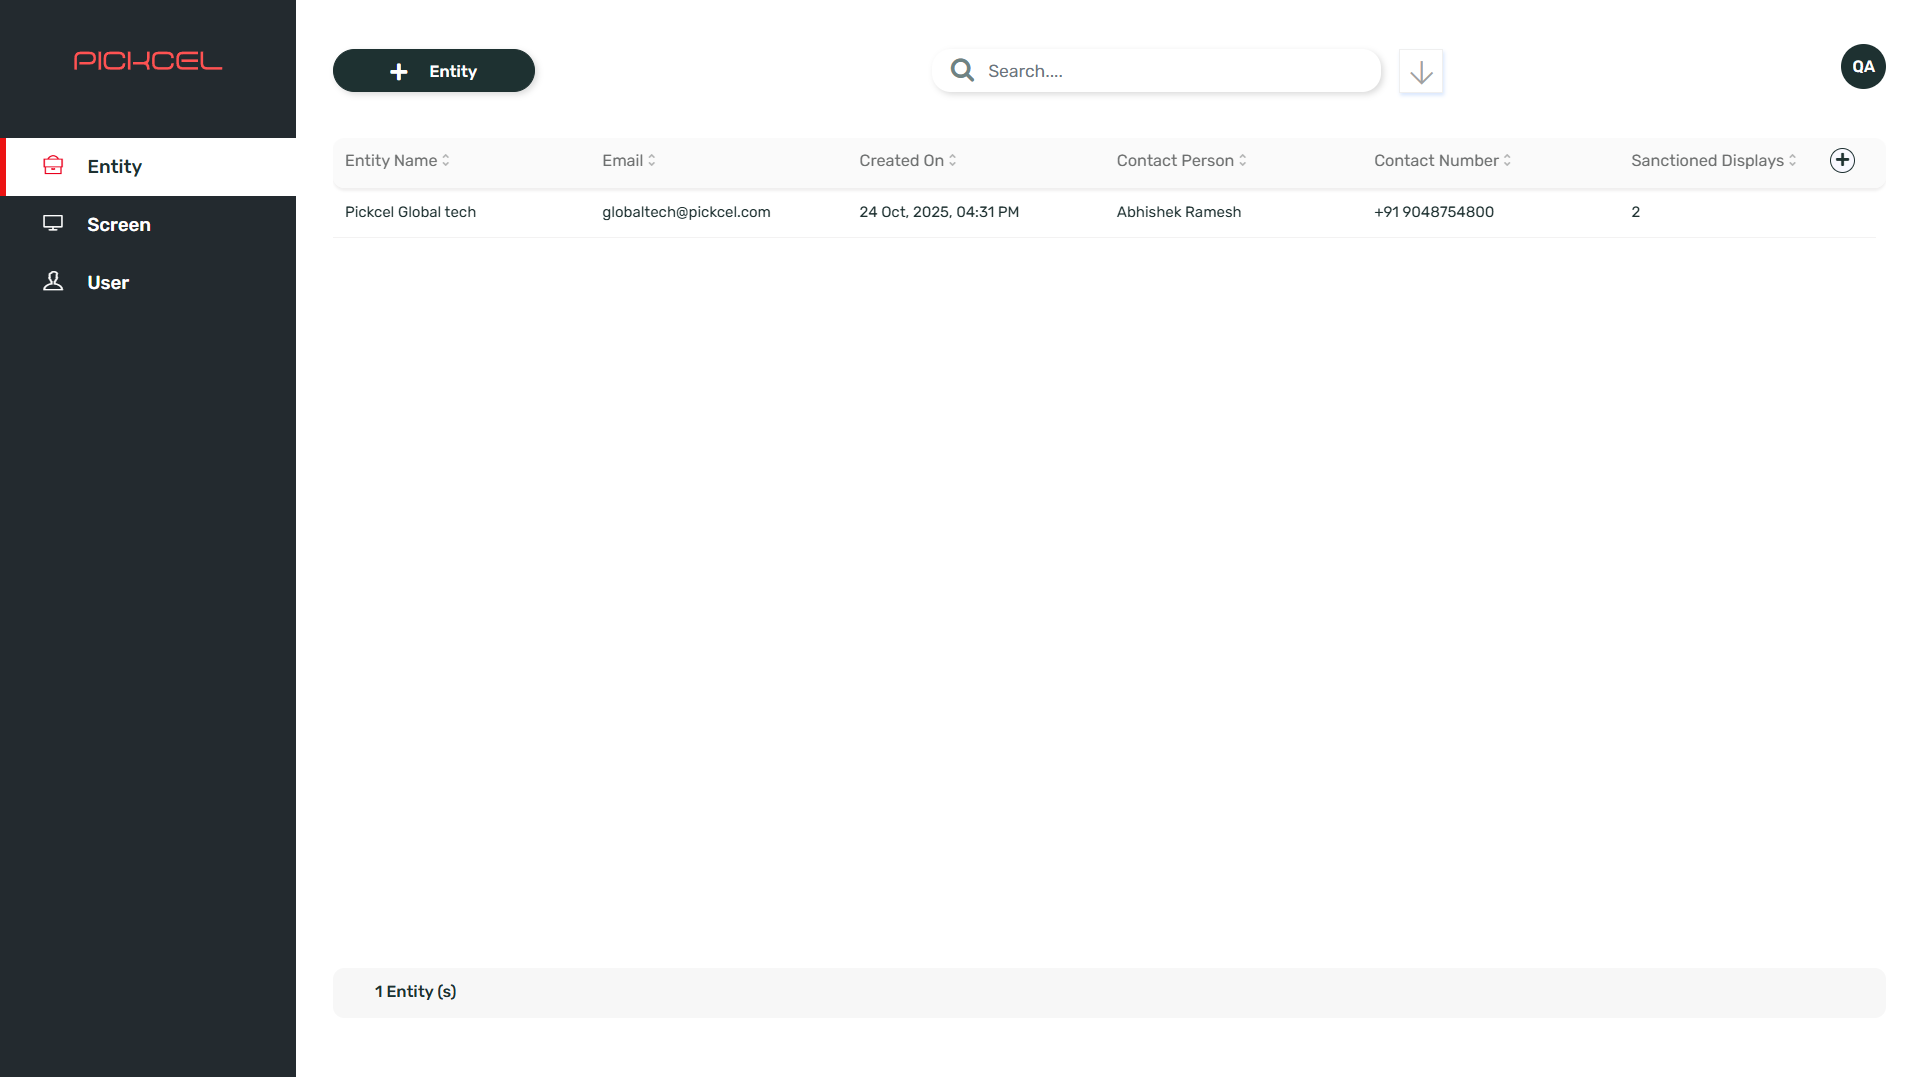
Notify the user
Once the entity is created, share the username (email ID) and password with the user so they can sign in.- Users log in via console.pickcel.com. As the partner, you’re responsible for sharing the email and password with the user.
- Each new entity is assigned 2 licenses by default. If you need additional licenses for an entity, contact our Sales team at contact@pickcel.com.
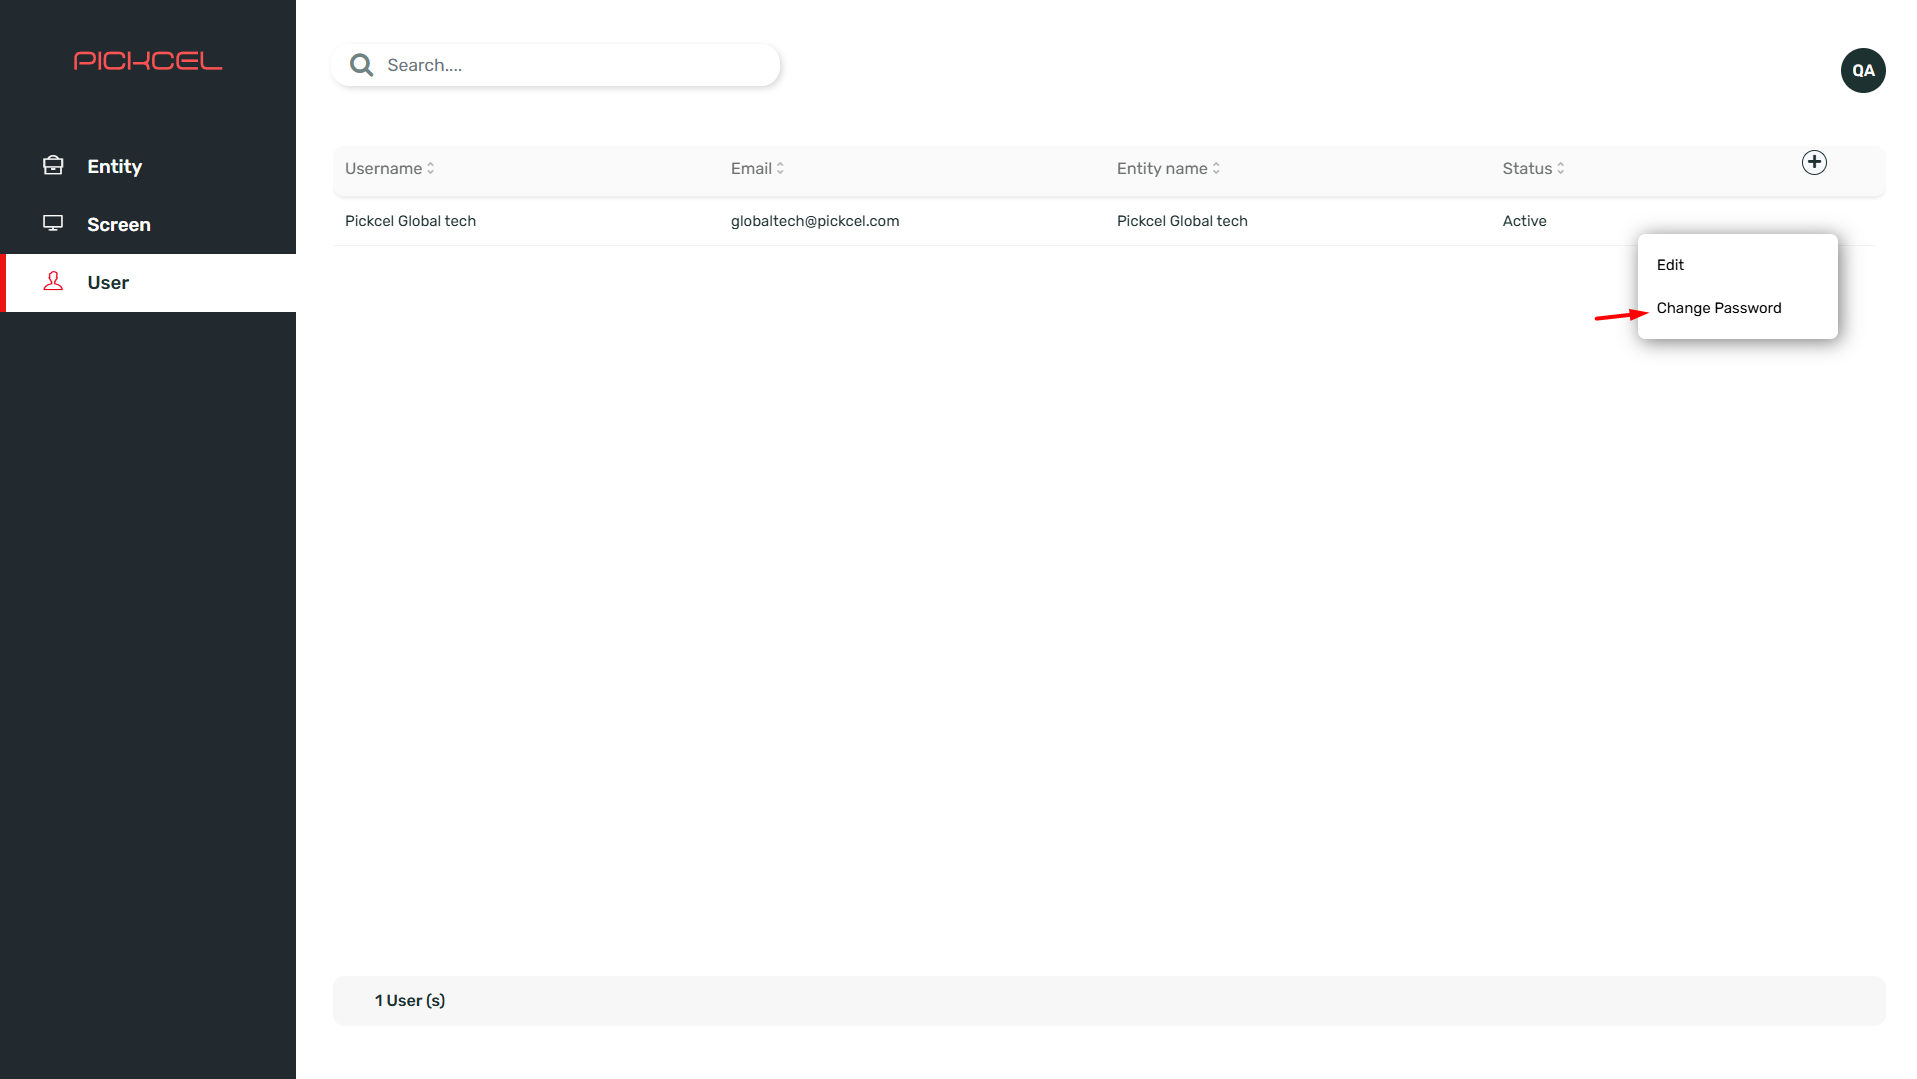
Modify an existing account
From the Partner Console, you can update a user’s details or status, and reset their password at any time.Edit user details
Go to the Users section and hover over the row for the user you want to change. Click the three-dot menu, select Edit, then update the username or account status (Active or Inactive). Click Update to save.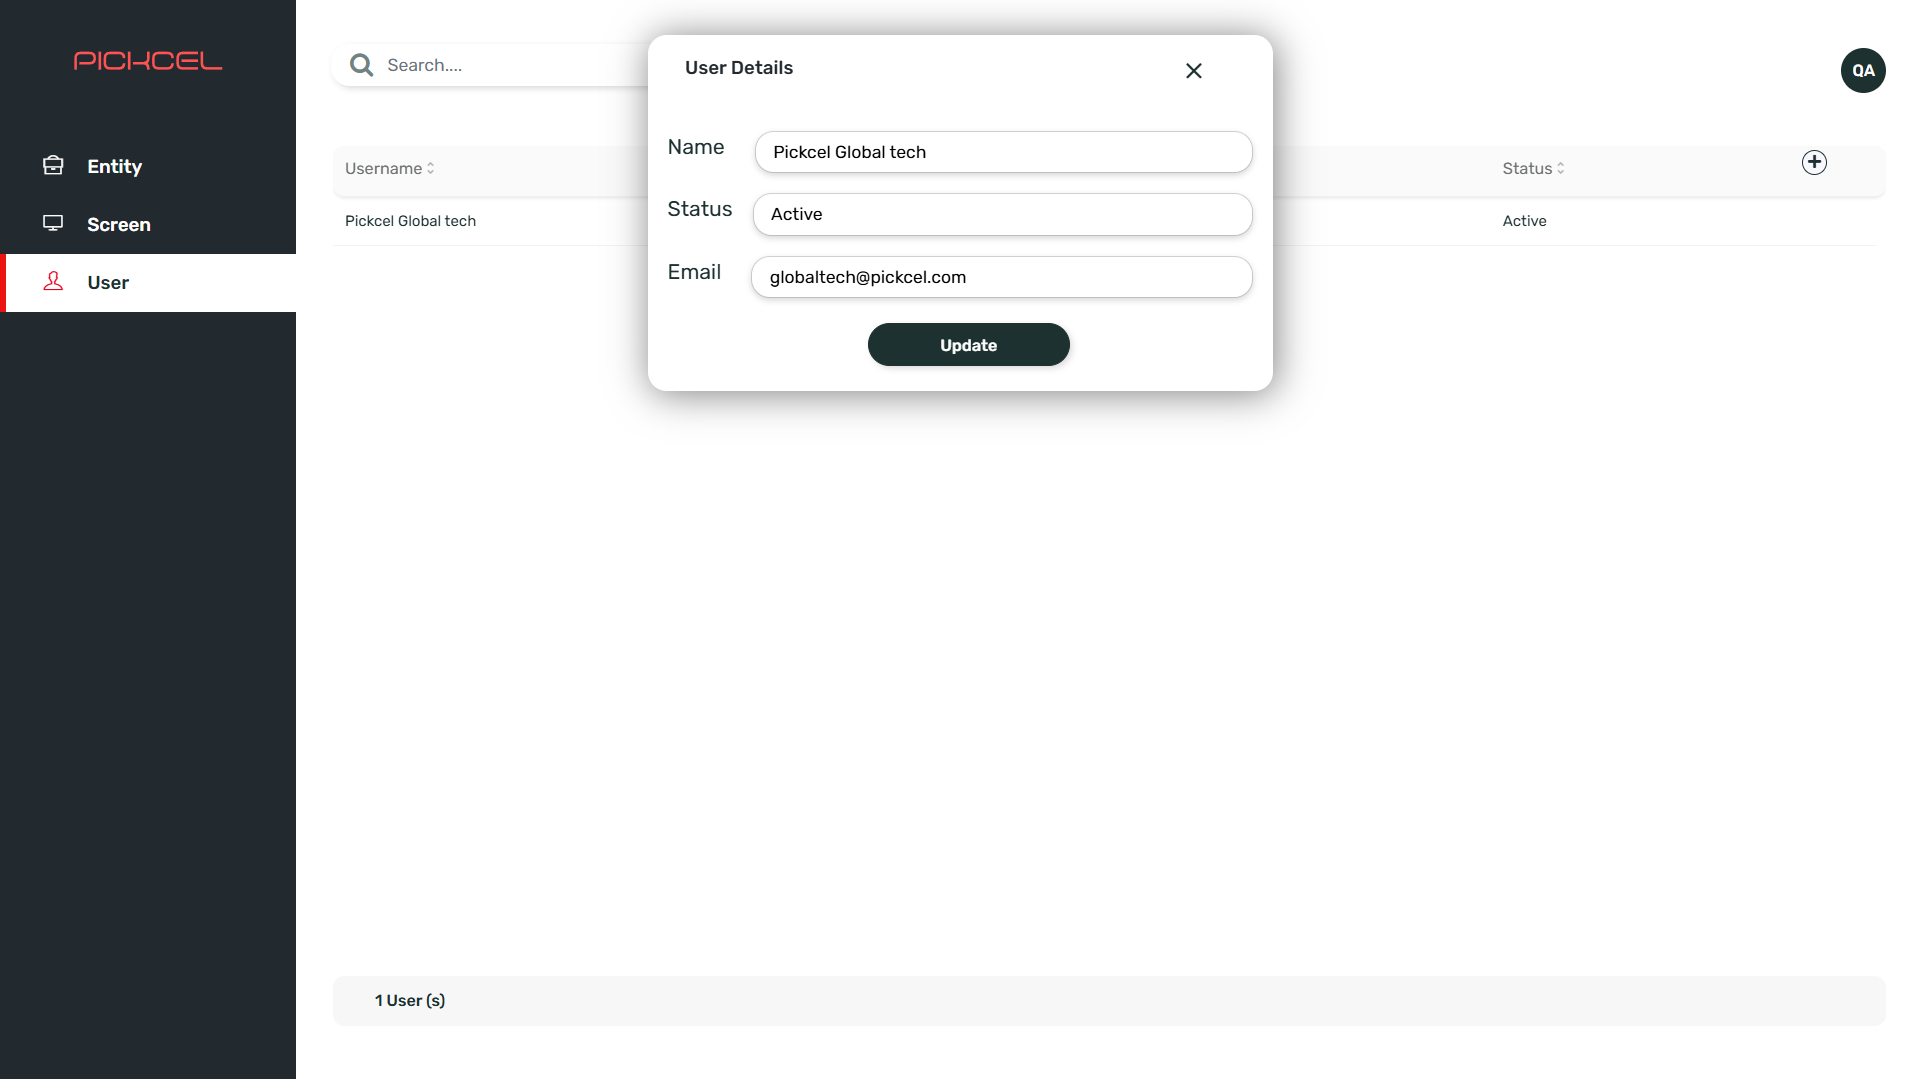
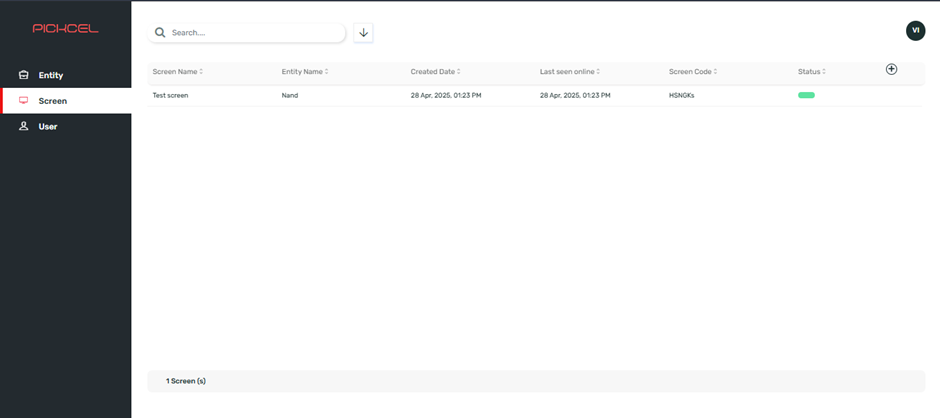
View screen details
The Screens section of the Partner Console gives you visibility into every screen registered across your entities, useful for support and auditing without having to log in to each customer’s account separately. Open Screens to view each device’s screen name, entity name, created date, last seen online, screen code, and status.