Supported on Windows 10 & 11.
Considerations for Physical setup:
- Windows system (10 or above).
- Active internet connection.
Download the Windows Player
Go to https://www.pickcel.com/download/#windows and download the EXE file for your Windows by clicking on the download option.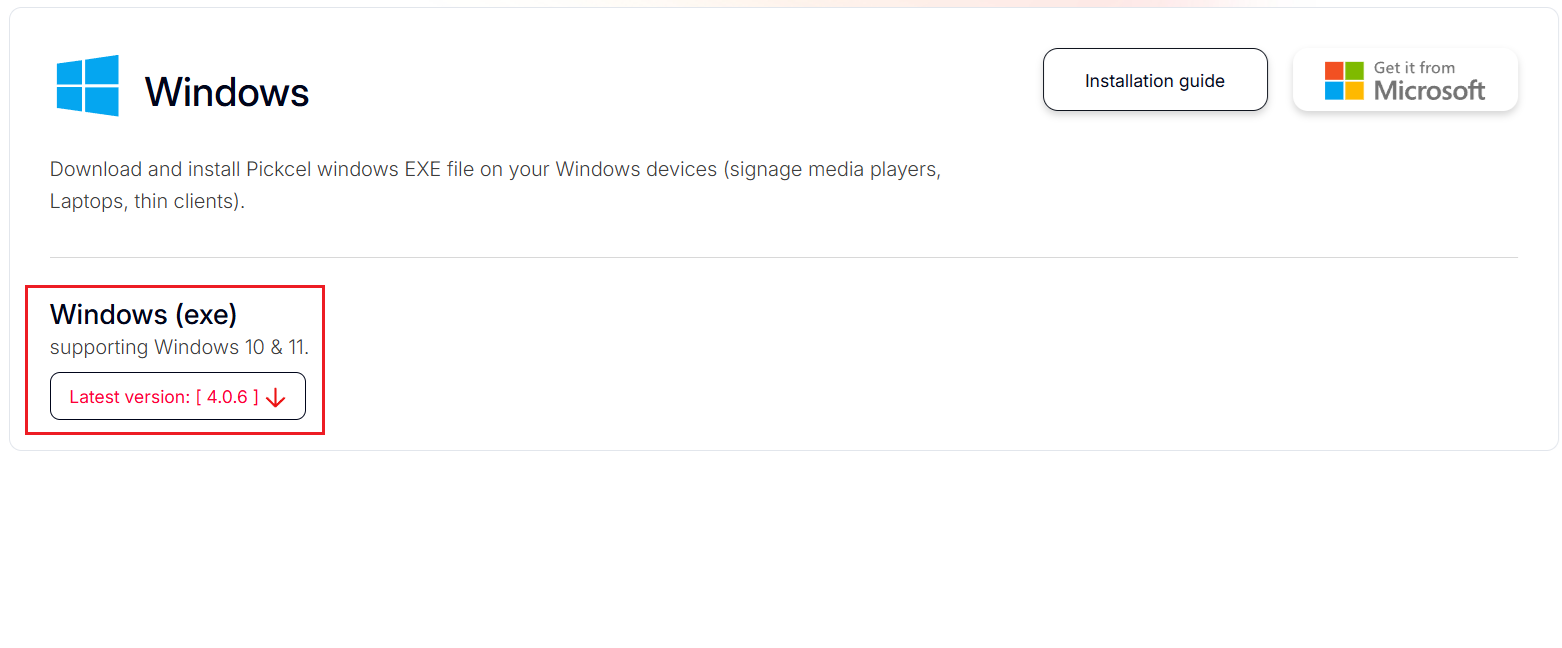
Direct Download: Download Windows Player
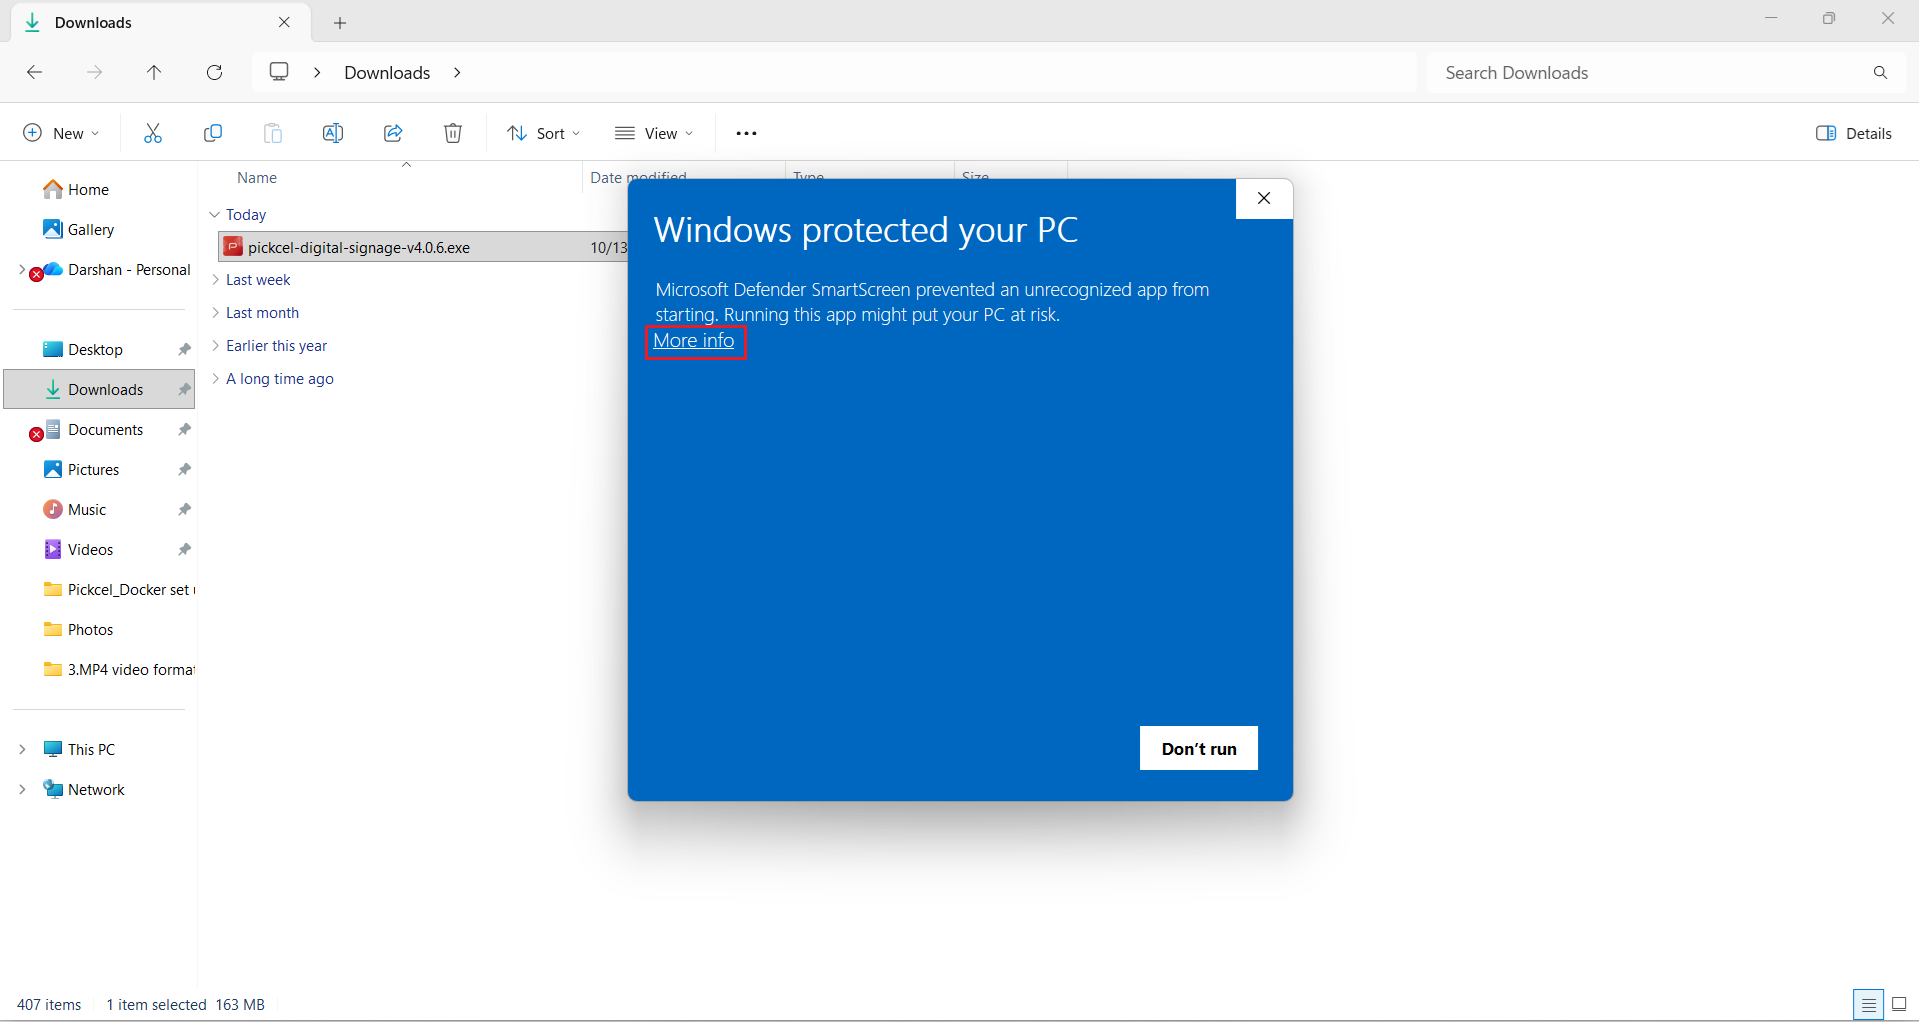
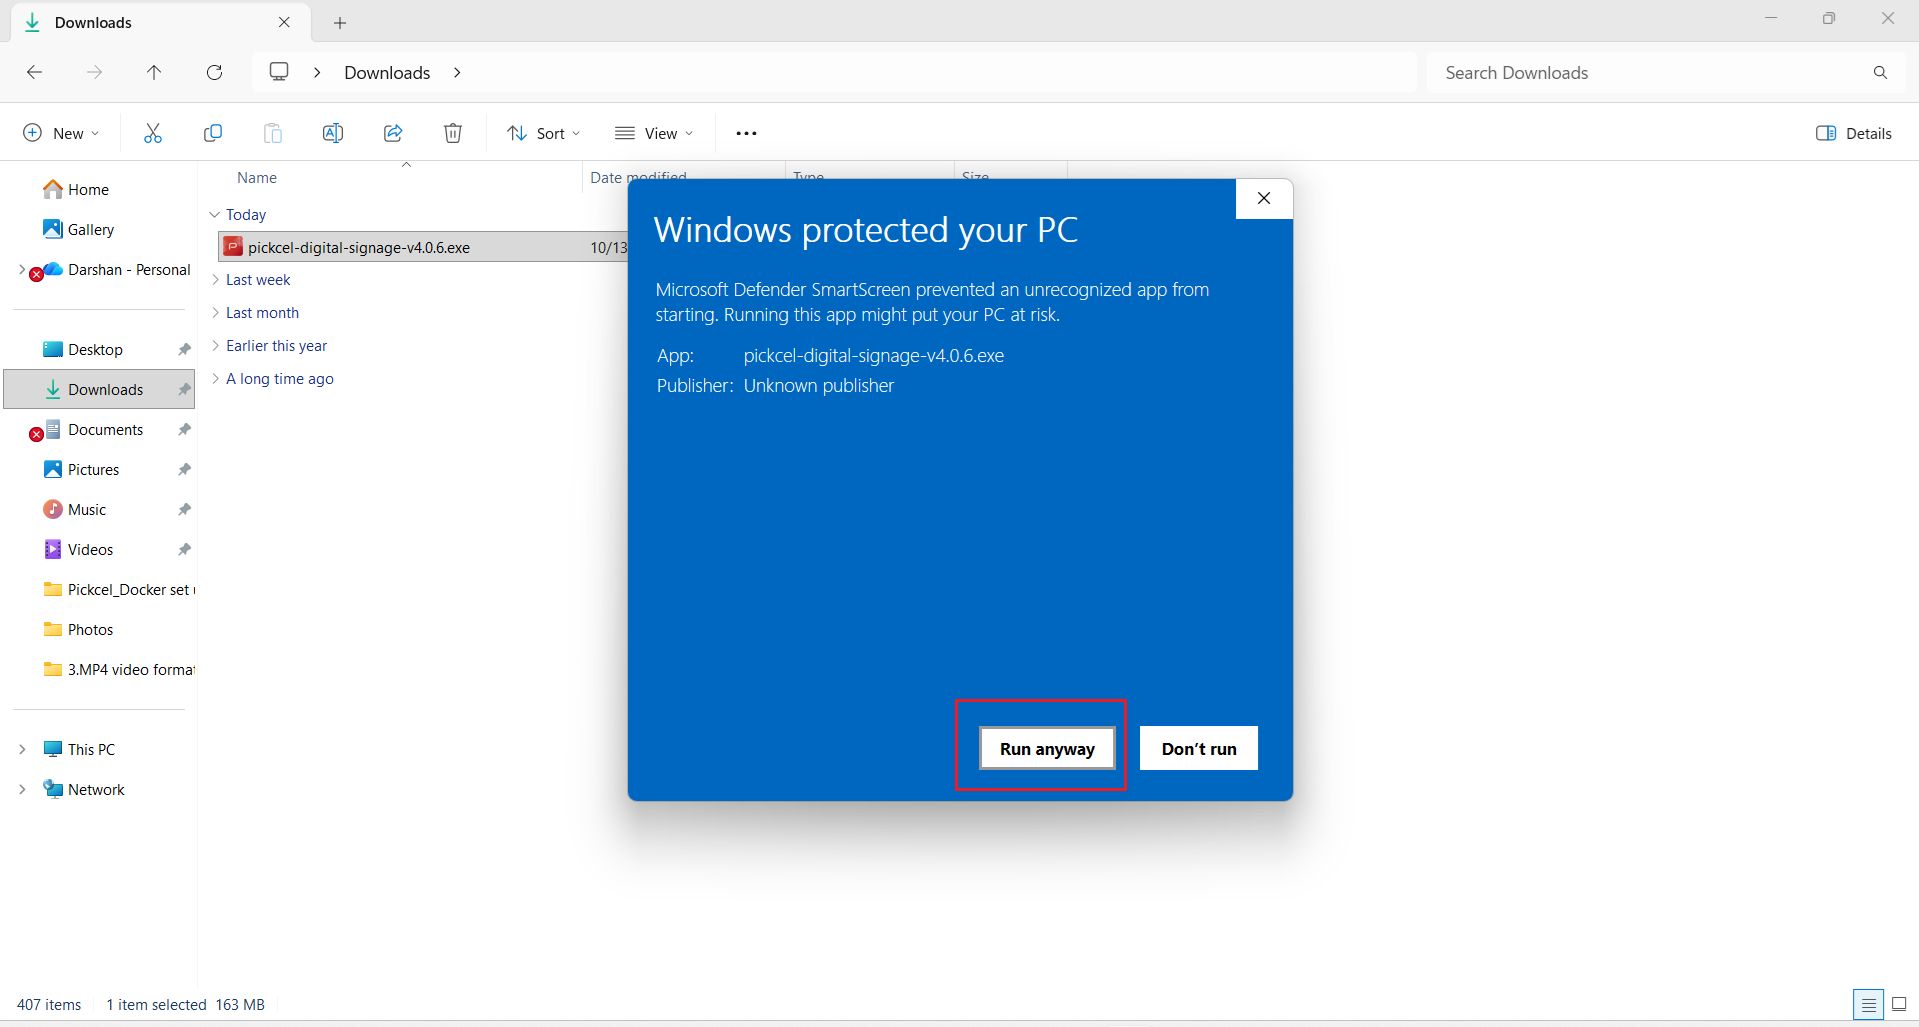
Locate and Run the Downloaded File
Now go to File Explorer > Downloads and double-click the downloaded file.
View Registration Code
Once the installation is complete, the app will launch automatically and it will show you a unique screen registration code.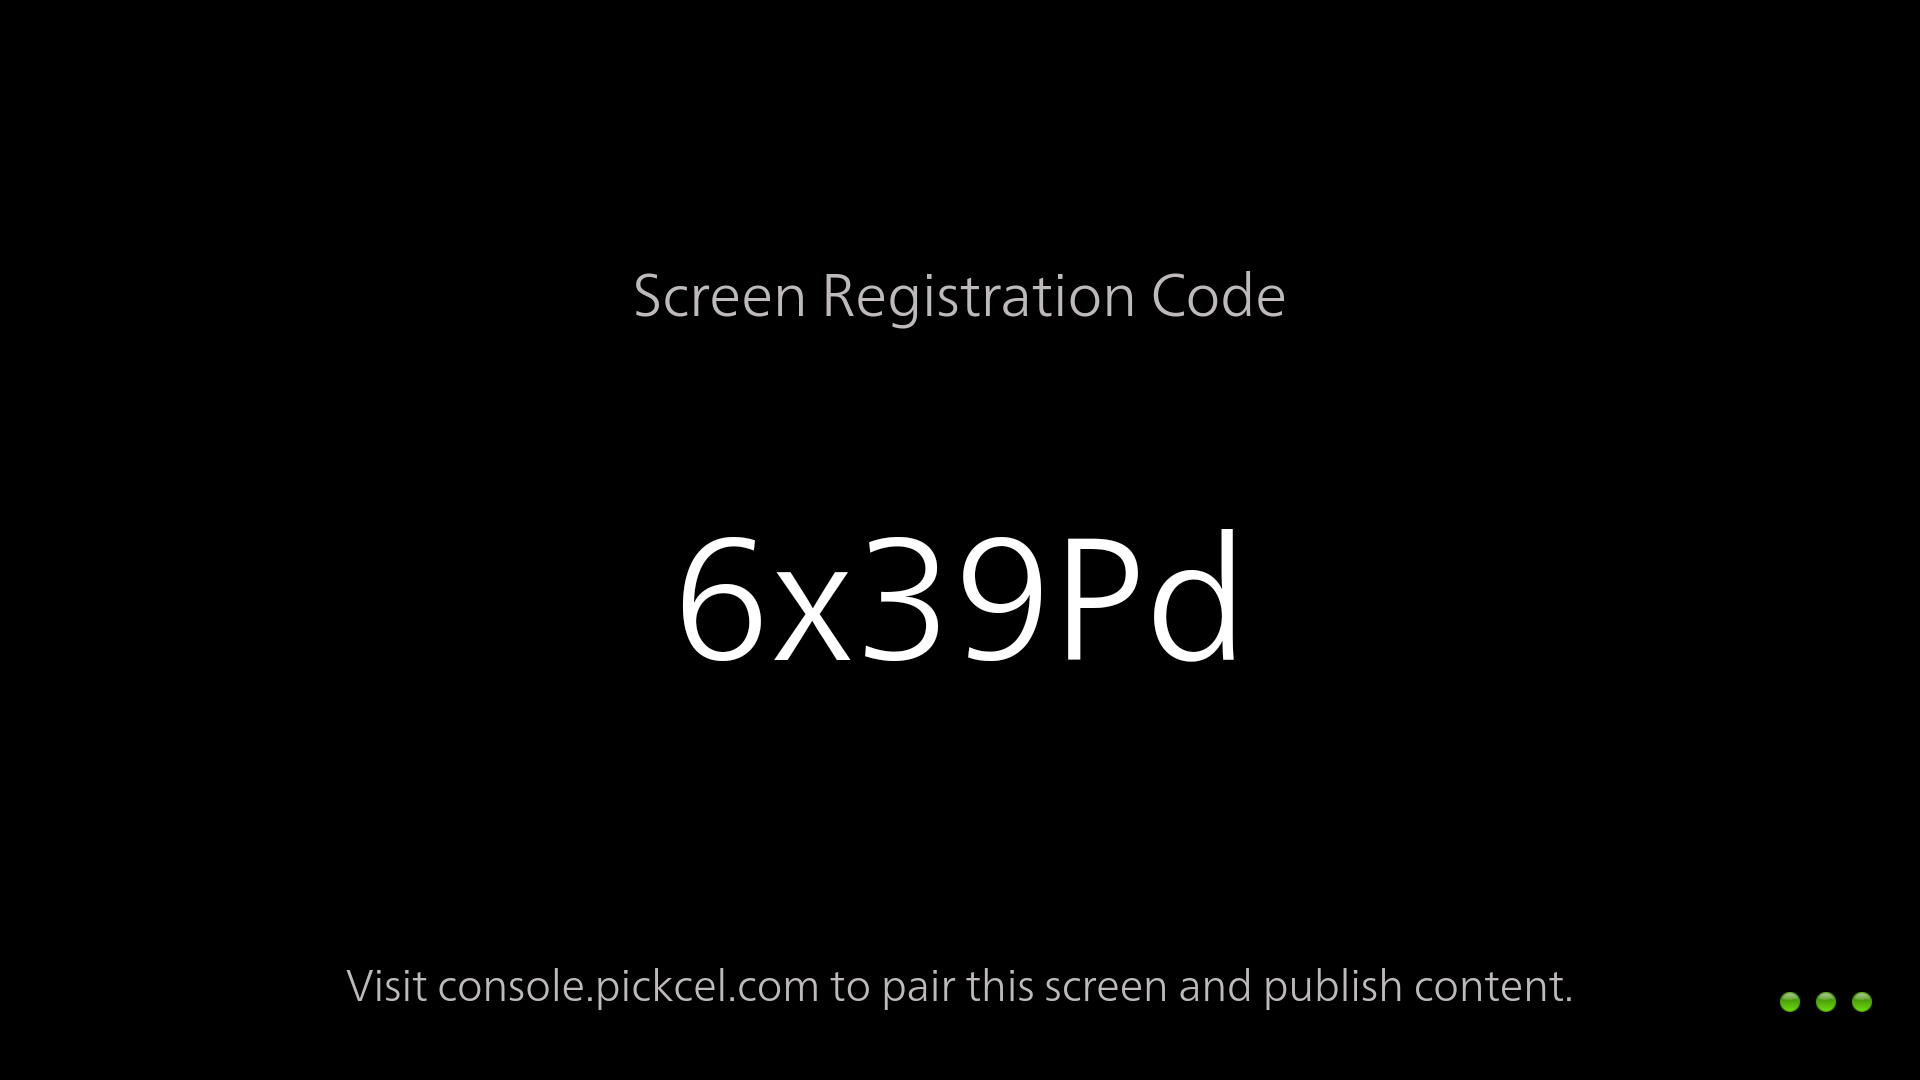
Pair with Pickcel Console
Pair your display with the Pickcel console using the registration code. You will have to enter this code on your Pickcel console to complete the pairing of your screen.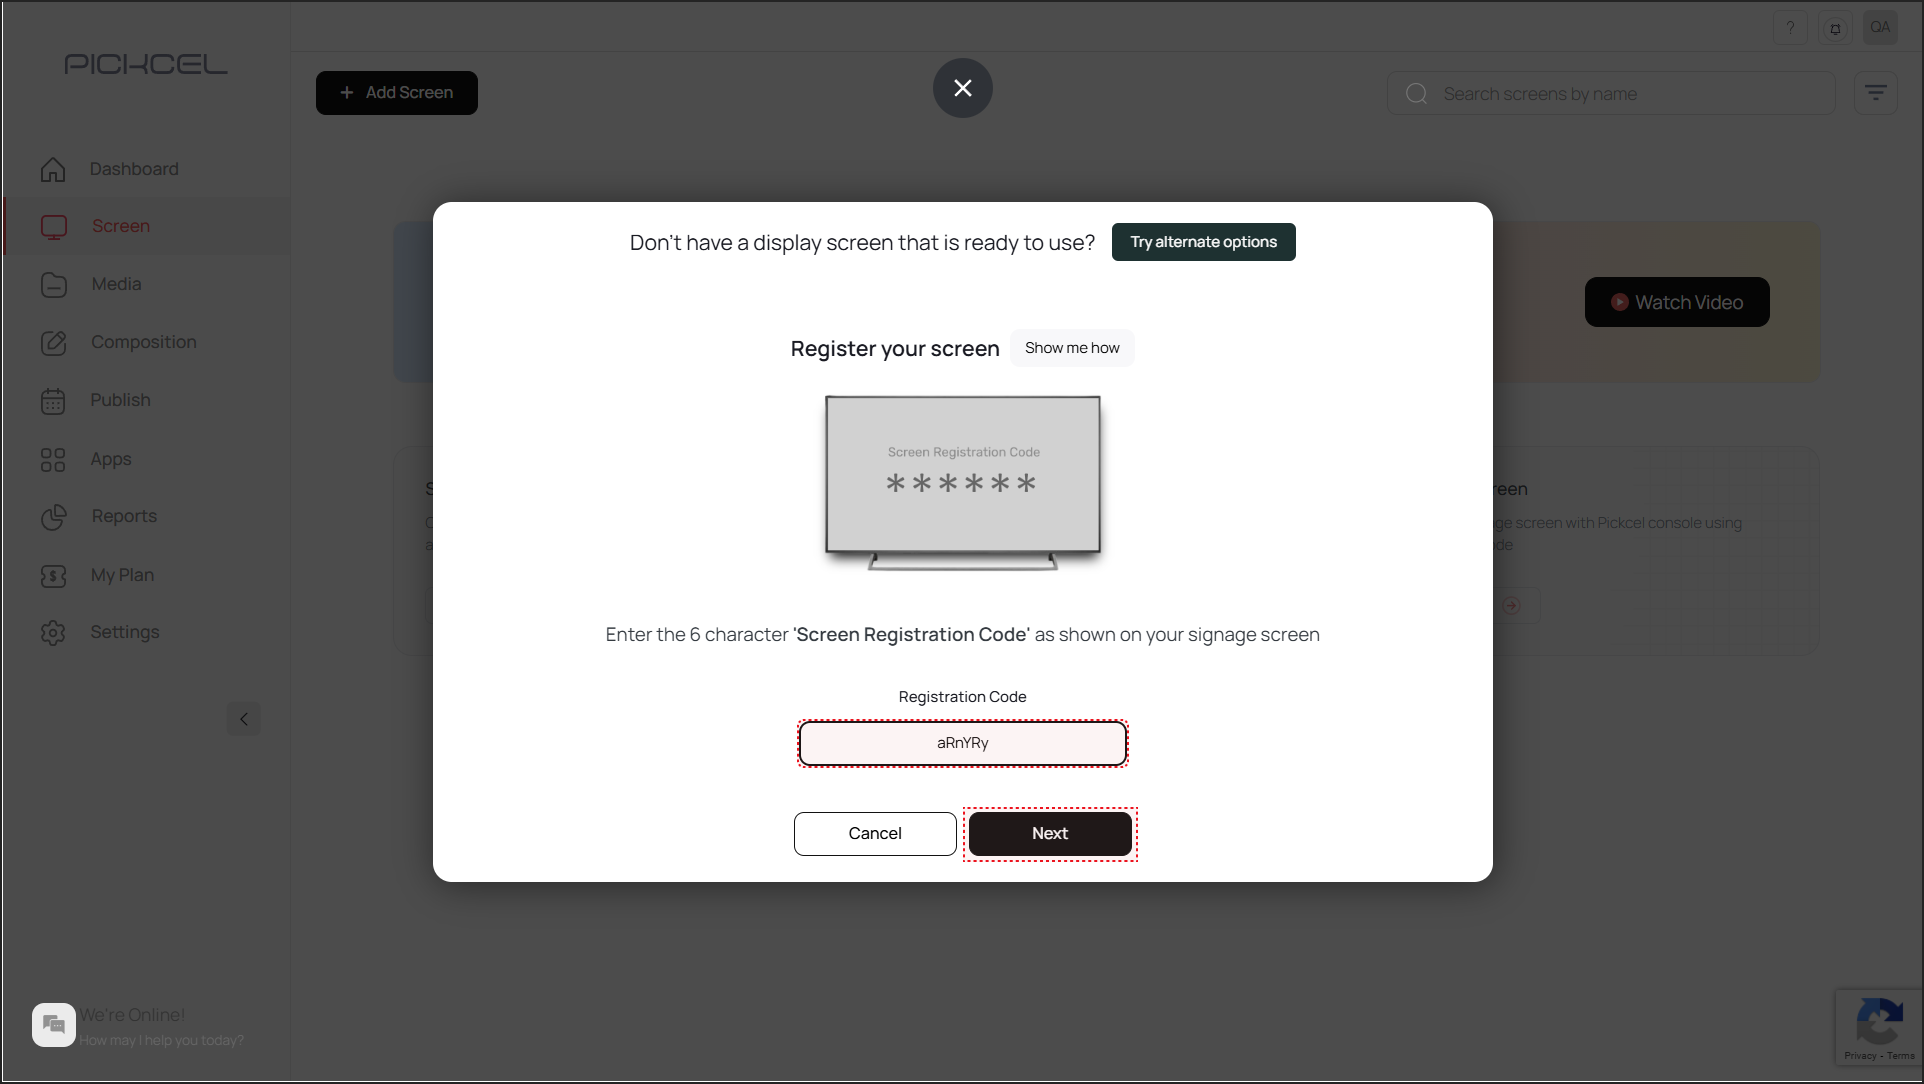
To learn how to pair your device with the Pickcel console, see the Screen Registration guide.
Enable Startup Options
Right-click the screen and enable Startup and boot so the Pickcel app launches automatically every time the system restarts, useful if the player reboots after a power cut. Restart the system to confirm. After the boot, the Pickcel app should launch automatically and start playing the content.
To minimize the Pickcel app, press Windows + M or Windows + D. To close the Pickcel app, use the exit option from the app by right-clicking:
What’s Next?Now that your Windows player is installed, complete your setup:
- Start Uploading Media to your library
- Create your first Composition and publish content