

Prerequisites
- A Pickcel account with access to the Content module
- Item photos uploaded to the Media library, if you want photos next to your items
1
Open Apps and search for Digital Menu Board
In the Pickcel console, expand Content in the left menu and select Apps. Search for Digital Menu Board using the search field.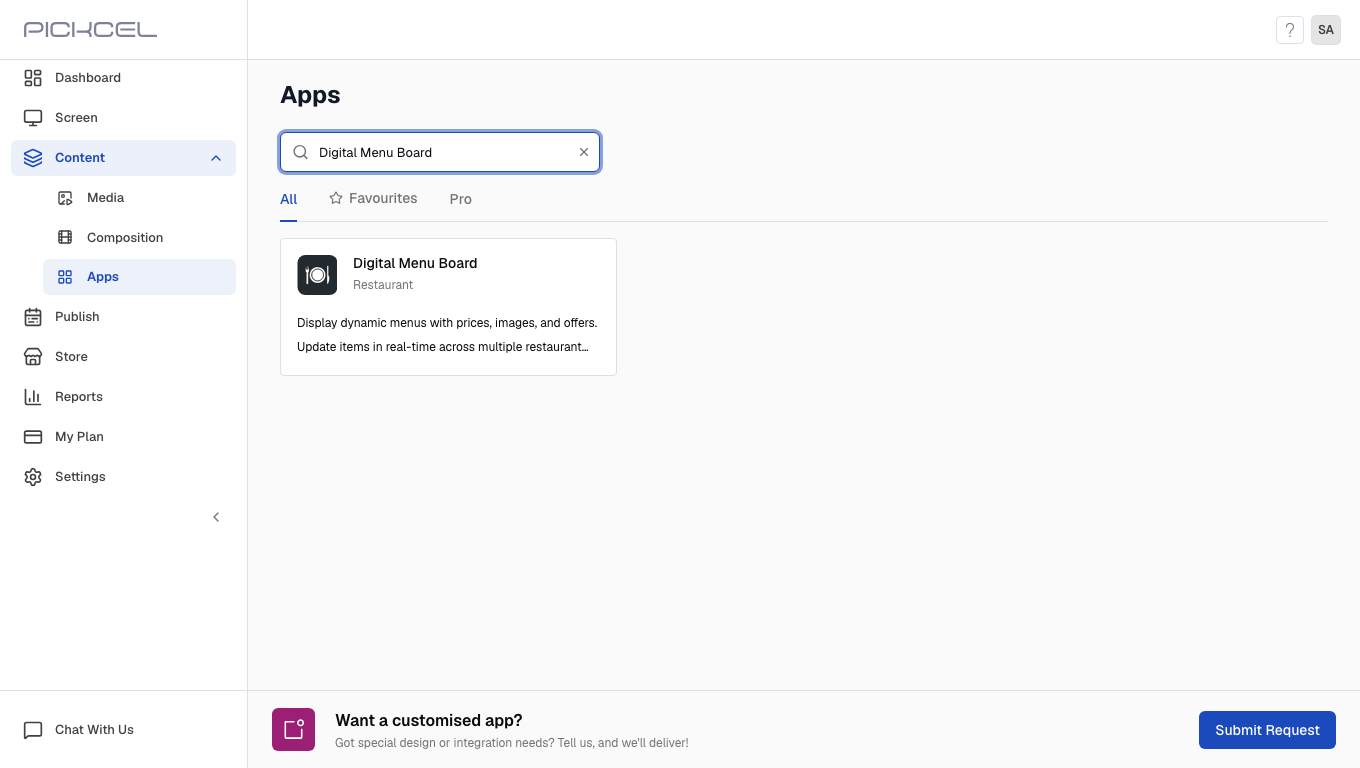
2
Create the app
Click the Digital Menu Board card. A details panel opens with a preview of the app. Click Create App. The app editor opens in a new browser tab.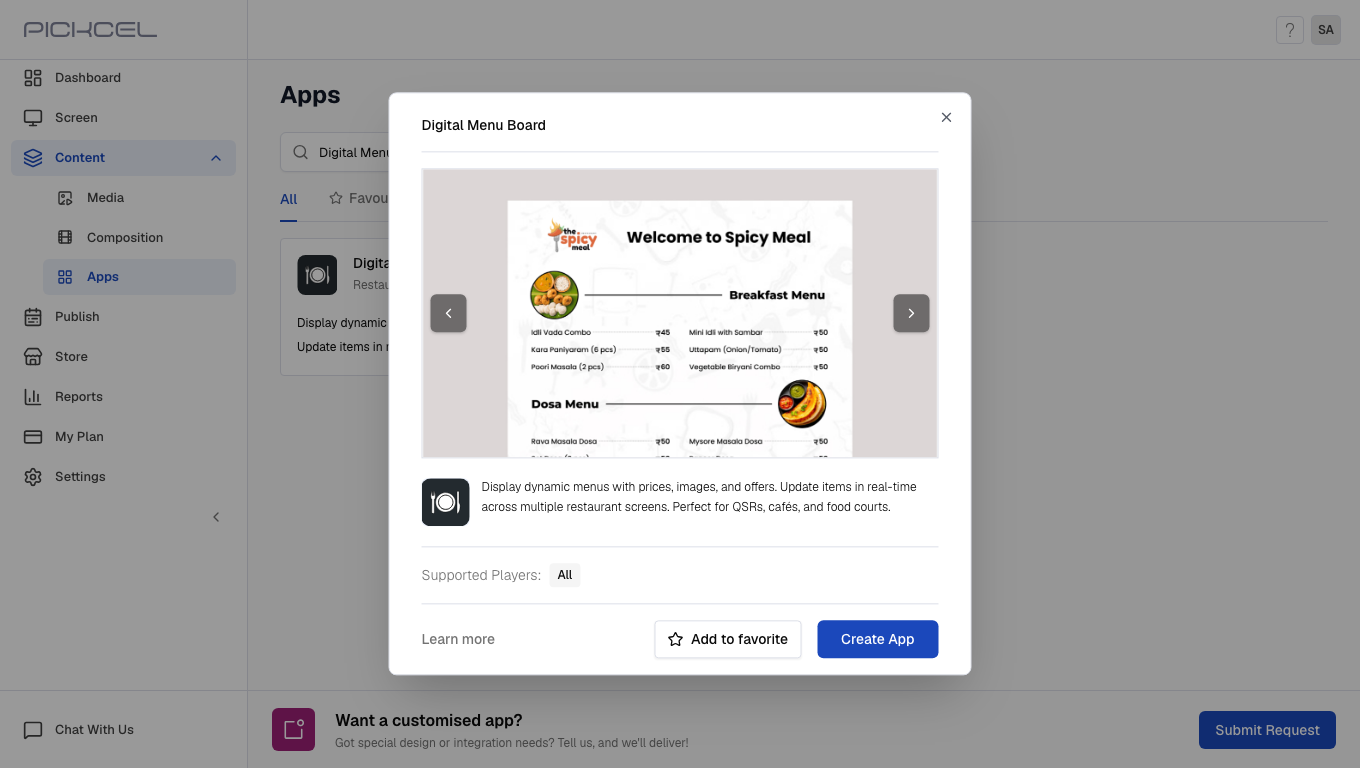
3
Select a template
The editor opens on Select a Template with a gallery of pre-built layouts for different cuisines and screen orientations. Hover a template and click Edit to use it. We picked Daily Bites, a portrait breakfast layout with sample categories and prices already filled in.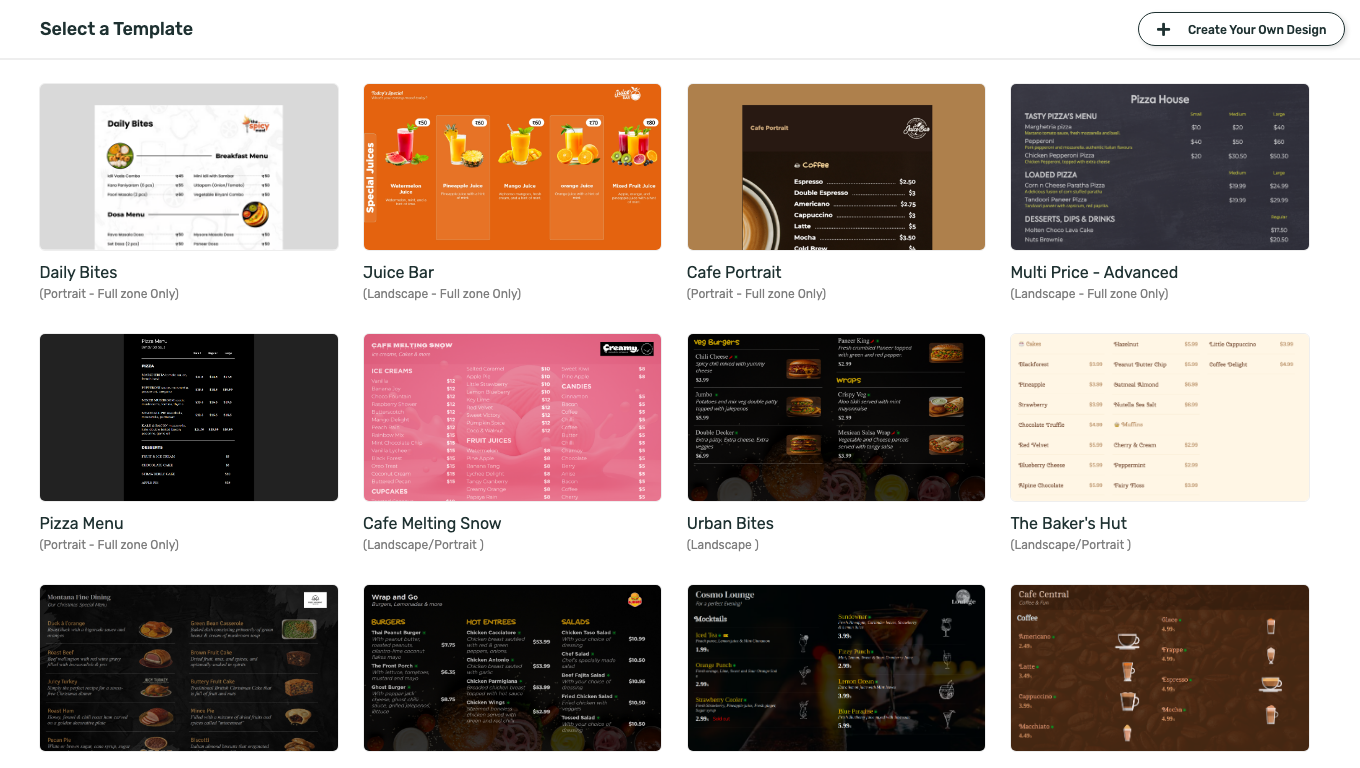
4
Edit the menu title and categories
Every template loads with sample content so you can see how it looks. Replace the Menu Title and Menu Subtitle in the top-left with your own; we used Sunrise Cafe and All-Day Breakfast. Click a category name in the left rail to rename it, or use Add category and the trash icon to add or remove sections.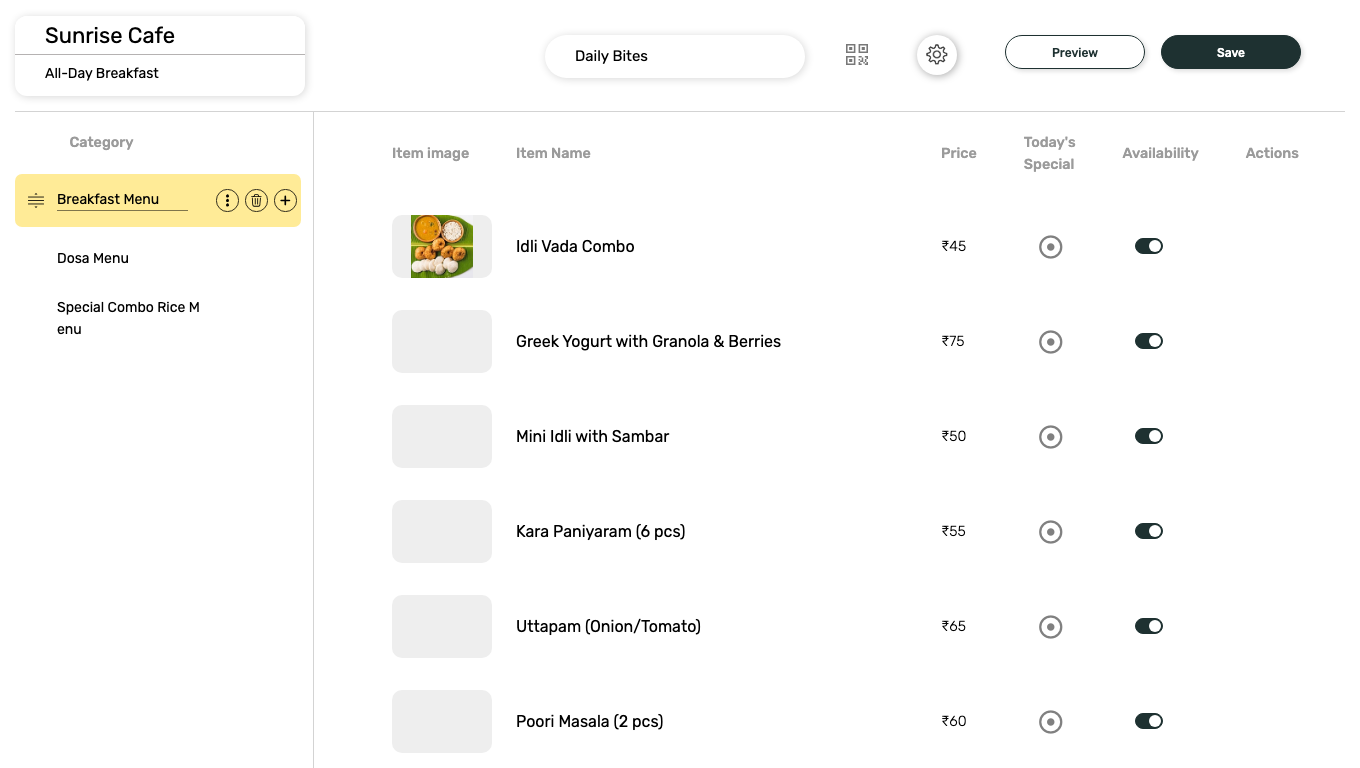
The pill in the top-center (Daily Bites in the screenshot below) is the App Instance Name, separate from the on-screen Menu Title. It’s how this app is identified later in Media, so rename it too if you want something more recognizable than the template’s default name.
5
Assign item photos
Hover an item’s image cell and click the folder icon to open the media picker. Search or scroll to find a photo from your Media library, select it, and click Assign.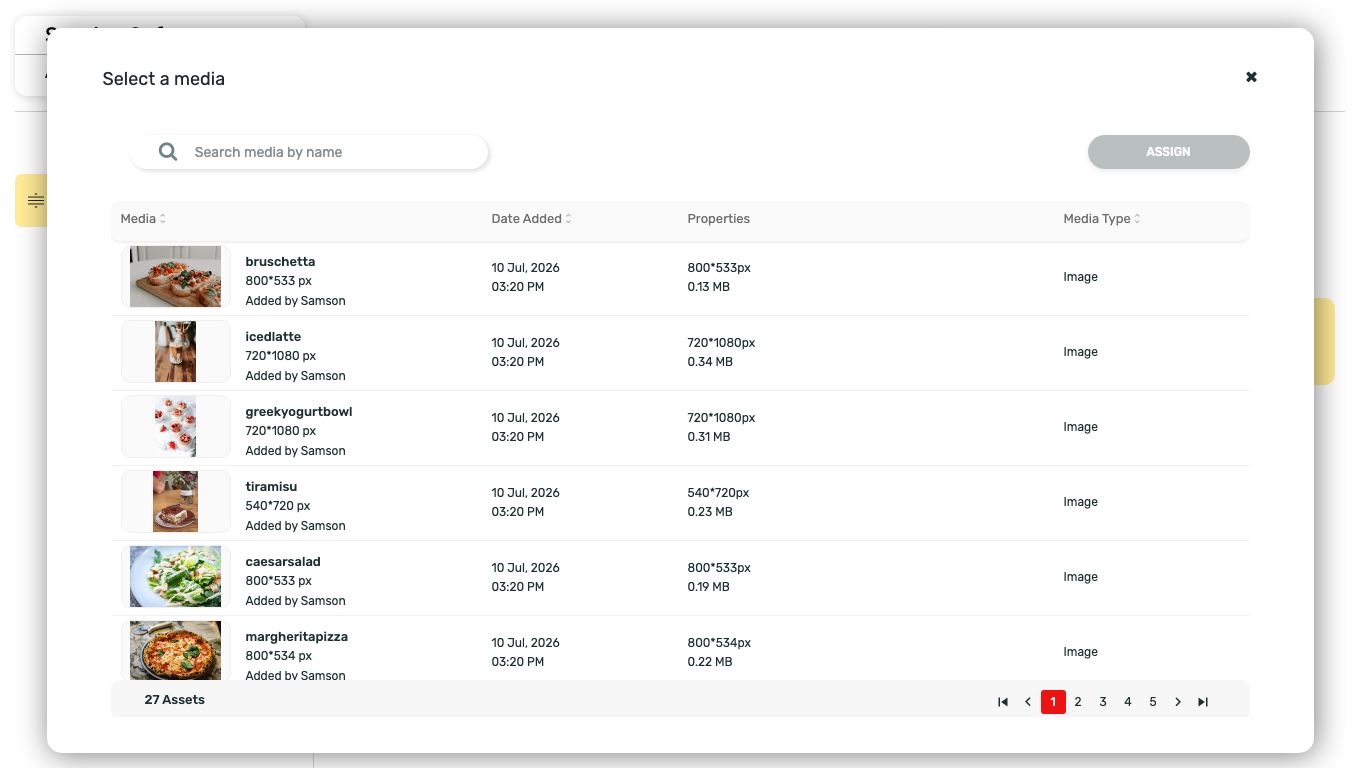
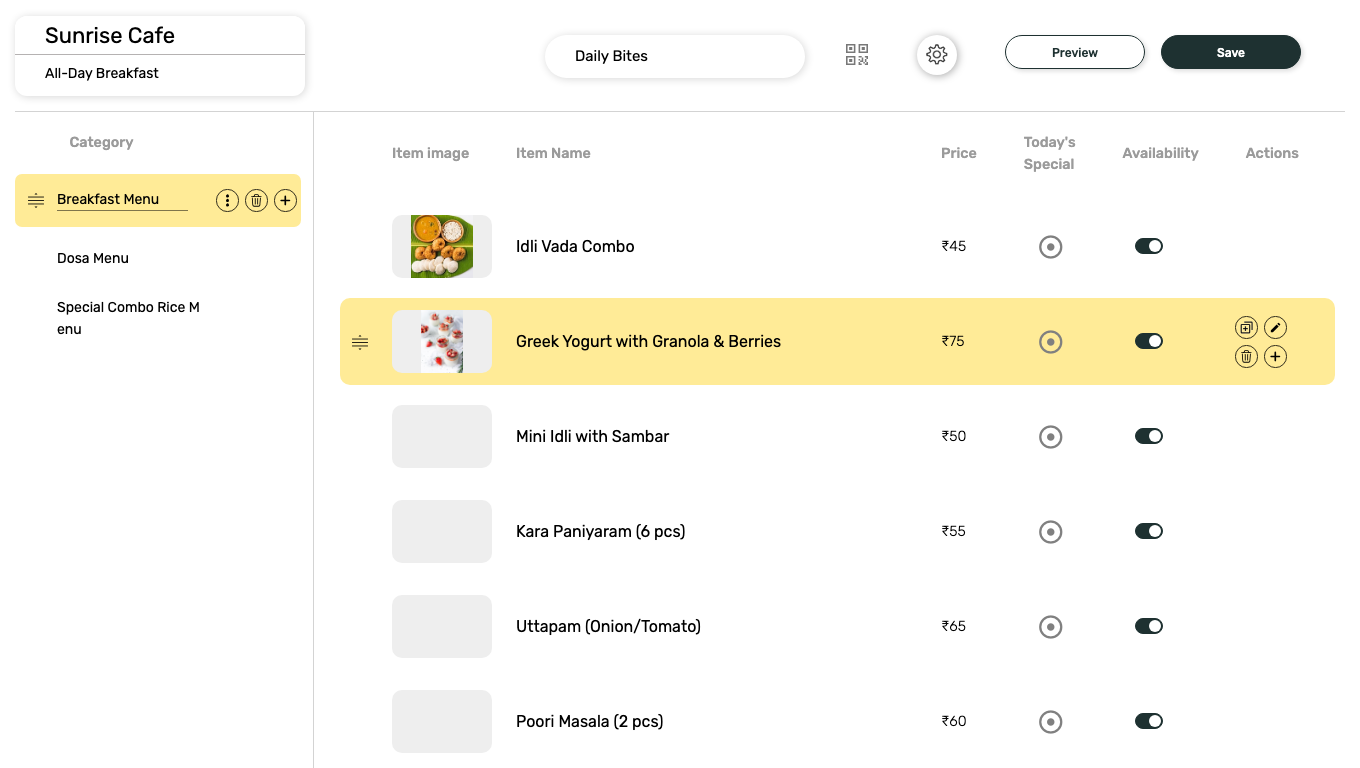 Hover any item row for its Actions icons: copy, edit, delete, and add another item below it.
Only images already uploaded to Media appear here; there’s no direct upload from this dialog. Go to Content > Media first if the photo you want isn’t listed yet.
6
Configure display settings
Click the settings icon next to Preview. Each template ships with its own font and color defaults, all of which you can override: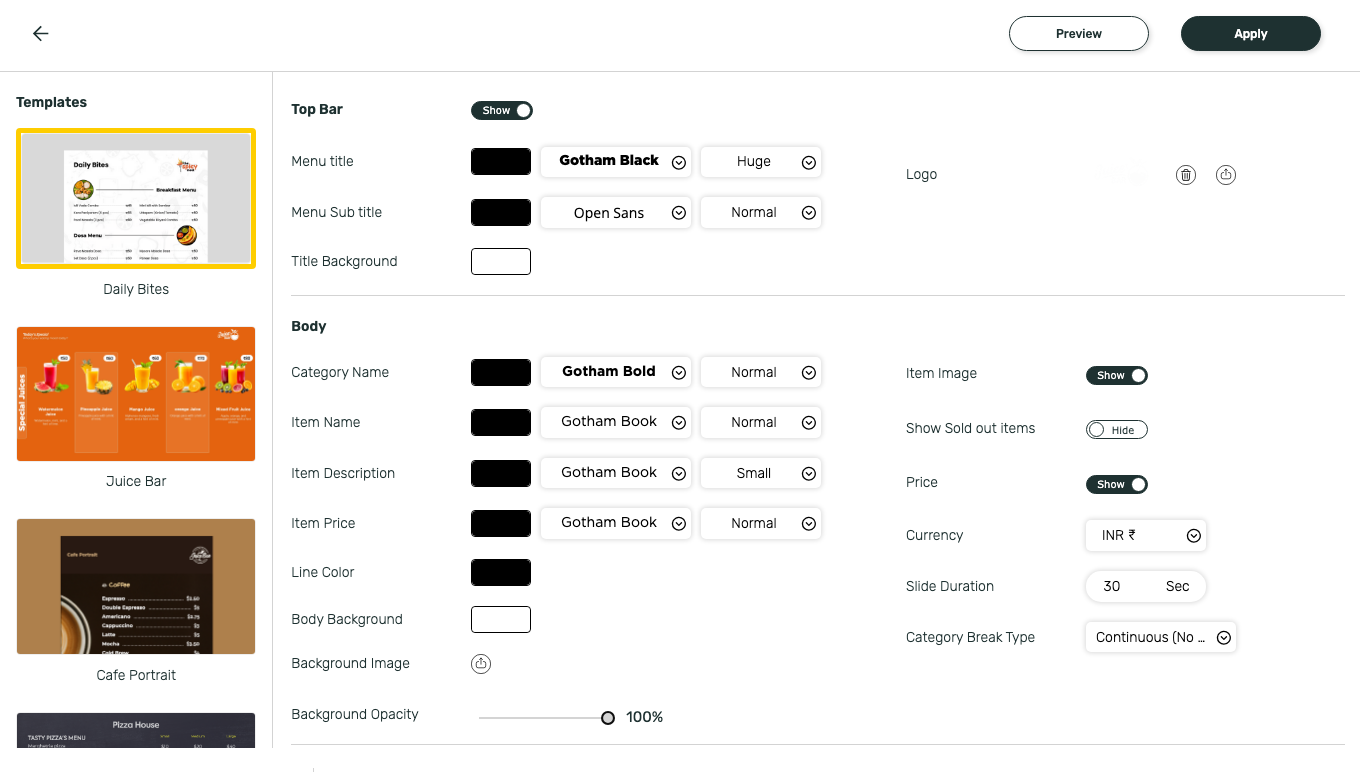
- Top Bar: menu title and subtitle fonts, colors, and background
- Body: fonts and colors for category names, item names, descriptions, and prices
- Item Image, Show Sold out items, and Price toggles, plus Currency, Slide Duration, and Category Break Type
7
Preview the menu
Click Preview to see the board exactly as it will play on screen, including every category rotating through in turn.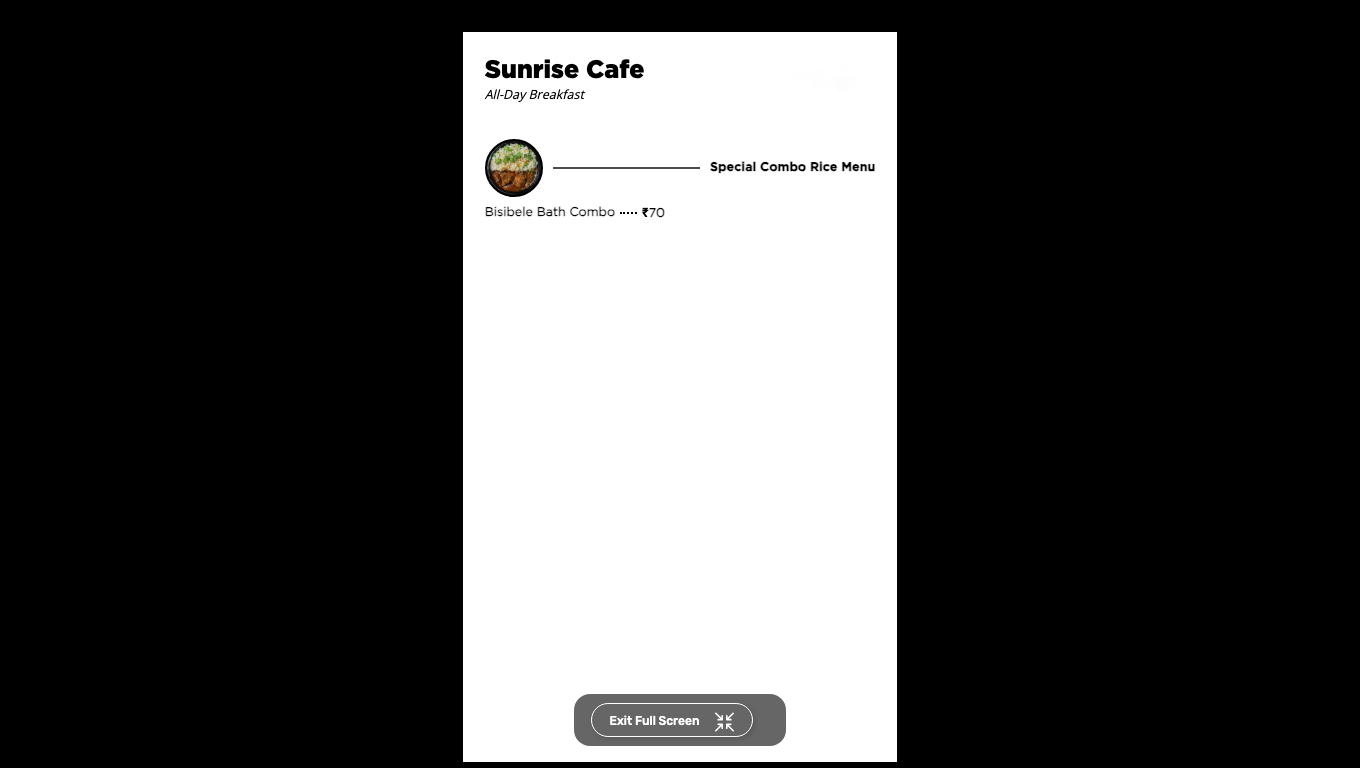
8
Save the app
Click Save, then confirm in the Do you want to Save? dialog.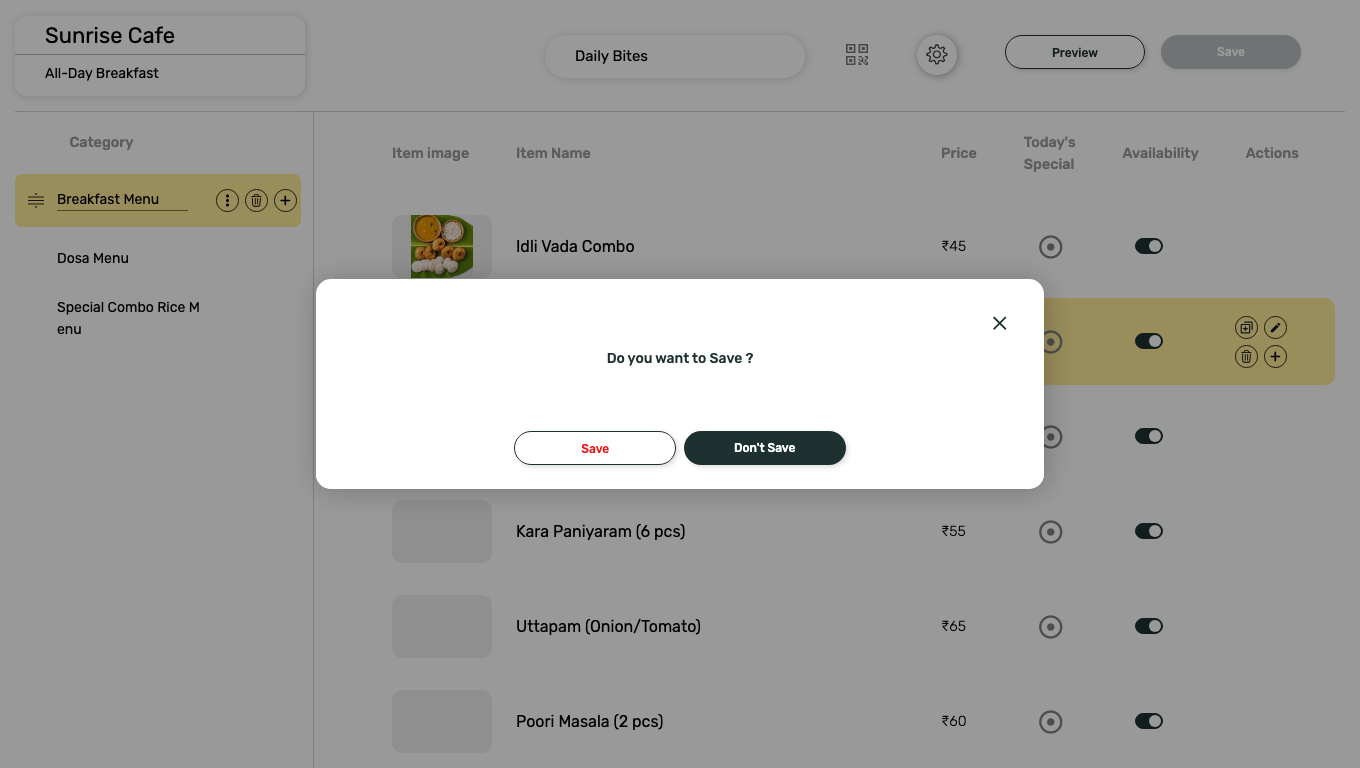 A success dialog confirms the app was created and offers to walk you through adding it to a composition. The app is stored in Content > Media under its App Instance Name, with type App.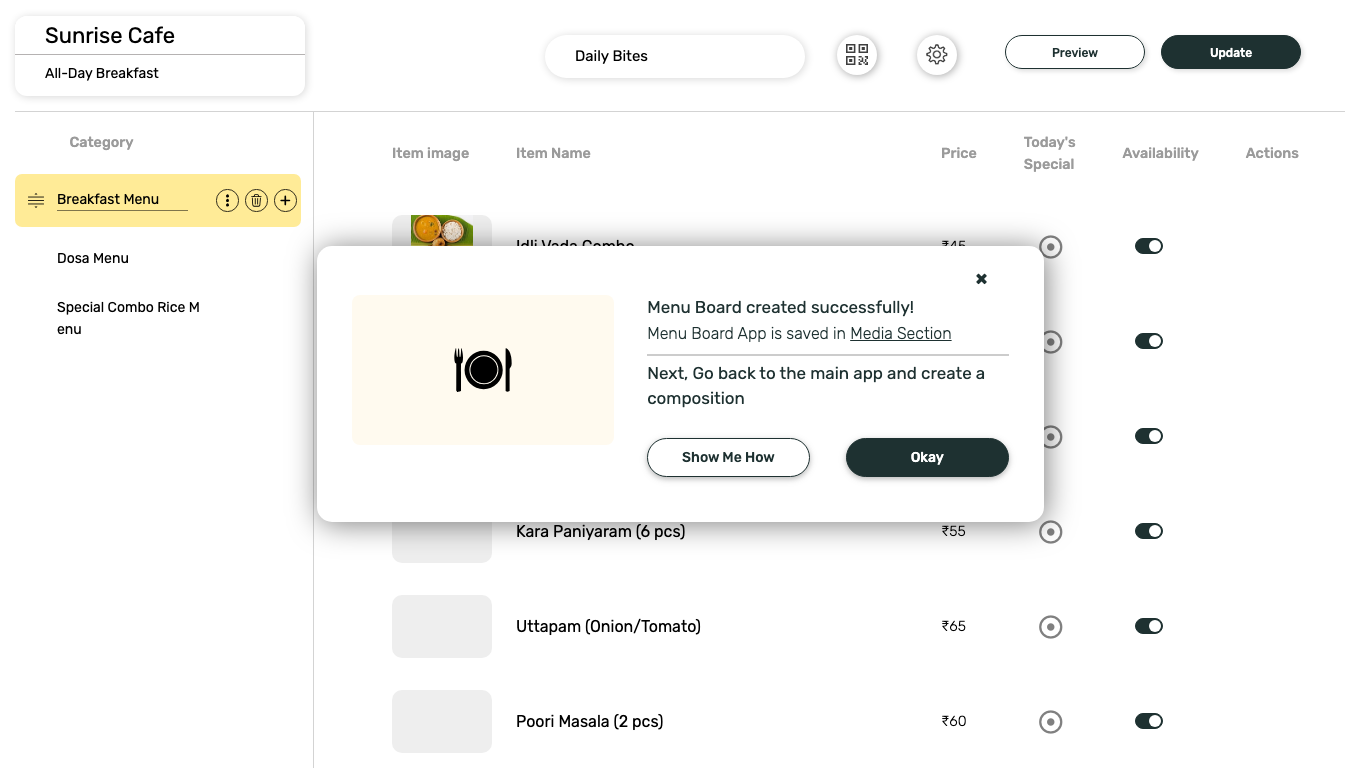
What’s Next?
- Add the menu to a multi-zone layout: Compositions
- Send it to your screens: Publish or Schedule Content