

Prerequisites
- A Pickcel account with access to the Content module
- The category and item names, descriptions, and prices you want to display (you can also import items from Square, covered below)
1
Open Apps and search for Digital Menu Board
In the Pickcel console, expand Content in the left menu and select Apps. Search for Digital Menu Board using the search field.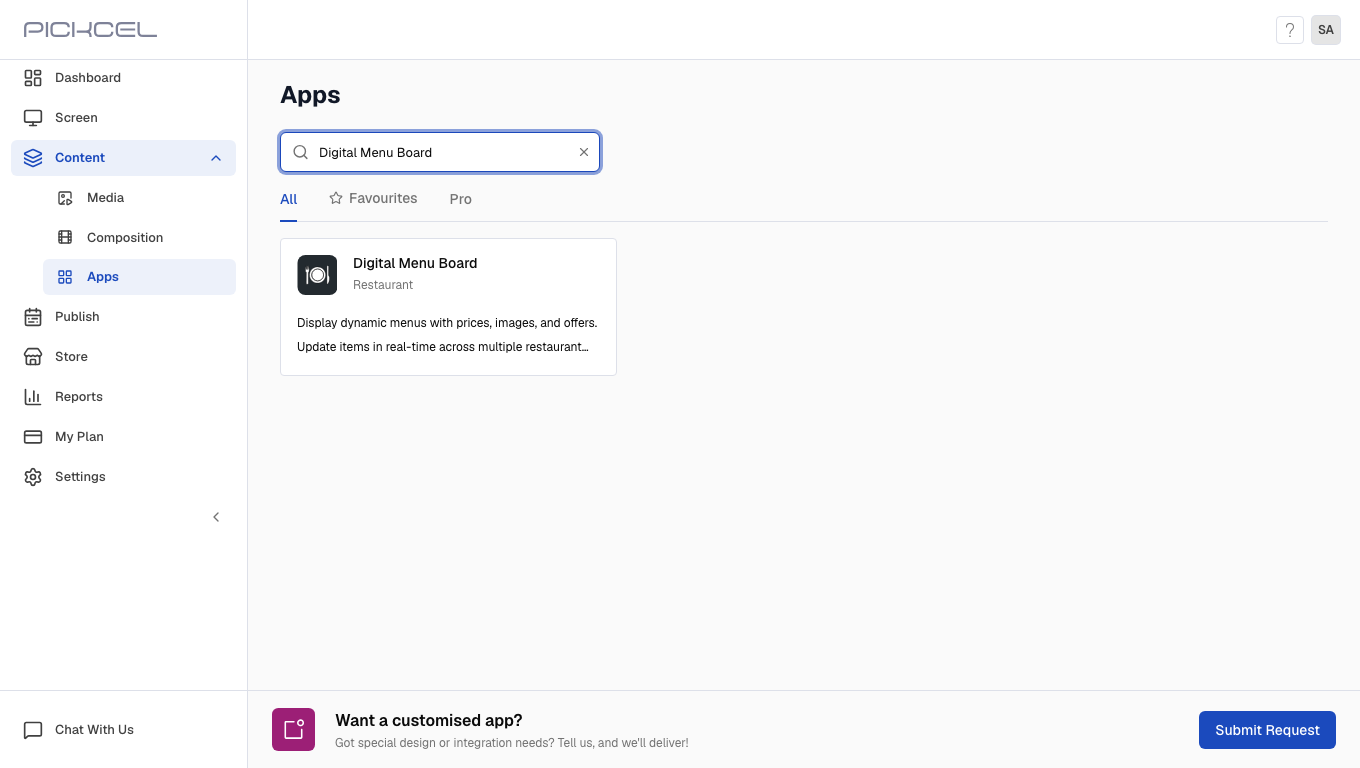
2
Create the app
Click the Digital Menu Board card. A details panel opens with a preview of the app. Click Create App. The app editor opens in a new browser tab.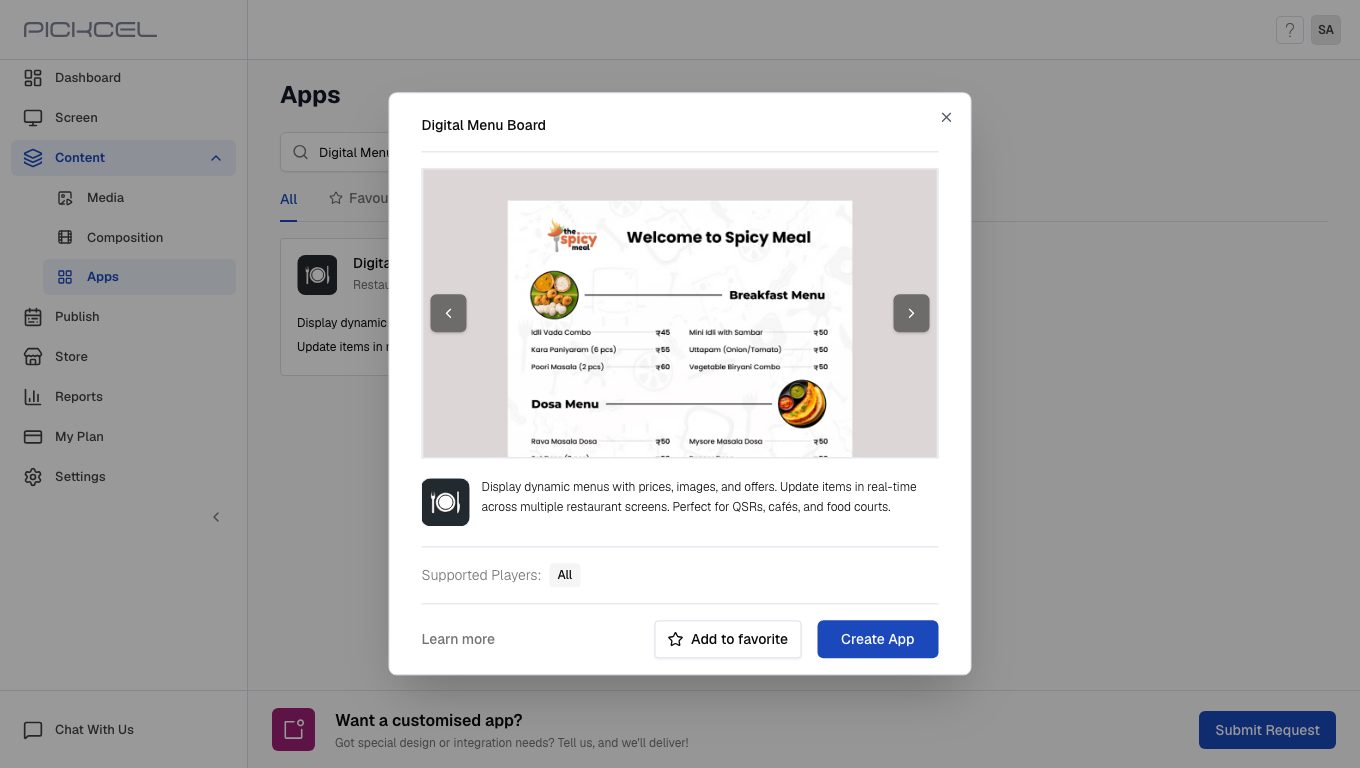
3
Choose Create Your Own Design
The editor opens on Select a Template with a gallery of pre-built layouts. Click Create Your Own Design in the top-right corner to start from a blank menu instead of picking a template.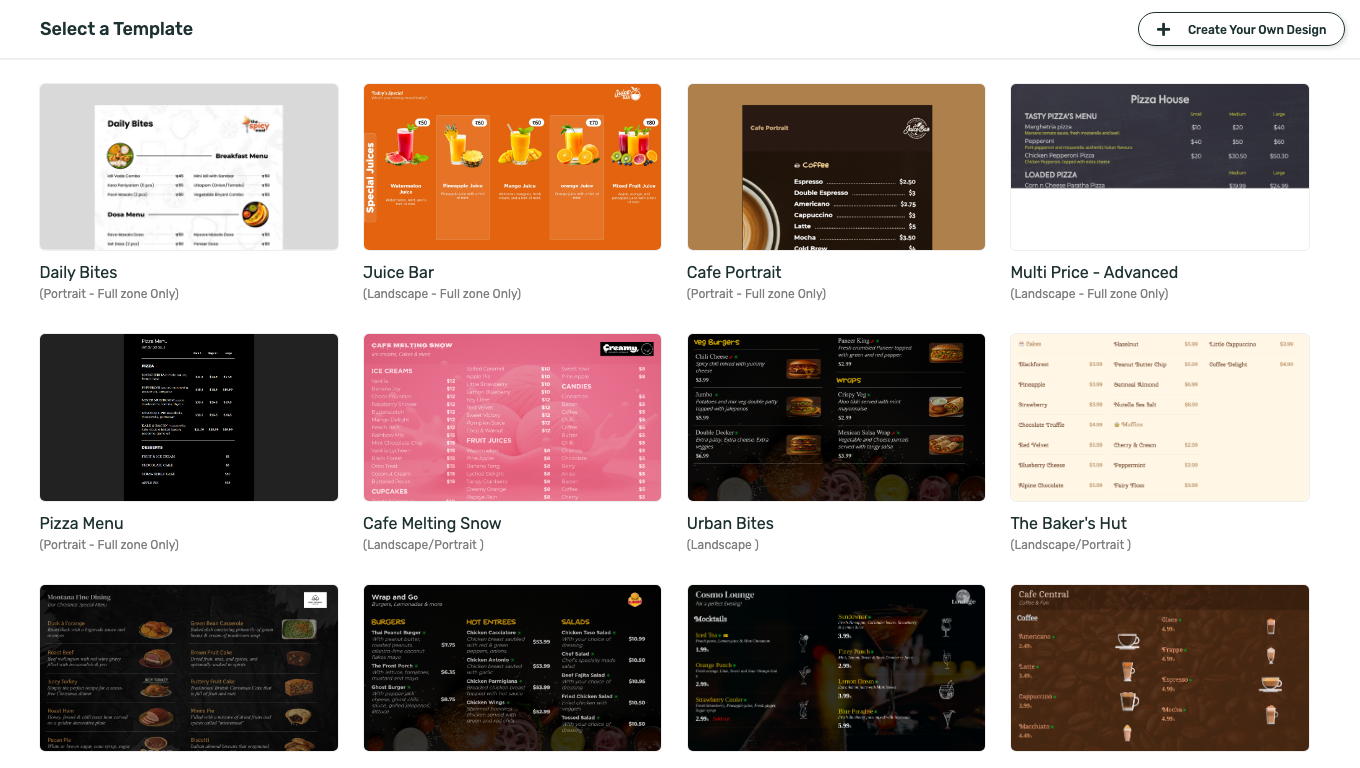
4
Name your menu
Enter a Menu Title and Menu Subtitle; these display at the top of the screen. Enter an App Instance Name too, this is how you’ll identify the app later in Media. We used Riverside Bistro, Lunch & Dinner Menu, and Riverside Bistro Custom Menu.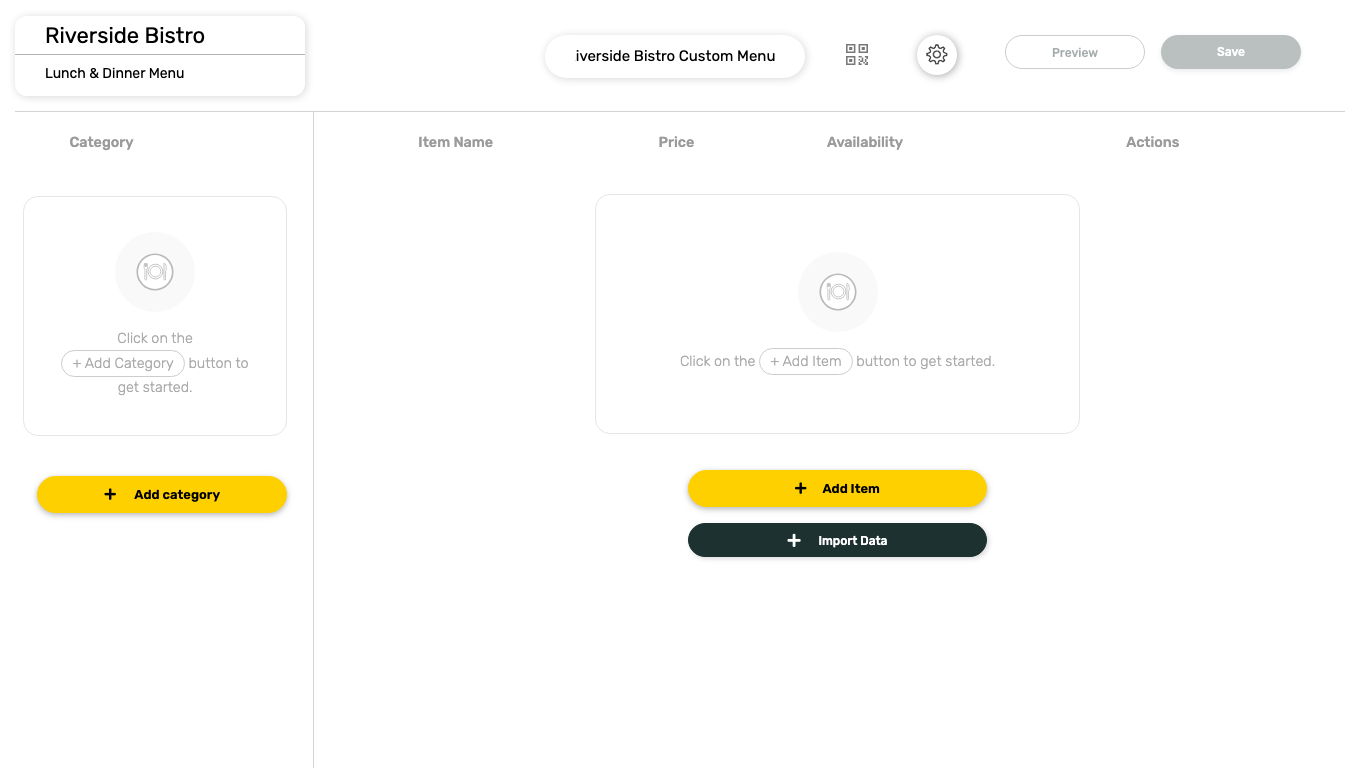
5
Add categories
Click Add category, then click the new row and type a category name. Press Enter to confirm. Repeat for every section of your menu. We added Appetizers and Entrees.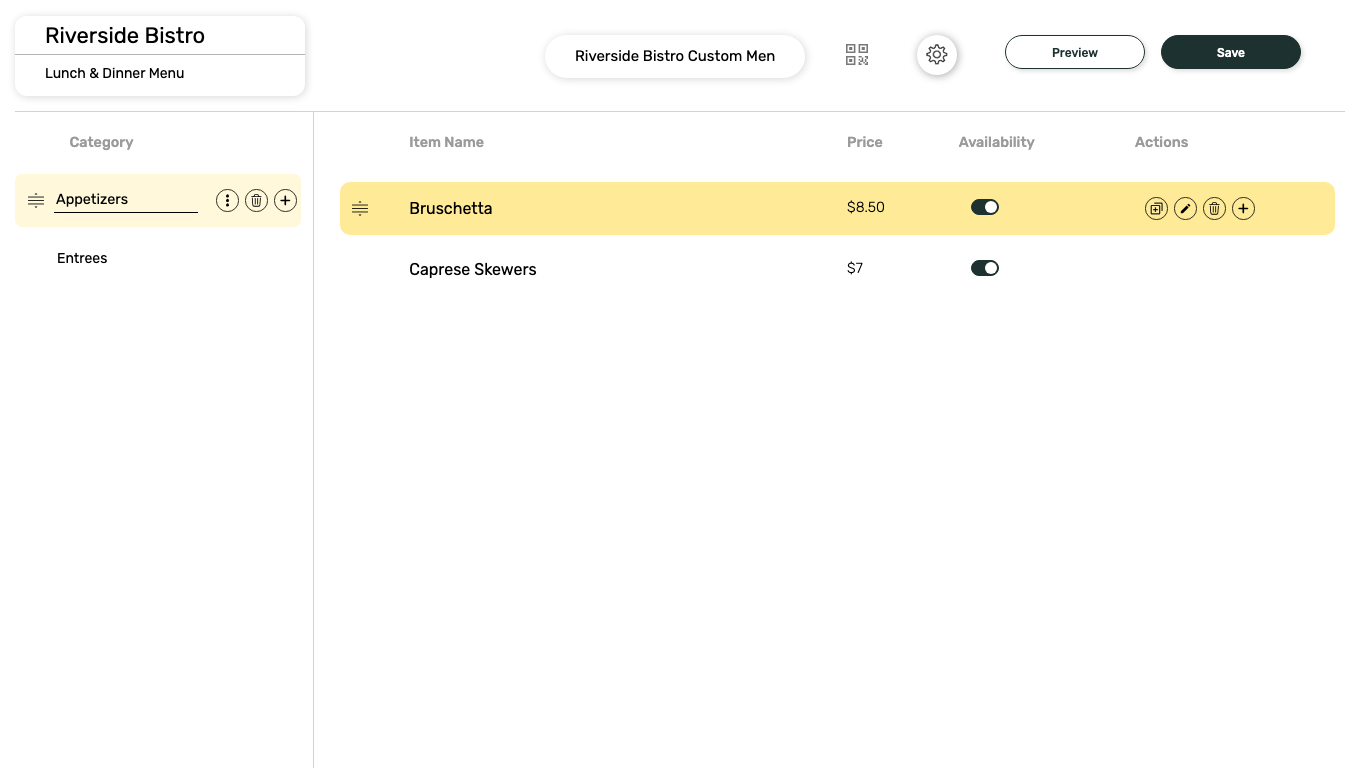
6
Add items to each category
Select a category, then click Add Item. Enter the item’s Name and Price, then click Add.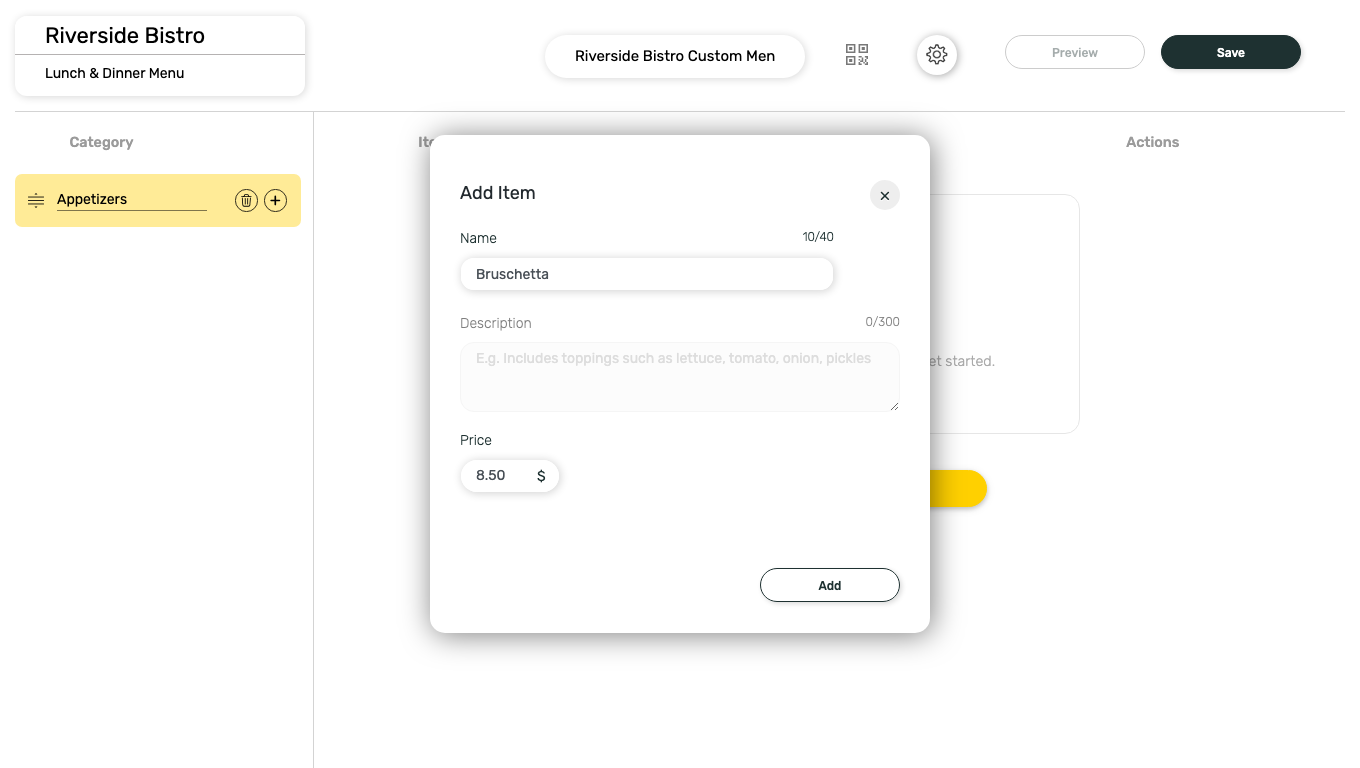 Once an item exists, hover its row for the Actions icons: copy, edit, delete, and add another item. Use Import Data above the item list to pull items from a connected Square account instead of entering them by hand.
Description is disabled for custom-built menus (it only applies to a few gallery templates), so the item card shows just the name and price. Repeat for every item; use the row’s + icon to add the next item without reopening the category list.
7
Configure display settings
Click the settings icon next to Preview. The panel controls every visual element of the board: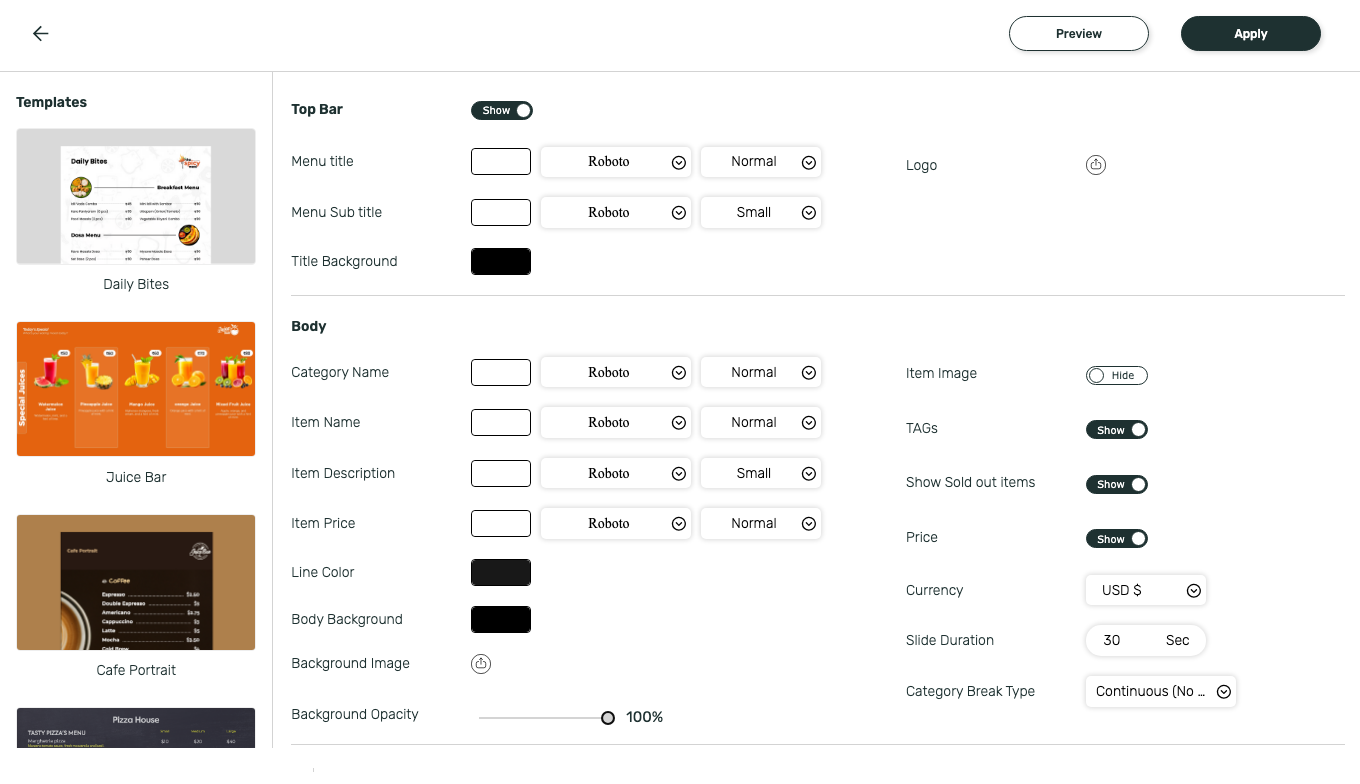
- Top Bar: show or hide it, and set the menu title, subtitle, background, and logo
- Body: fonts and colors for category names, item names, descriptions, and prices; body background color, image, and opacity
- Item Image, Tags, Show Sold out items, and Price toggles, plus Currency and Slide Duration
- Category Break Type: whether categories scroll continuously or break to a new screen
8
Preview the menu
Click Preview to see the board exactly as it will play on screen, including both categories rotating in.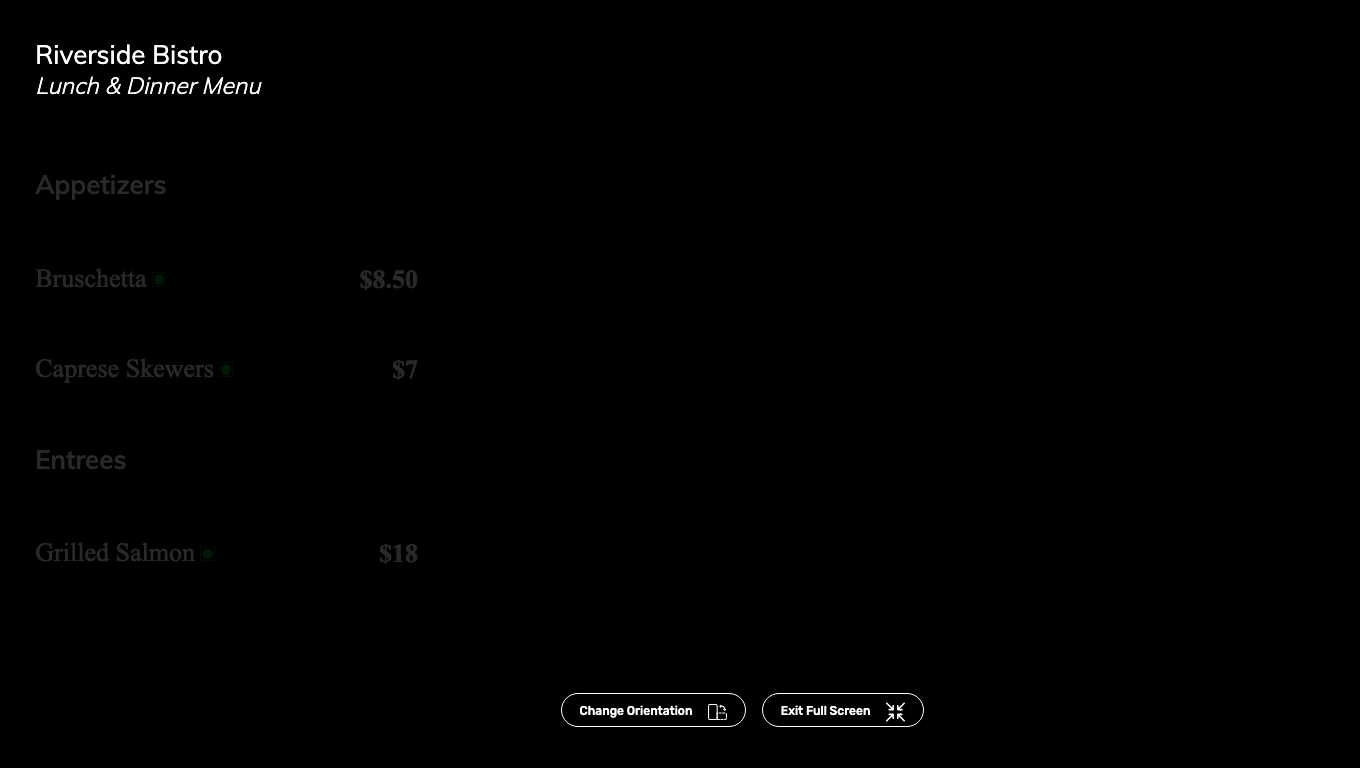
9
Save the app
Click Save, then confirm in the Do you want to Save? dialog.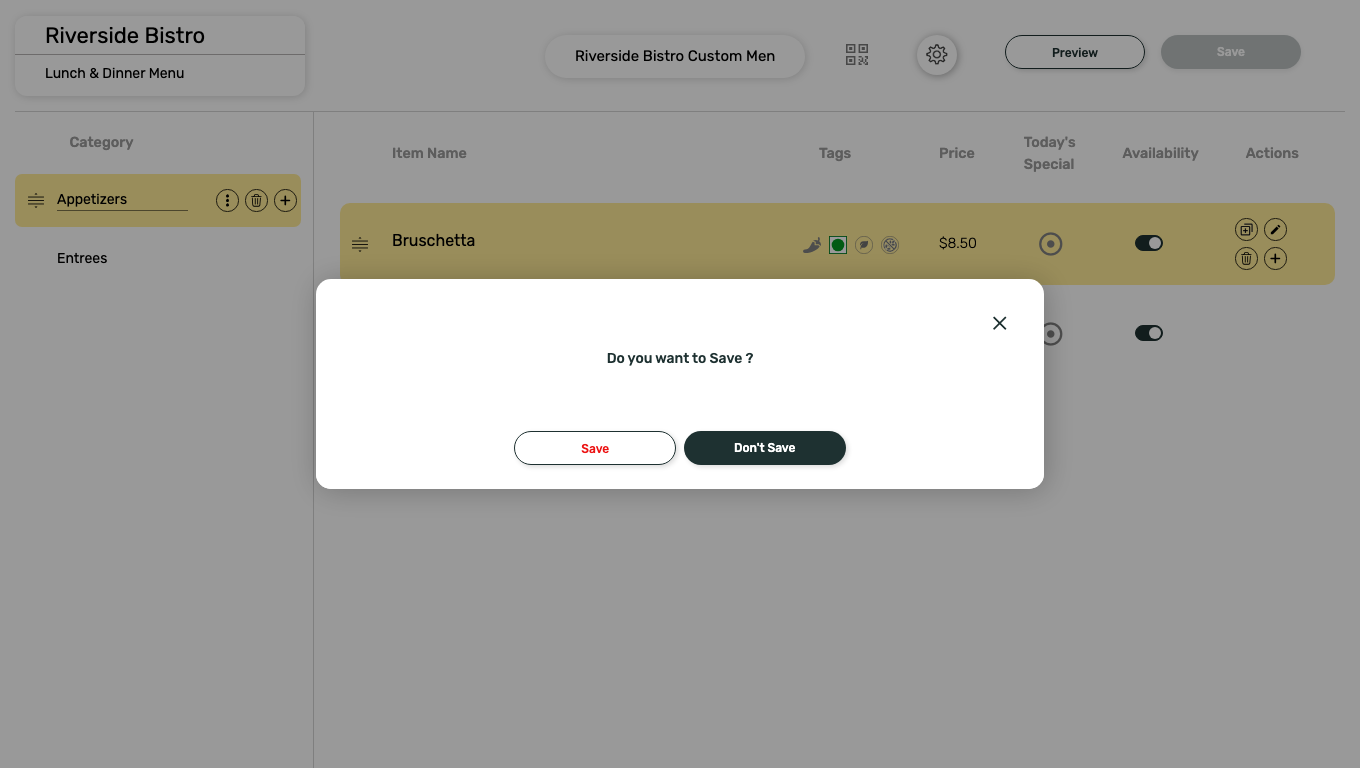 A success dialog confirms the app was created and offers to walk you through adding it to a composition.
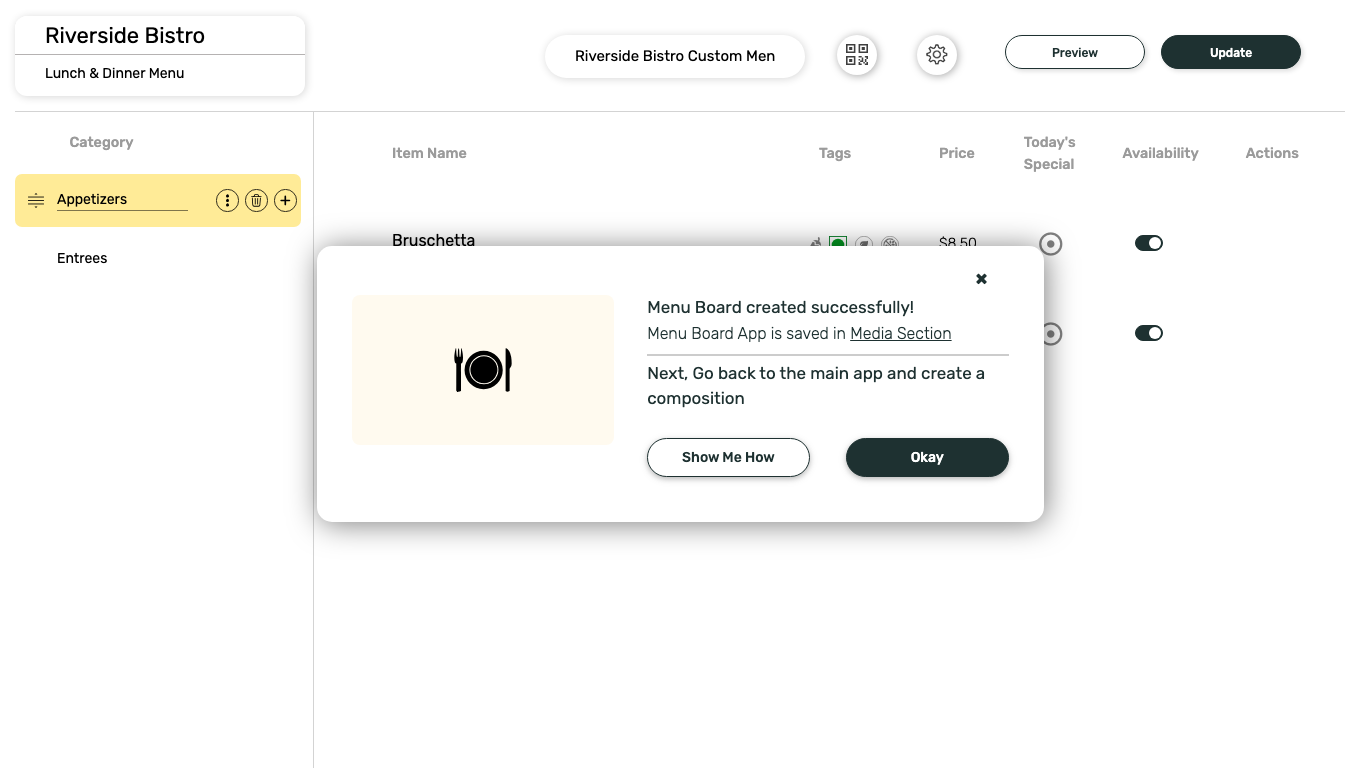 The app is stored in Content > Media under the App Instance Name you gave it, with type App.
What’s Next?
- Add the menu to a multi-zone layout: Compositions
- Send it to your screens: Publish or Schedule Content