

You need a paid Zoom account, and live streaming must be enabled in your Zoom account settings. If it isn’t enabled yet, turn on custom live streaming in your Zoom account first.
1
Open Apps and search for Event Stream
Login to your Pickcel account, go to Apps, and search for the Event Stream app using the search field.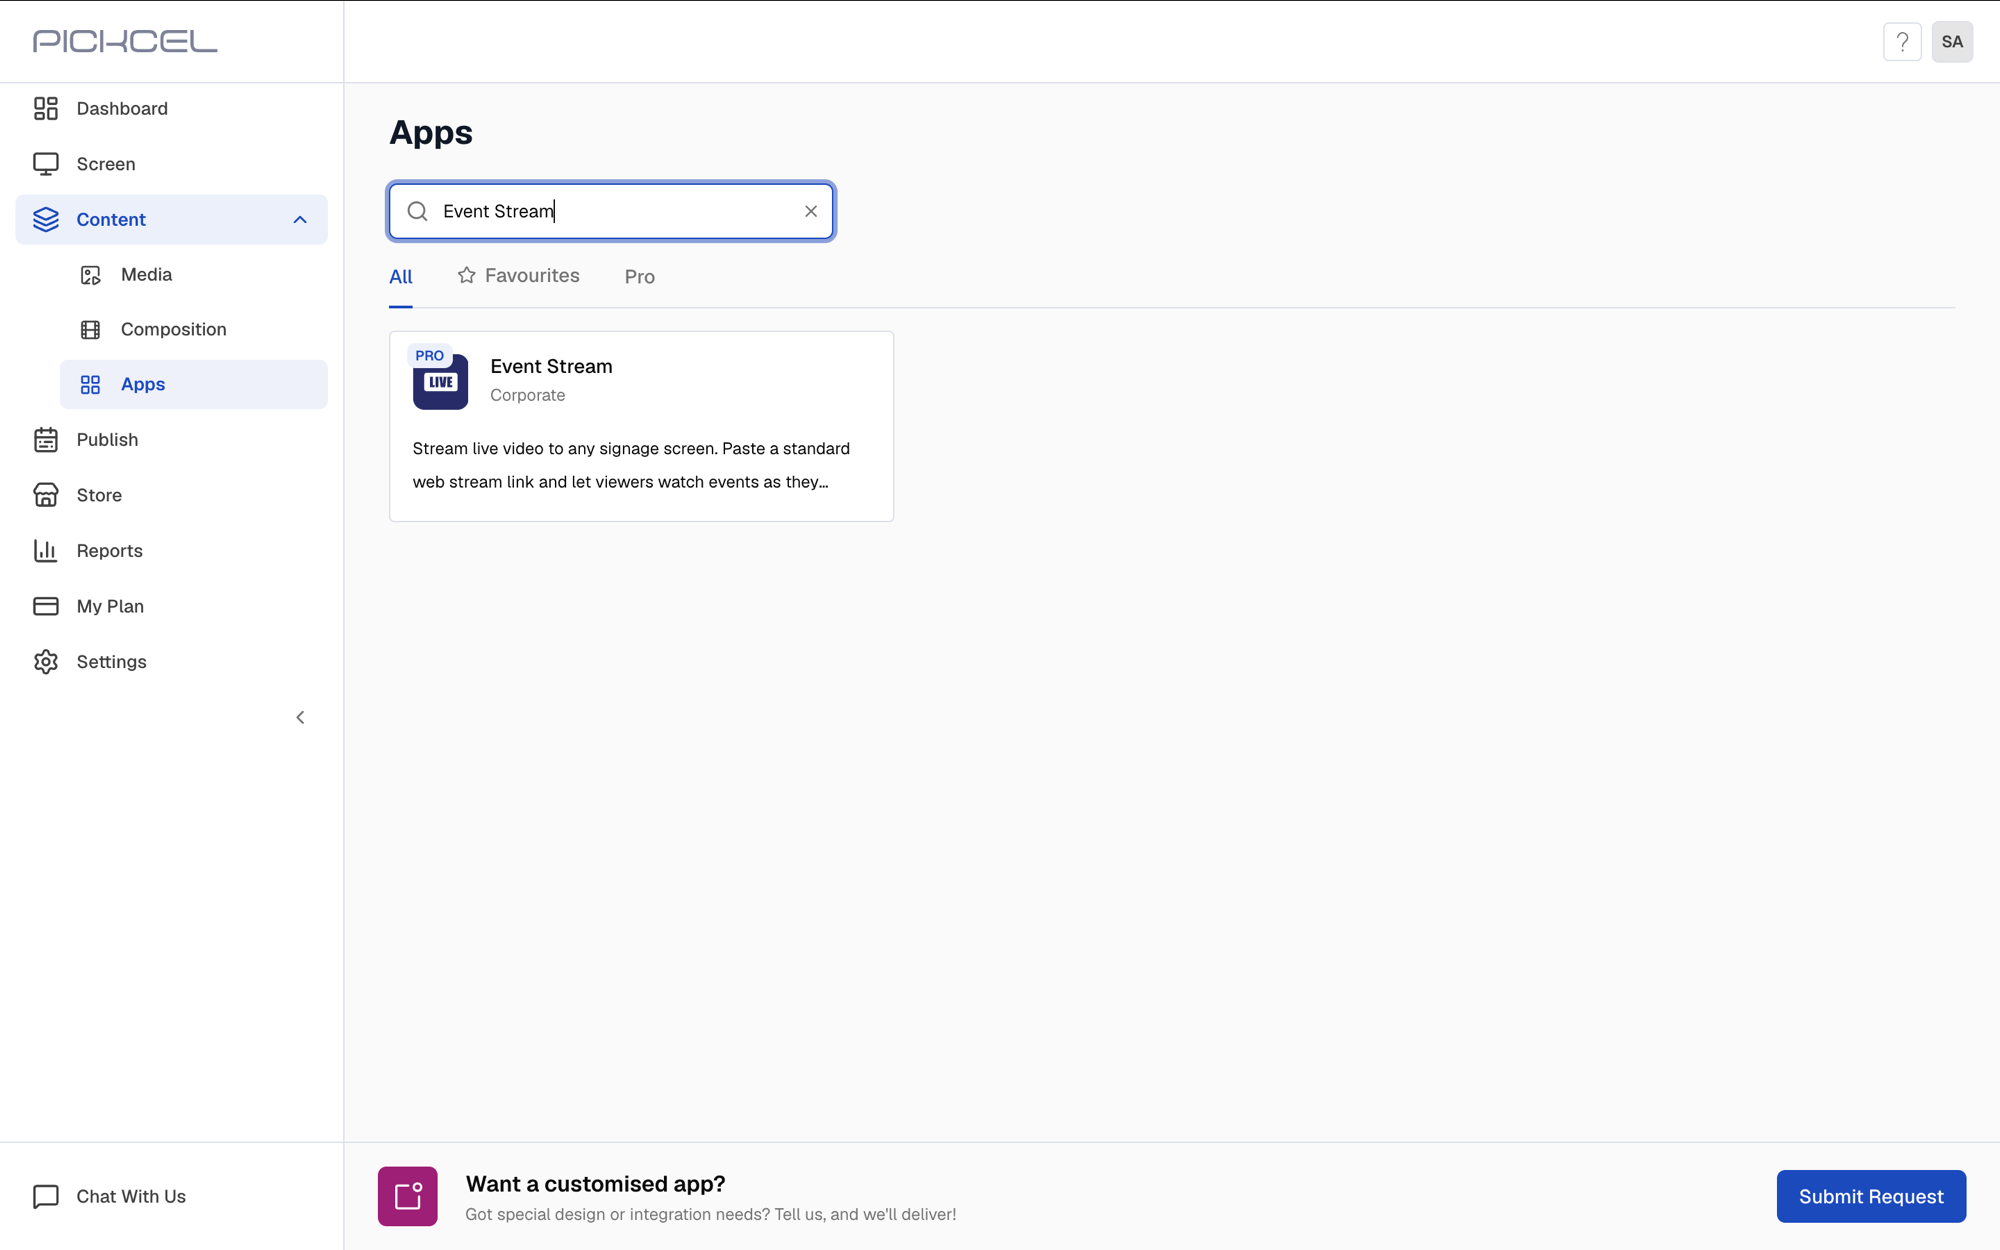
2
Create the app
Click the app thumbnail and click Create App.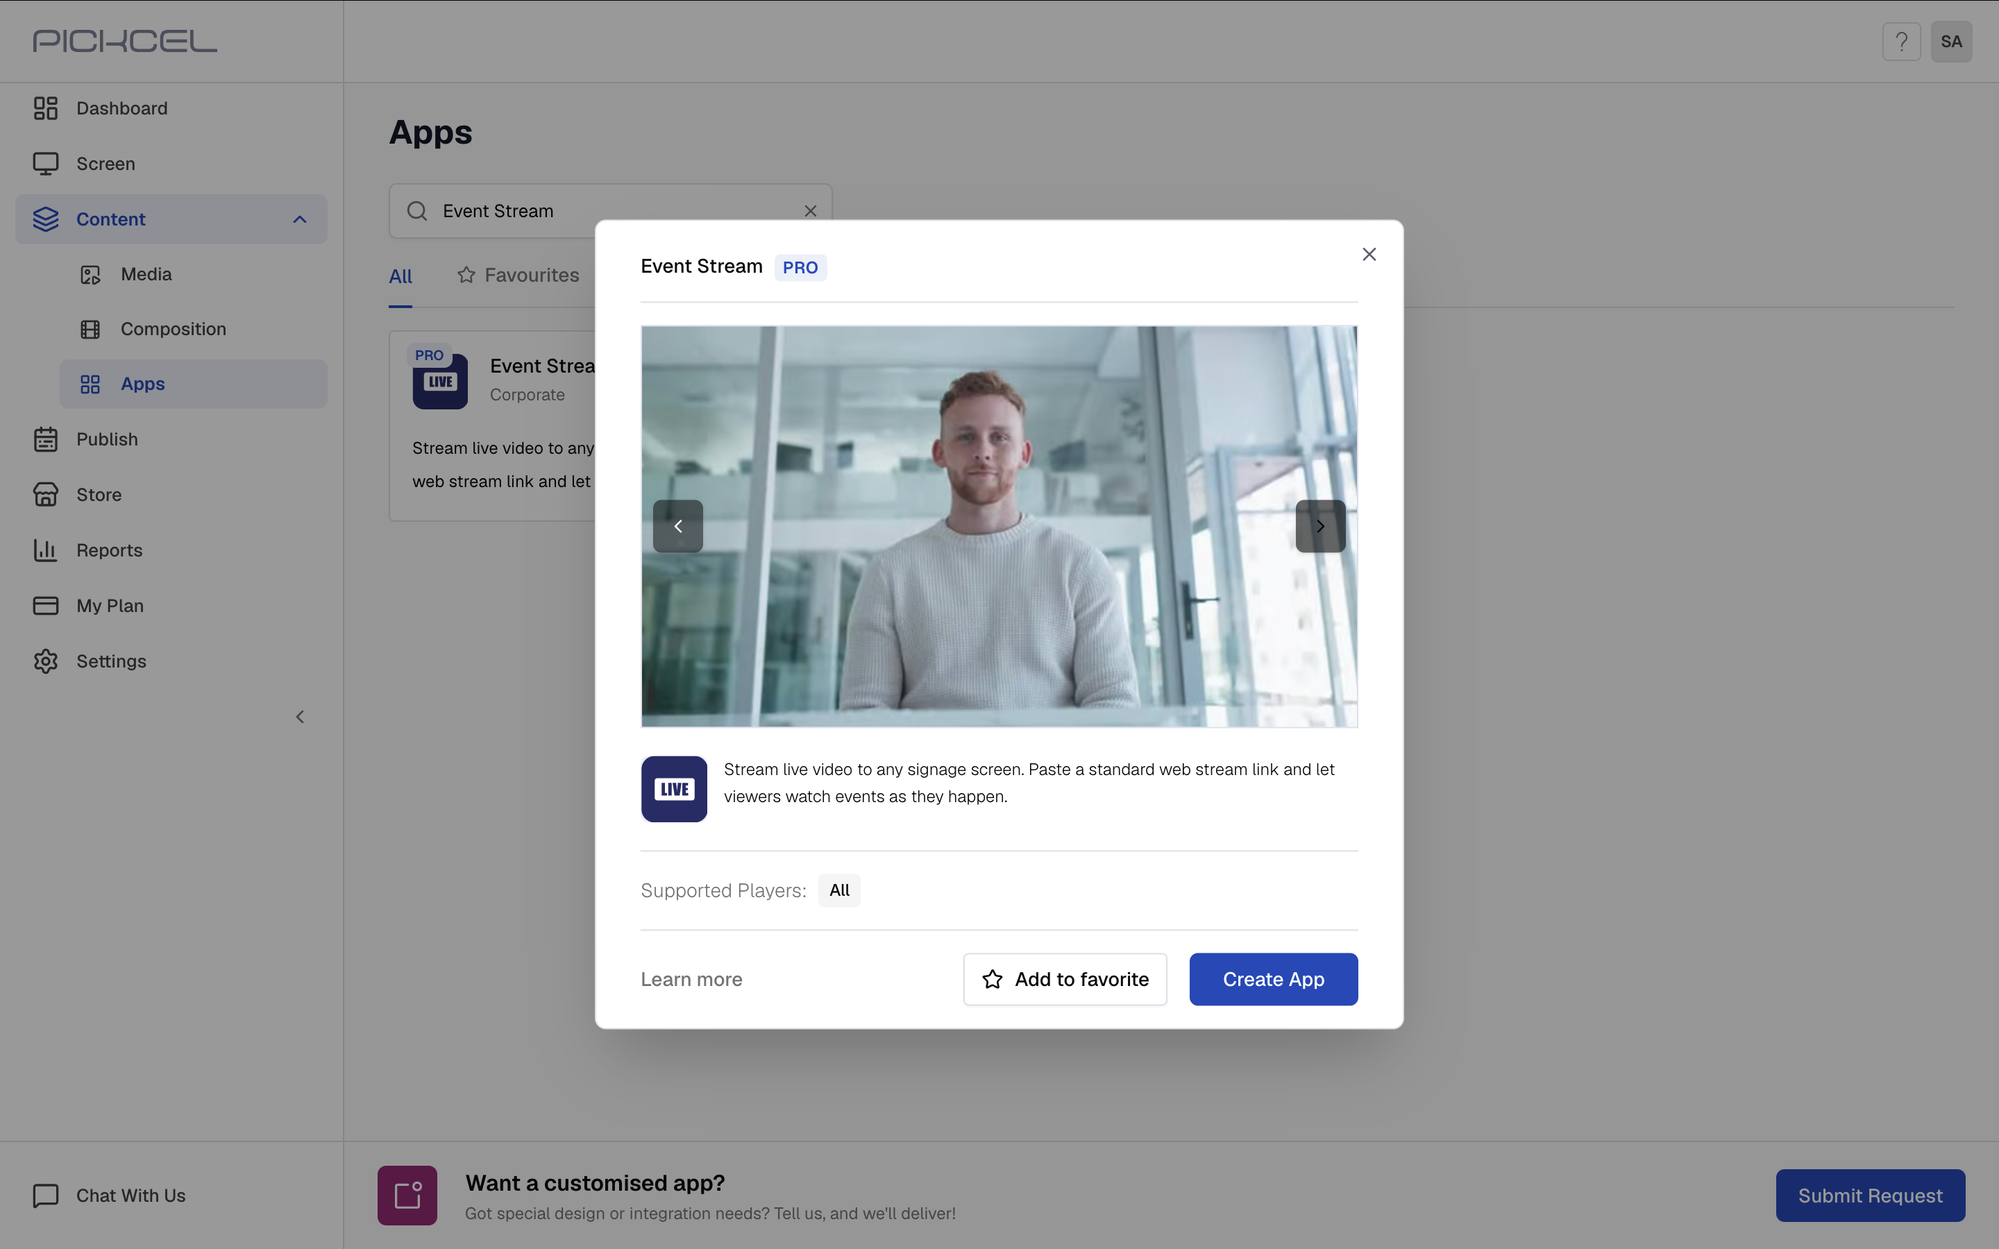
3
Name the app and create a stream channel
Enter a name for the app (no spaces or special characters), then click Create Stream Channel.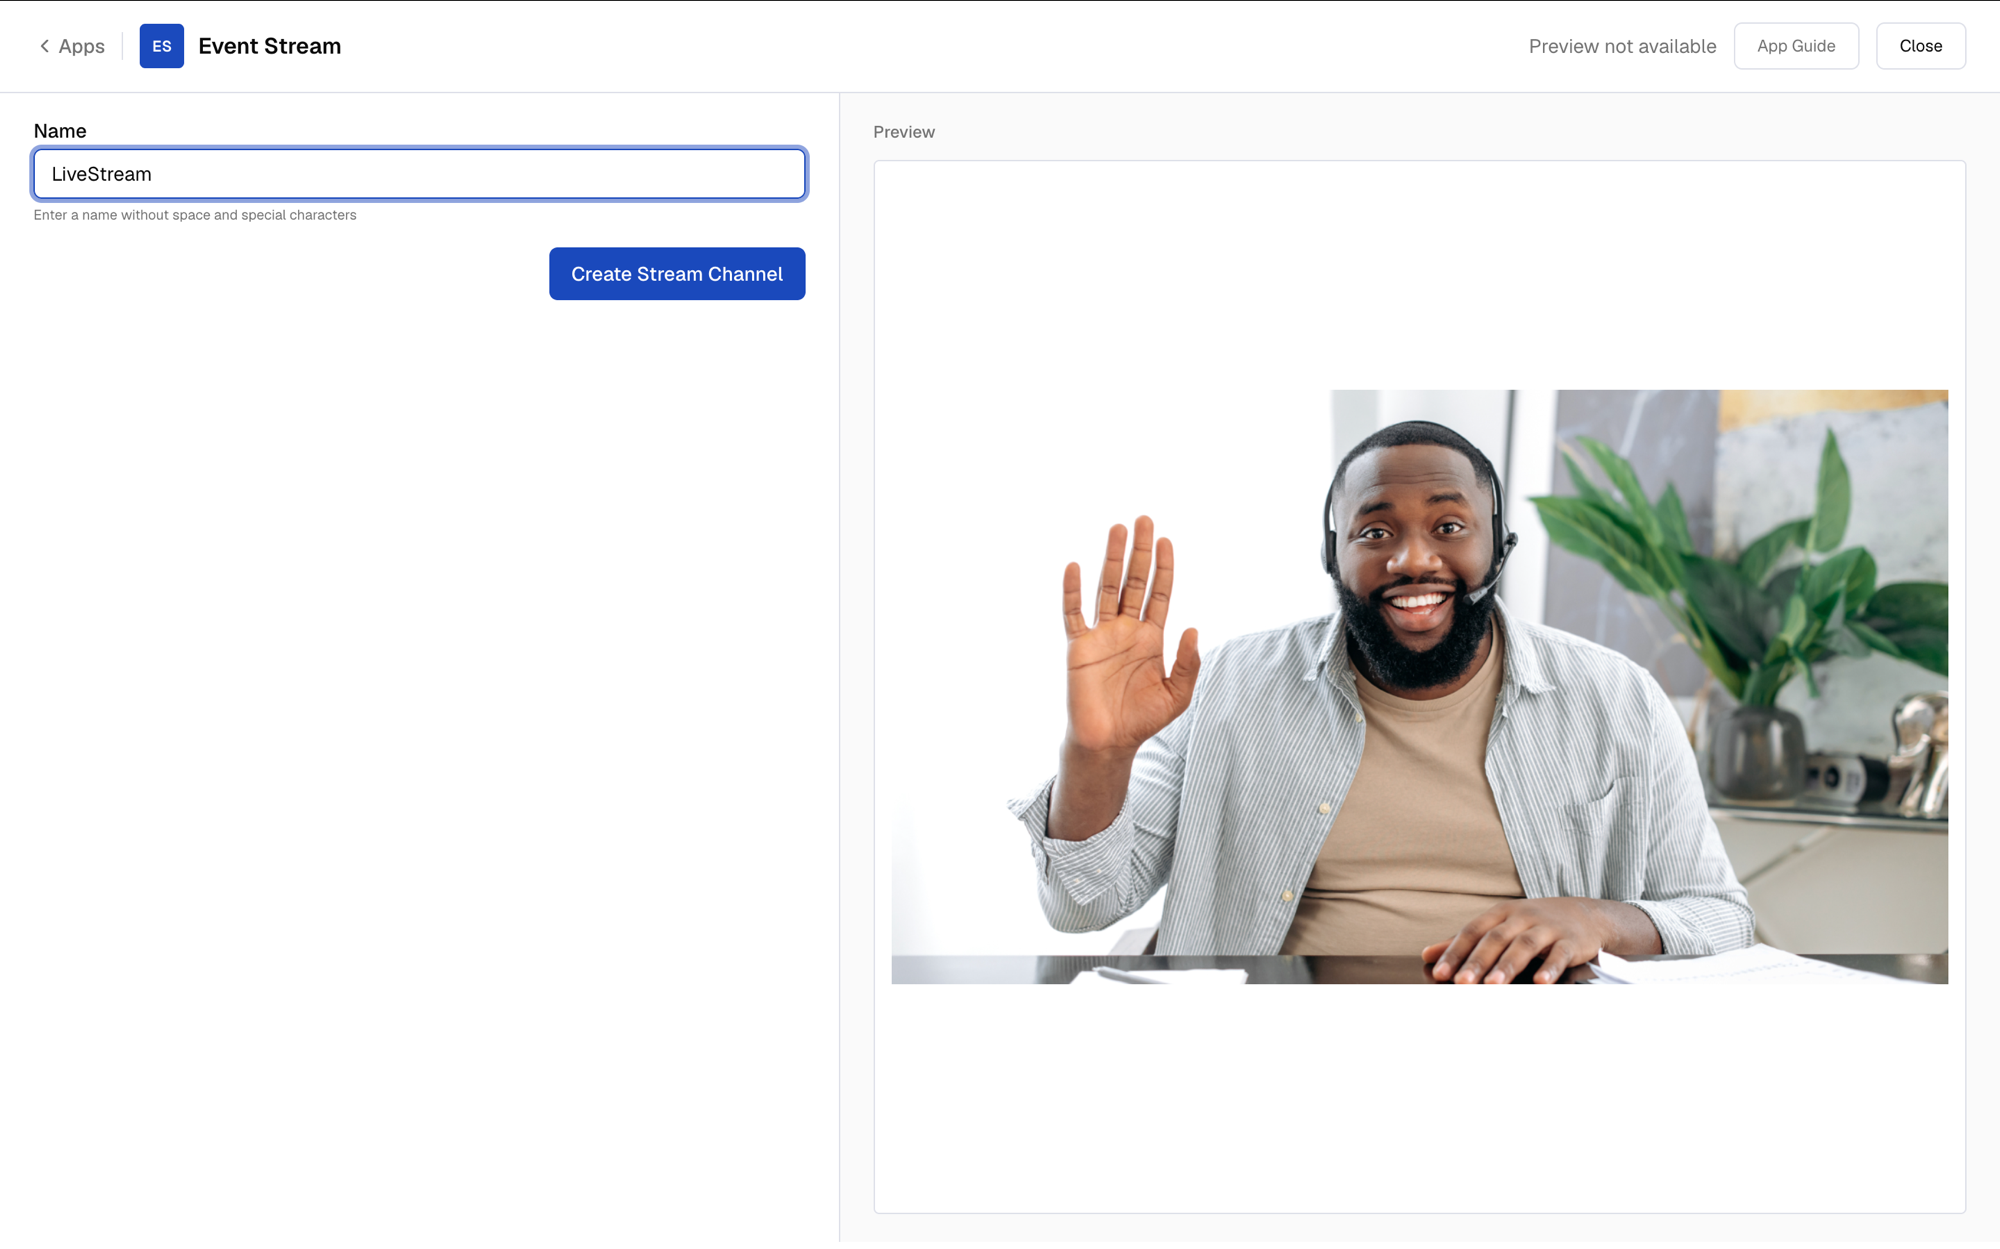
4
Copy the streaming credentials
You’ll see the credentials required to live stream the Zoom meeting: Streaming URL, Streaming key, and Live streaming page URL. Leave this tab open, you’ll copy each one from here as you fill in the Zoom form.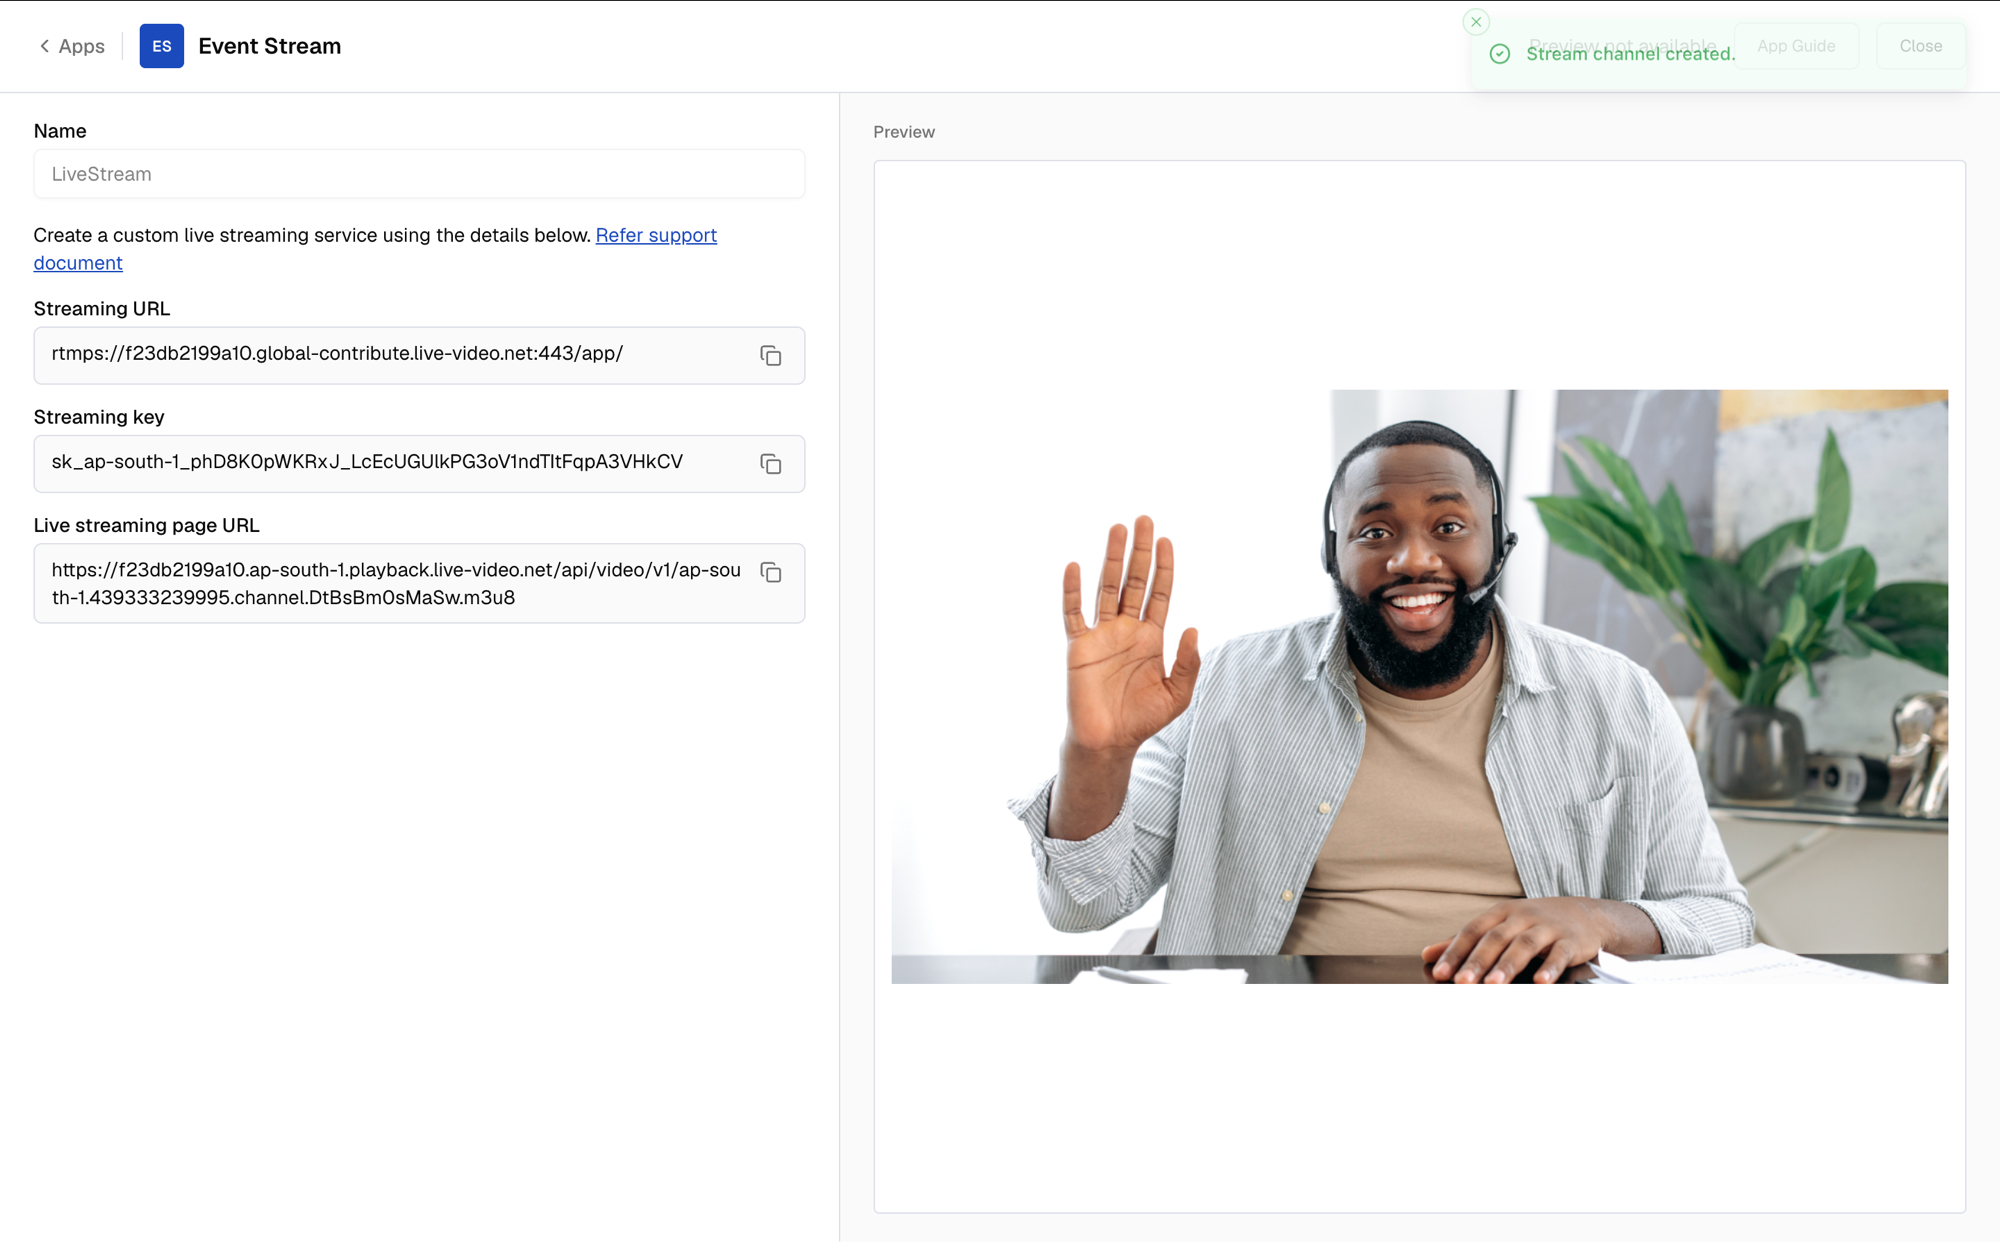 Click Close. The app is automatically added to your Media library.
5
Open More and choose custom live streaming
Start your Zoom meeting, click More in the meeting toolbar, then under Livestream, choose Live on Custom Live Streaming Service.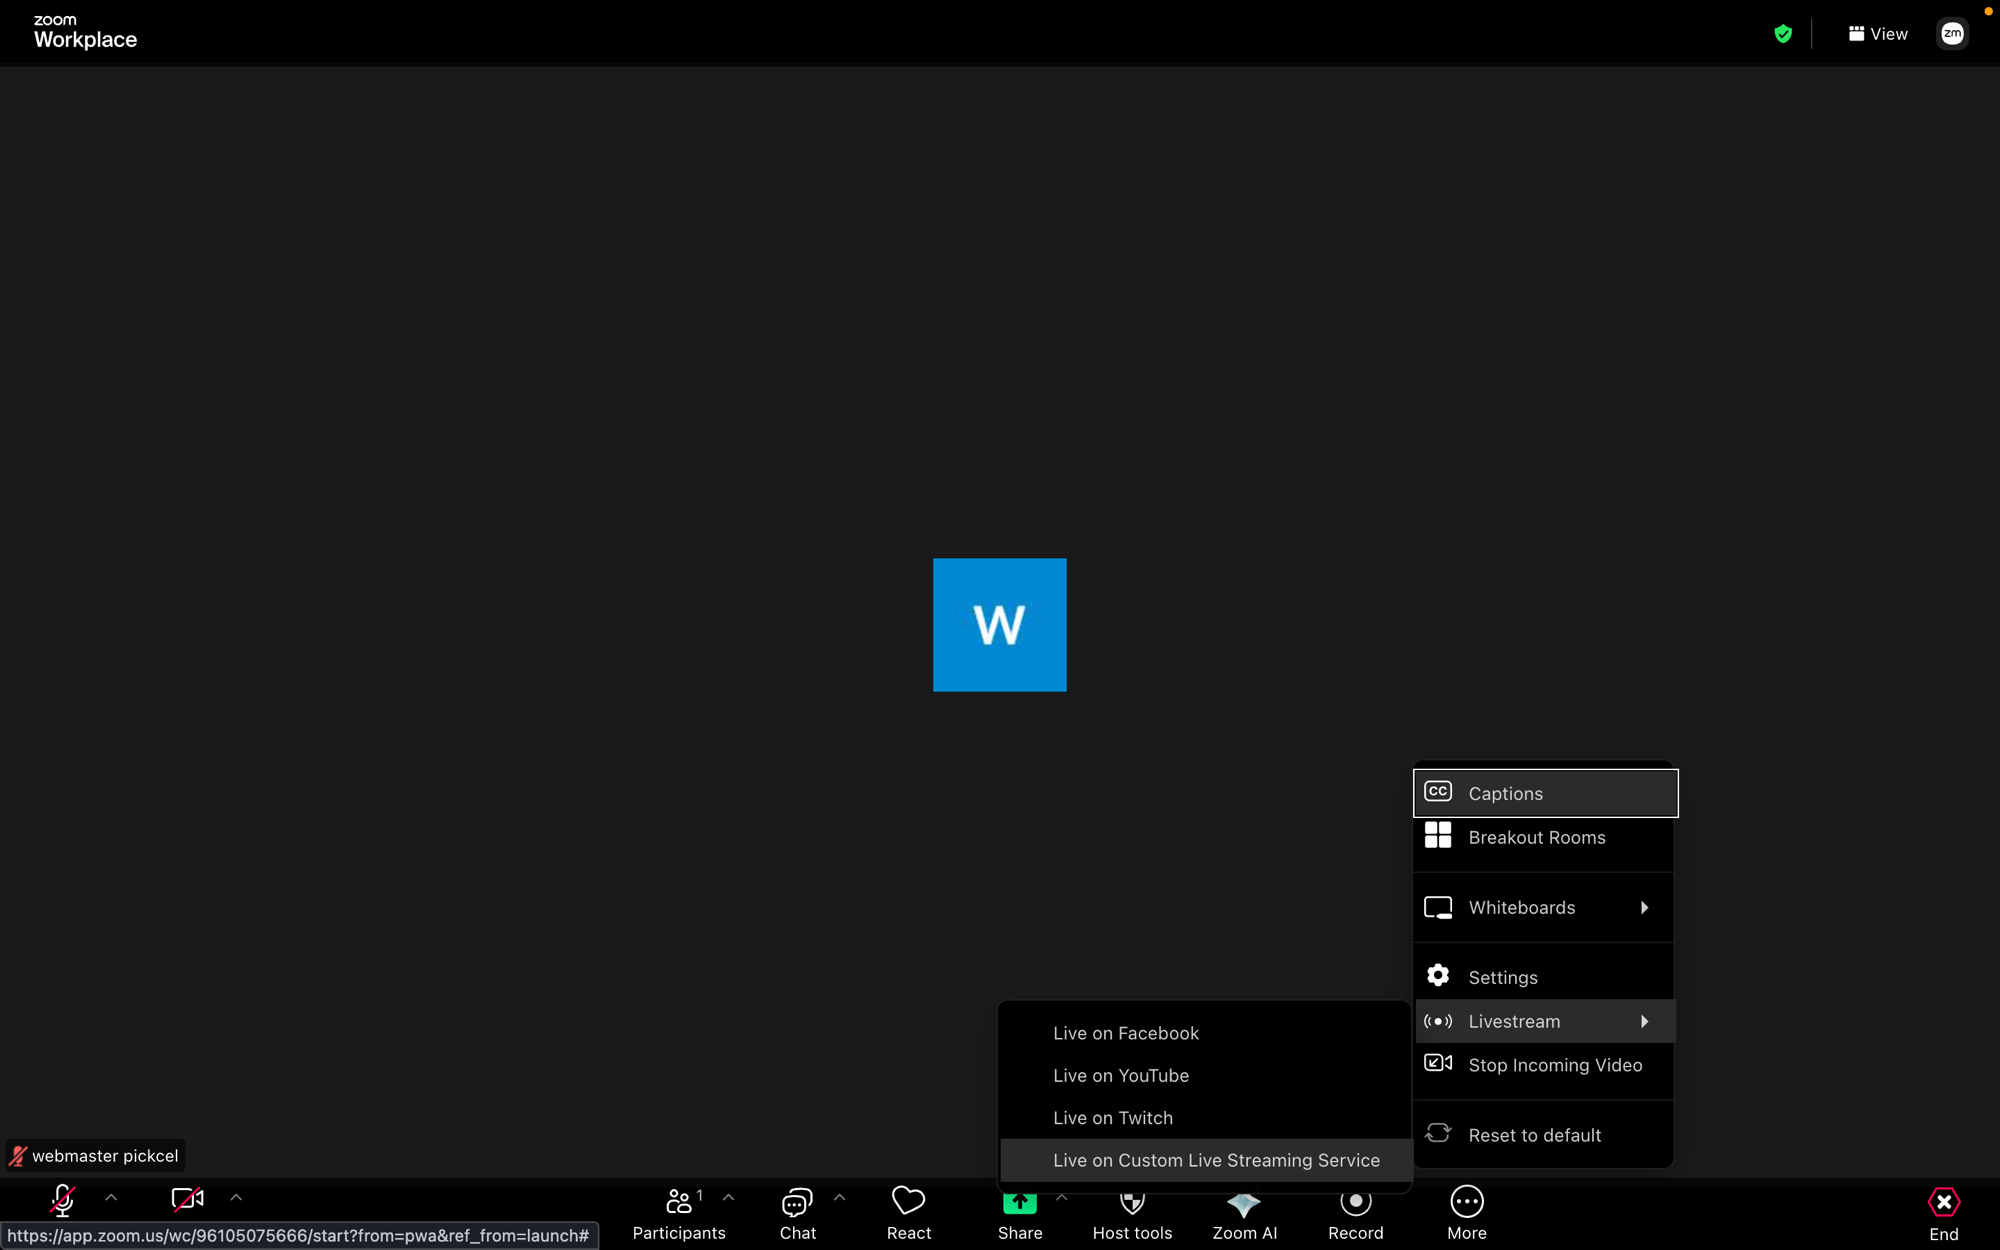
6
Enter the streaming credentials
Switch to the Event Stream tab, copy the Streaming URL, then switch back to Zoom and paste it into the Streaming URL field.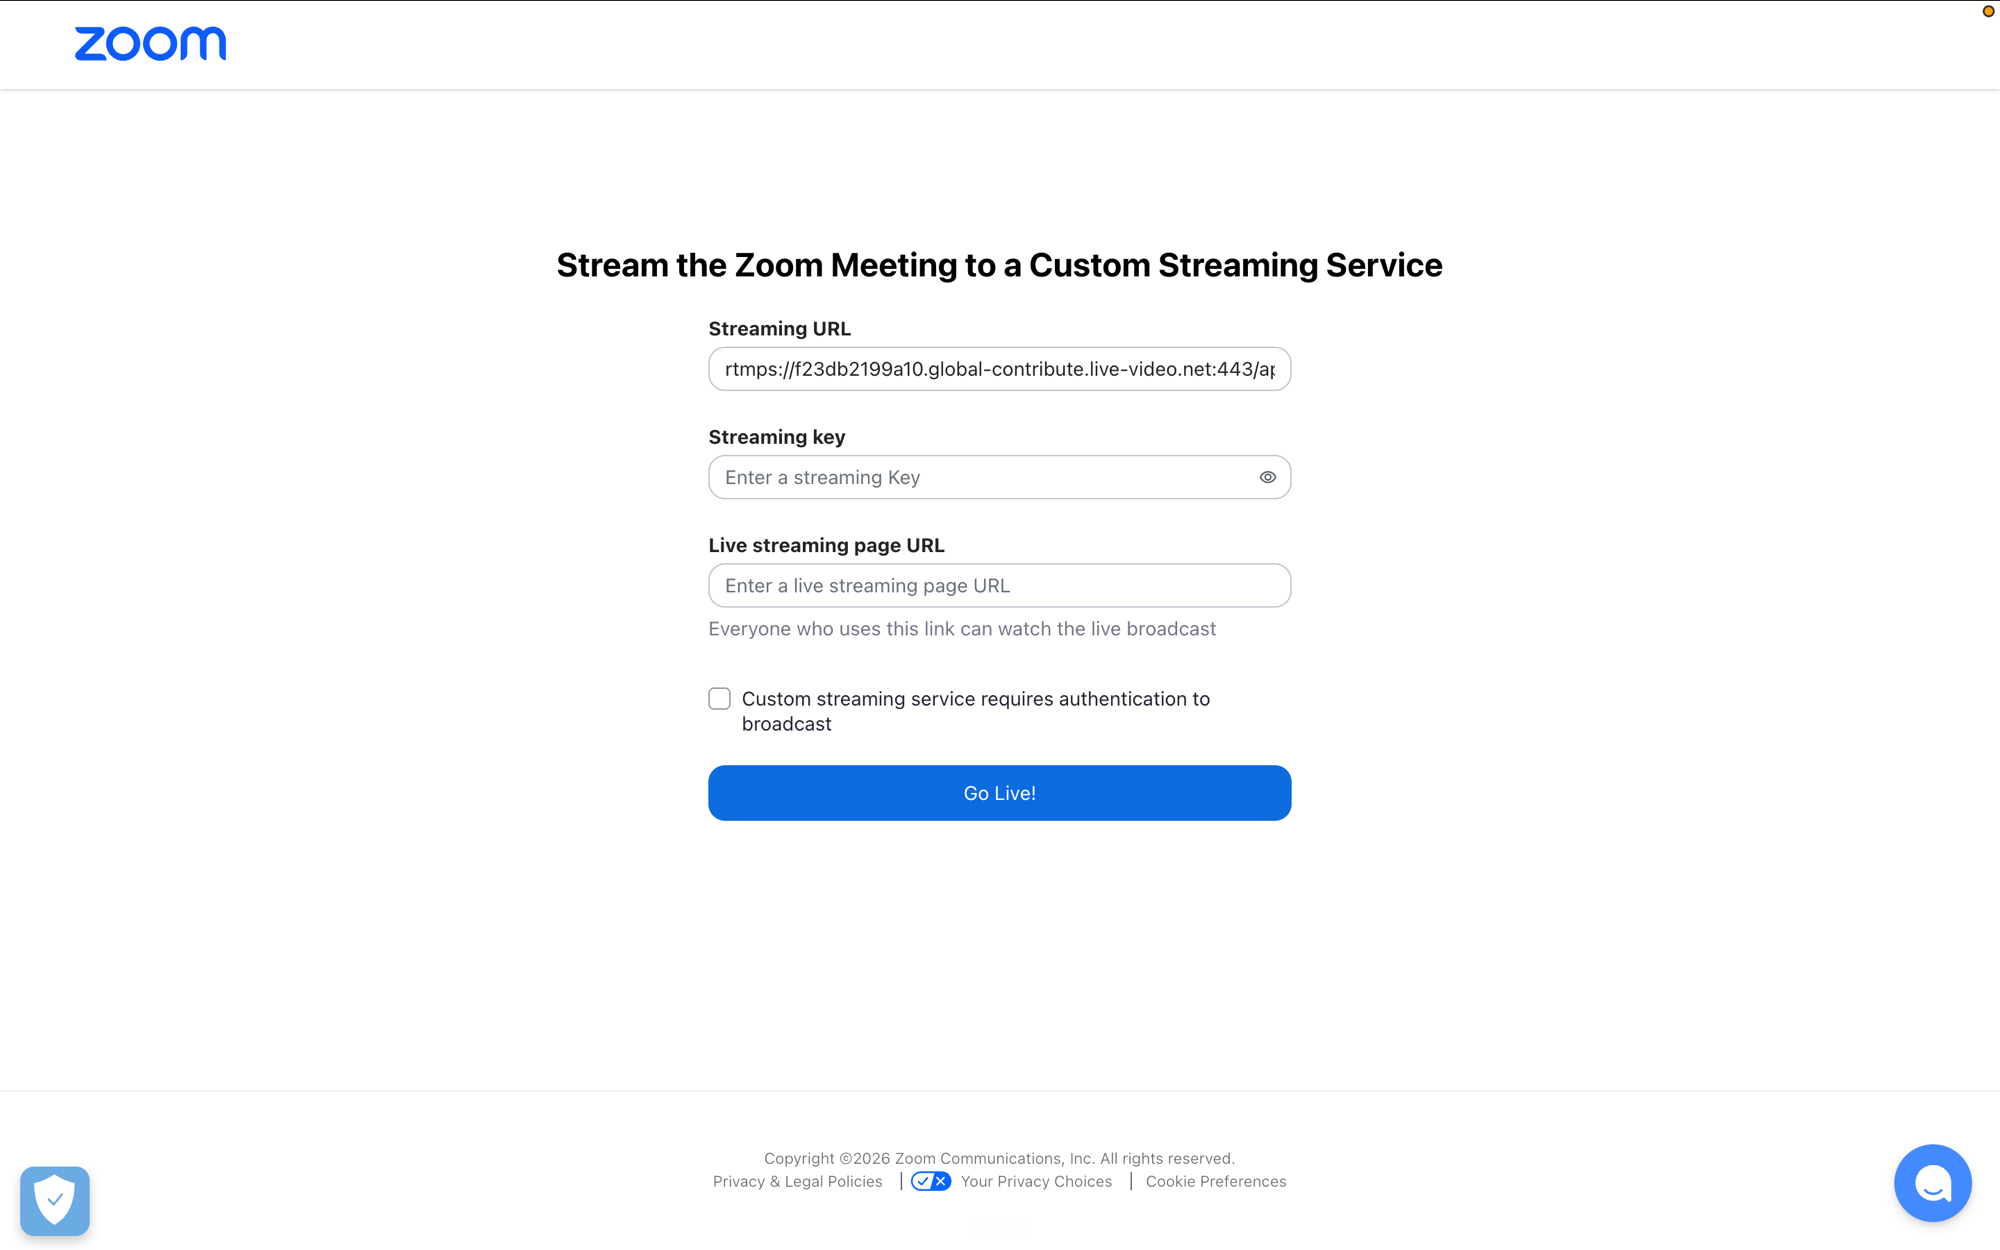 Switch back, copy the Streaming key, and paste it into the Streaming key field.
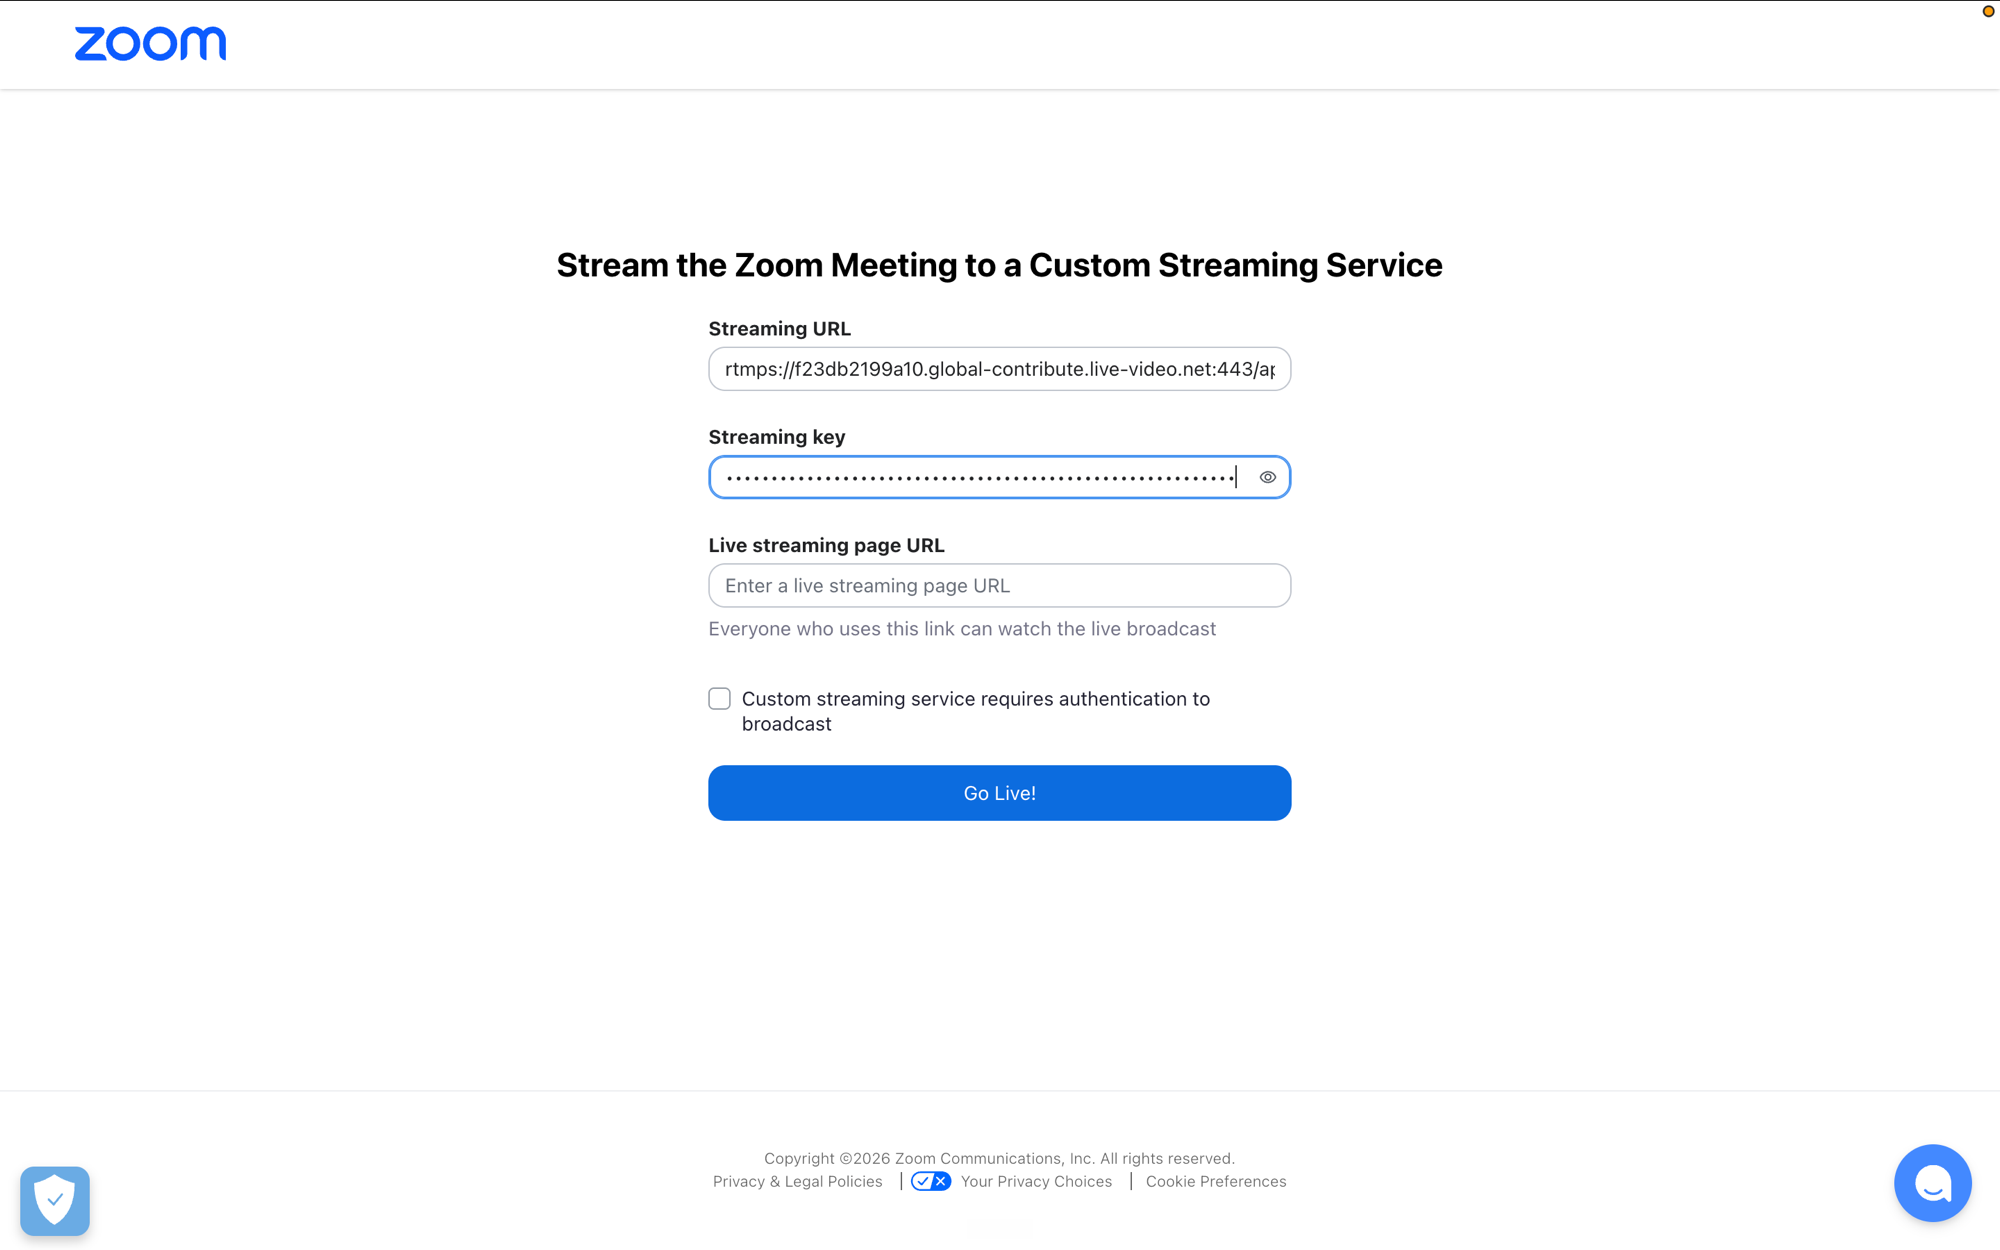 Switch back once more, copy the Live streaming page URL, and paste it into the Live streaming page URL field.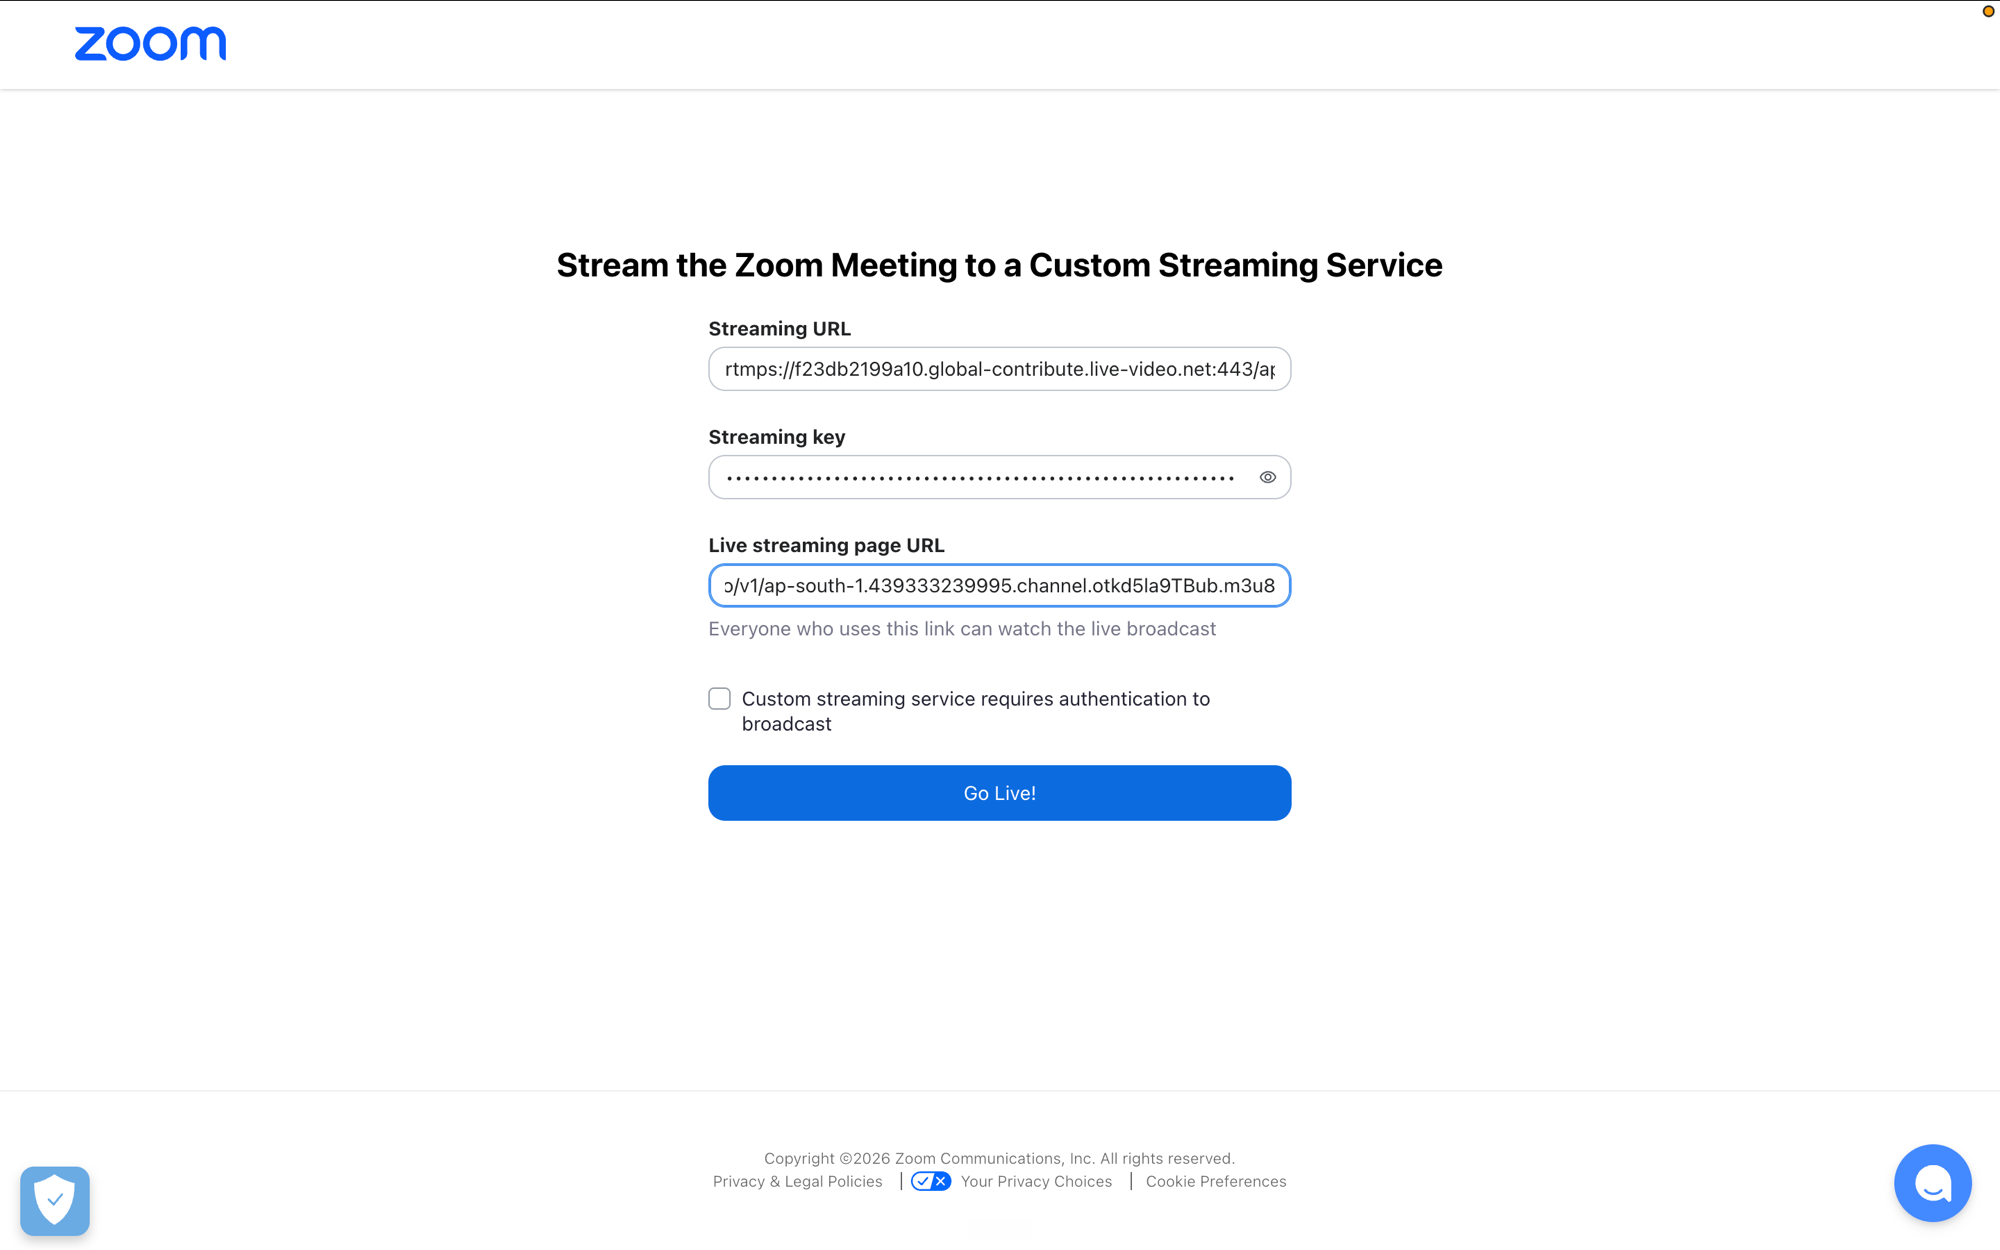
7
Go live
Click Go Live! Zoom starts sending the meeting to your Event Stream channel.
8
Assign the app to a screen
Create a composition using a single zone layout so the stream plays full screen, add this app to it, and assign it to a screen using Quick Play or a schedule. Since you’re already live, the stream appears on screen as soon as it’s published.
Assigning the app before you go live also works, the screen just shows black until streaming starts.
What’s Next?
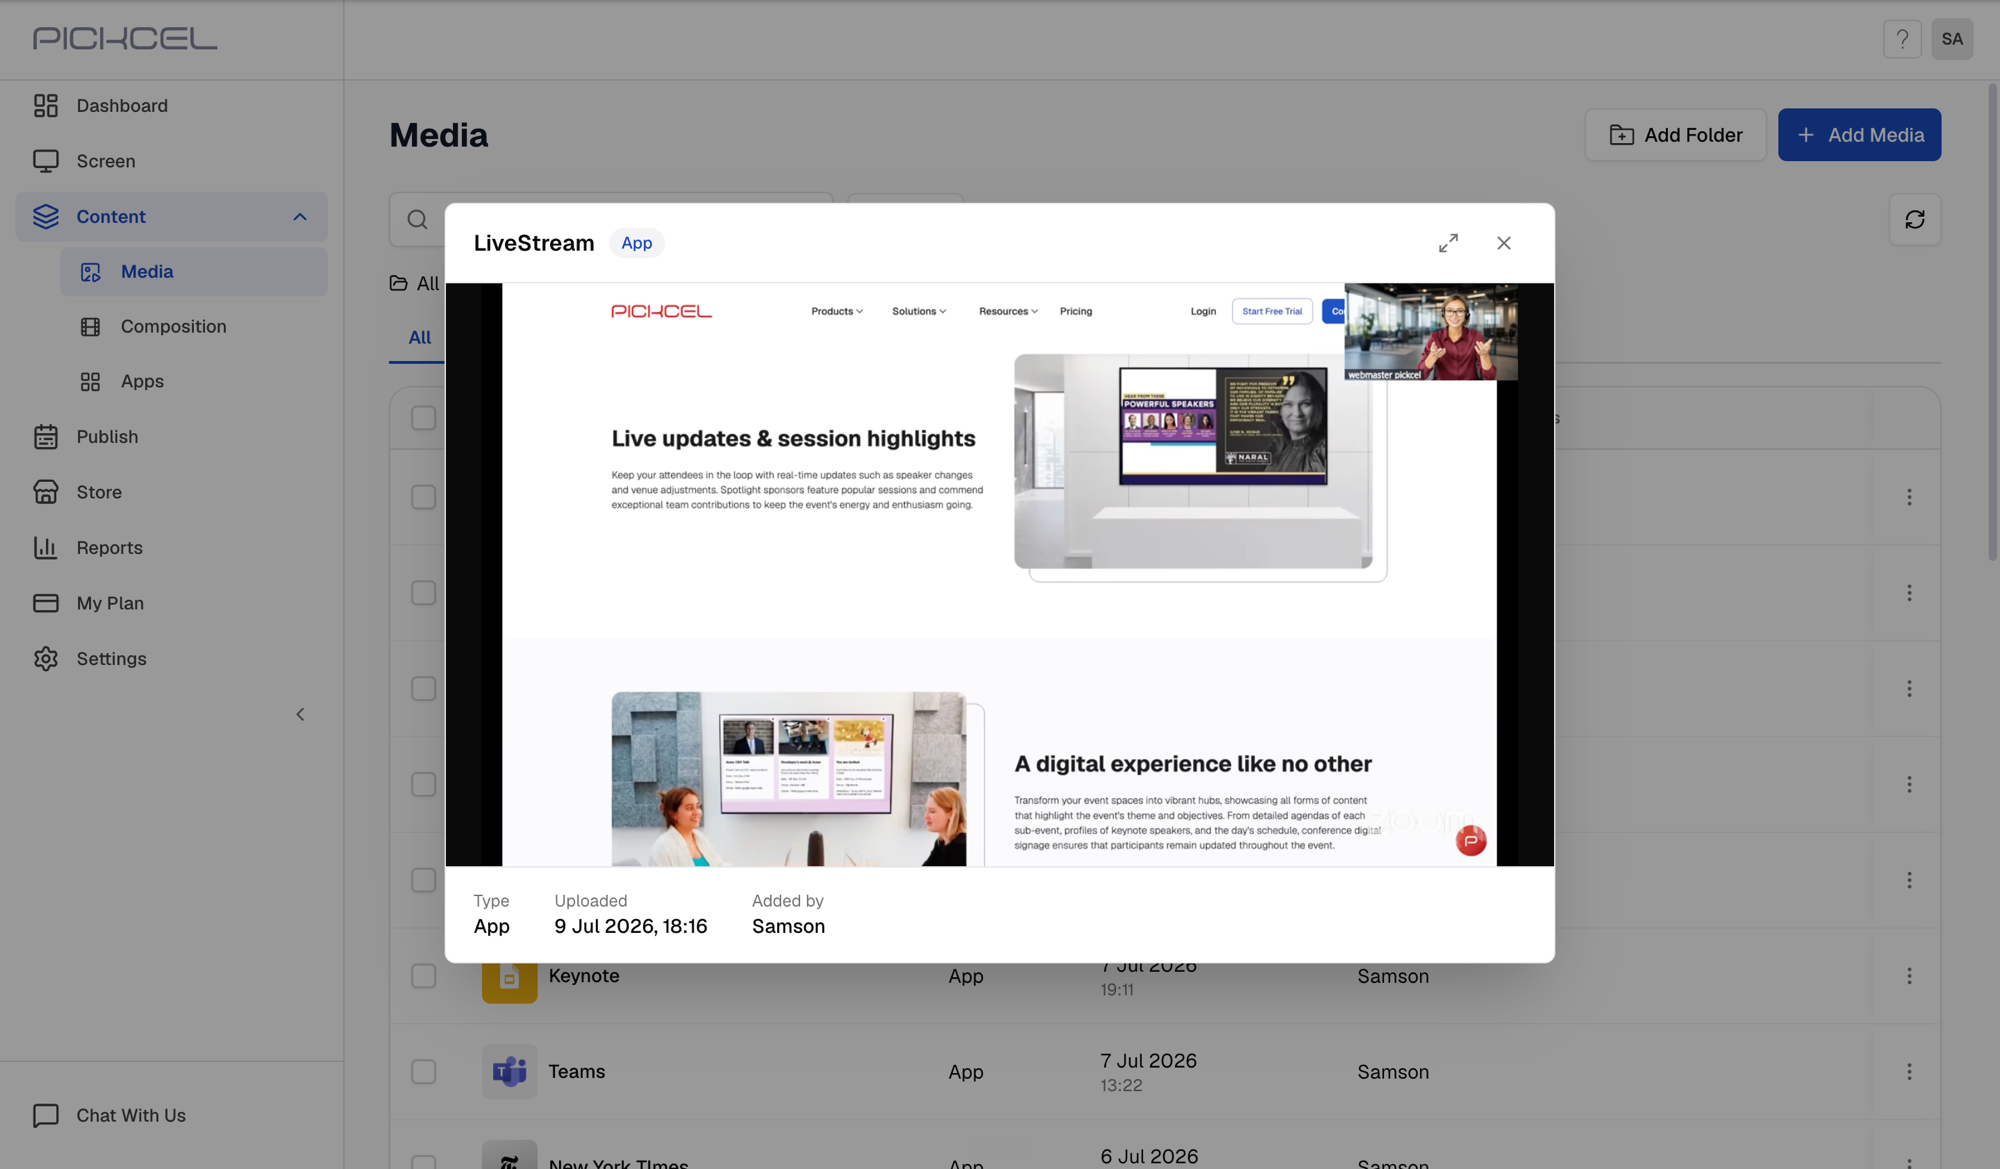
Find the app in your Media library under the name you gave it.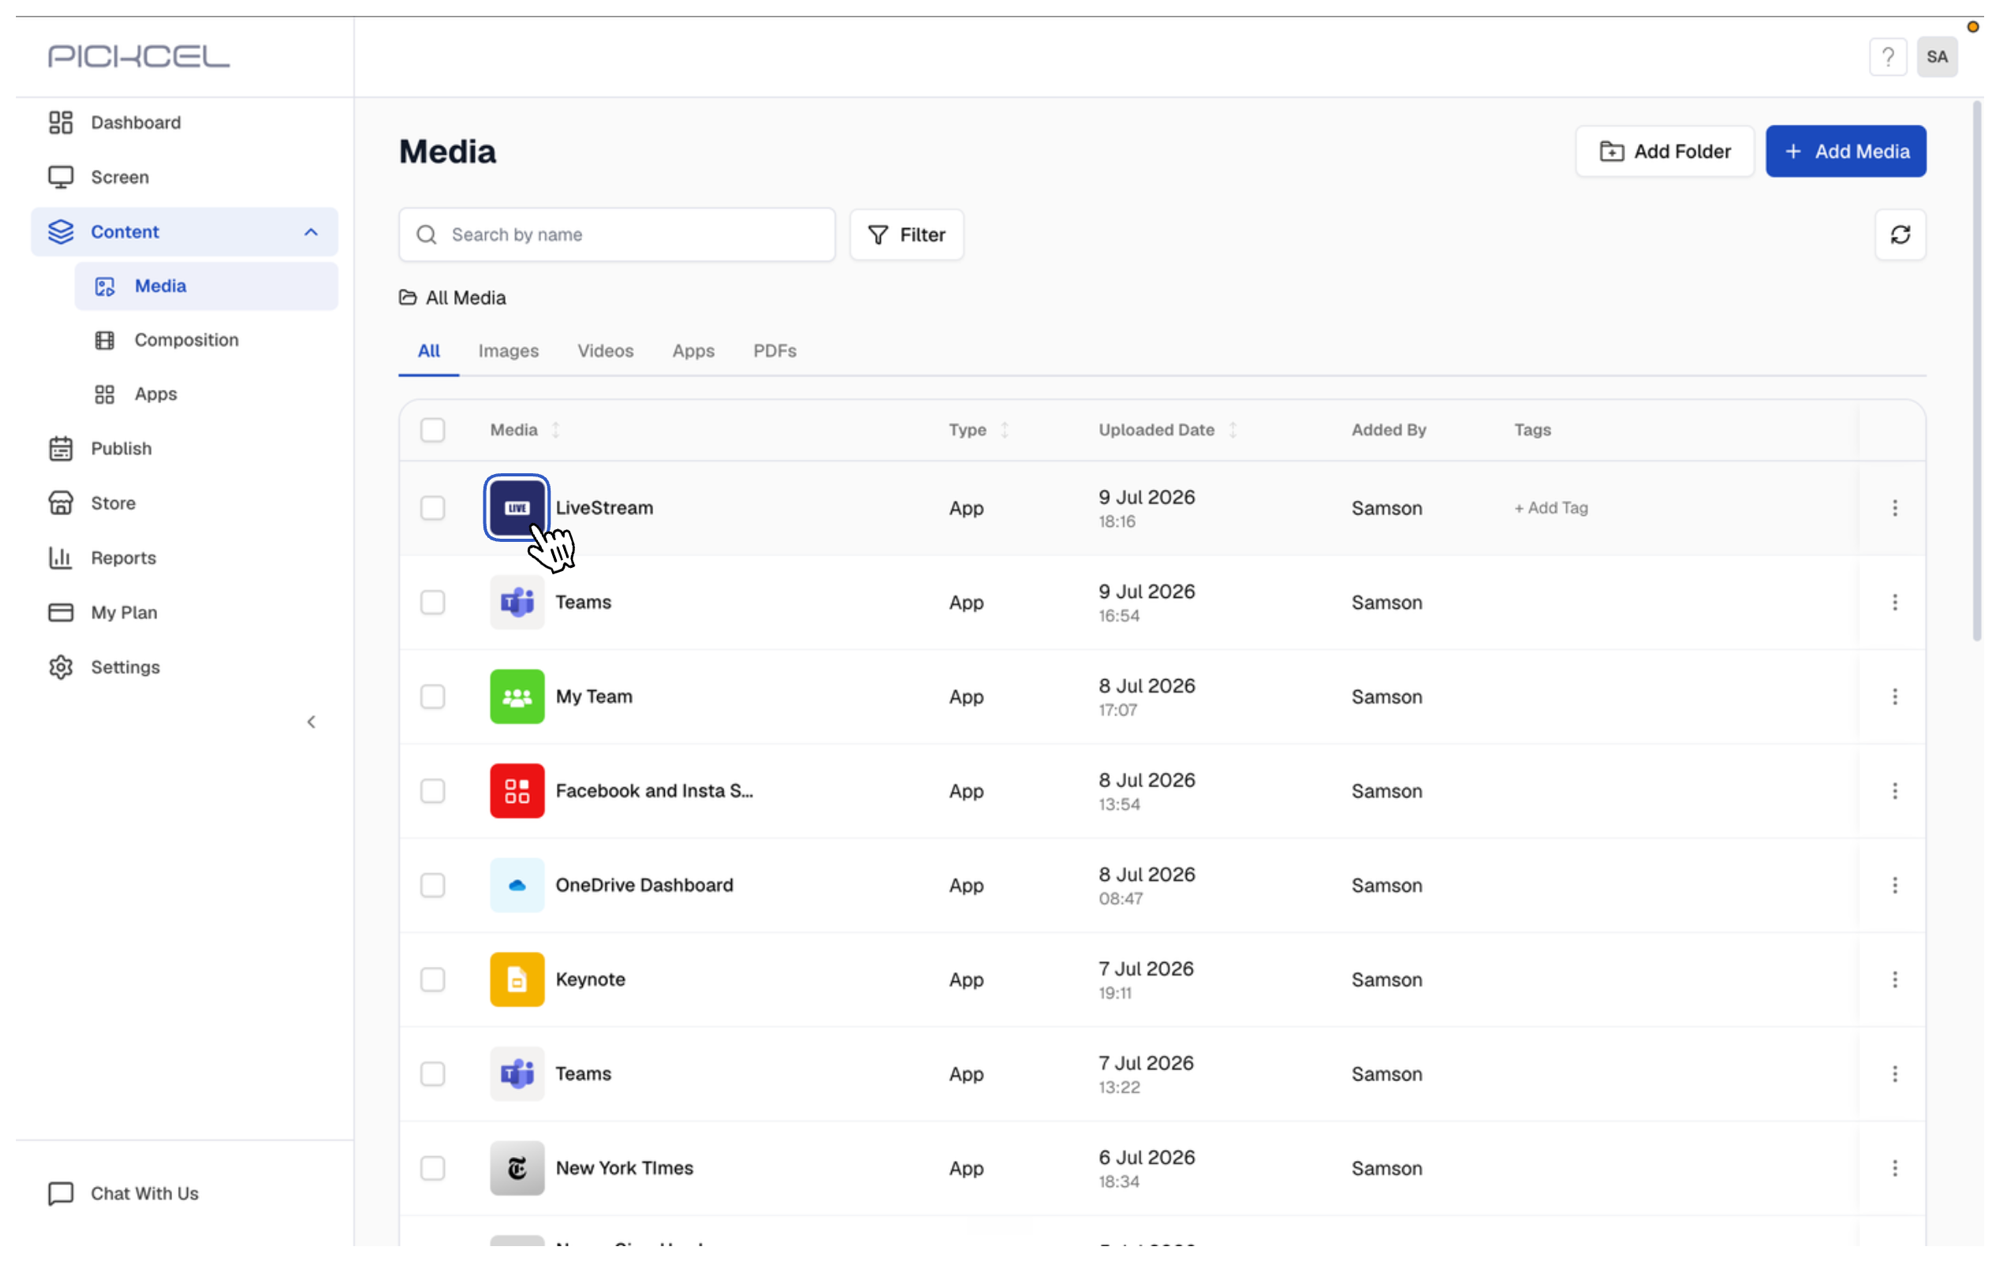
- Learn about Compositions
- Learn how to Publish or Schedule Content