To update the IP address for your on-premise Pickcel deployment, you need to modify two files and then restart the server. Follow the steps below:

Edit the .env File

1

Log in to server and open .env file

Log in to your server terminal. Open the .env file using the nano editor (or vi, whichever you are using): In this example: nano .env
2

Update IP address

Locate the following lines and replace the existing IP address with the new one:
Update IP address in .env file
SERVER_NAME=your.new.ip.address
PICKCEL_SERVER_HOST=http://<your.new.ip.address>
3

Save the file

After making the changes, save the file: Press Ctrl + X, then press Shift + S to save and exit.

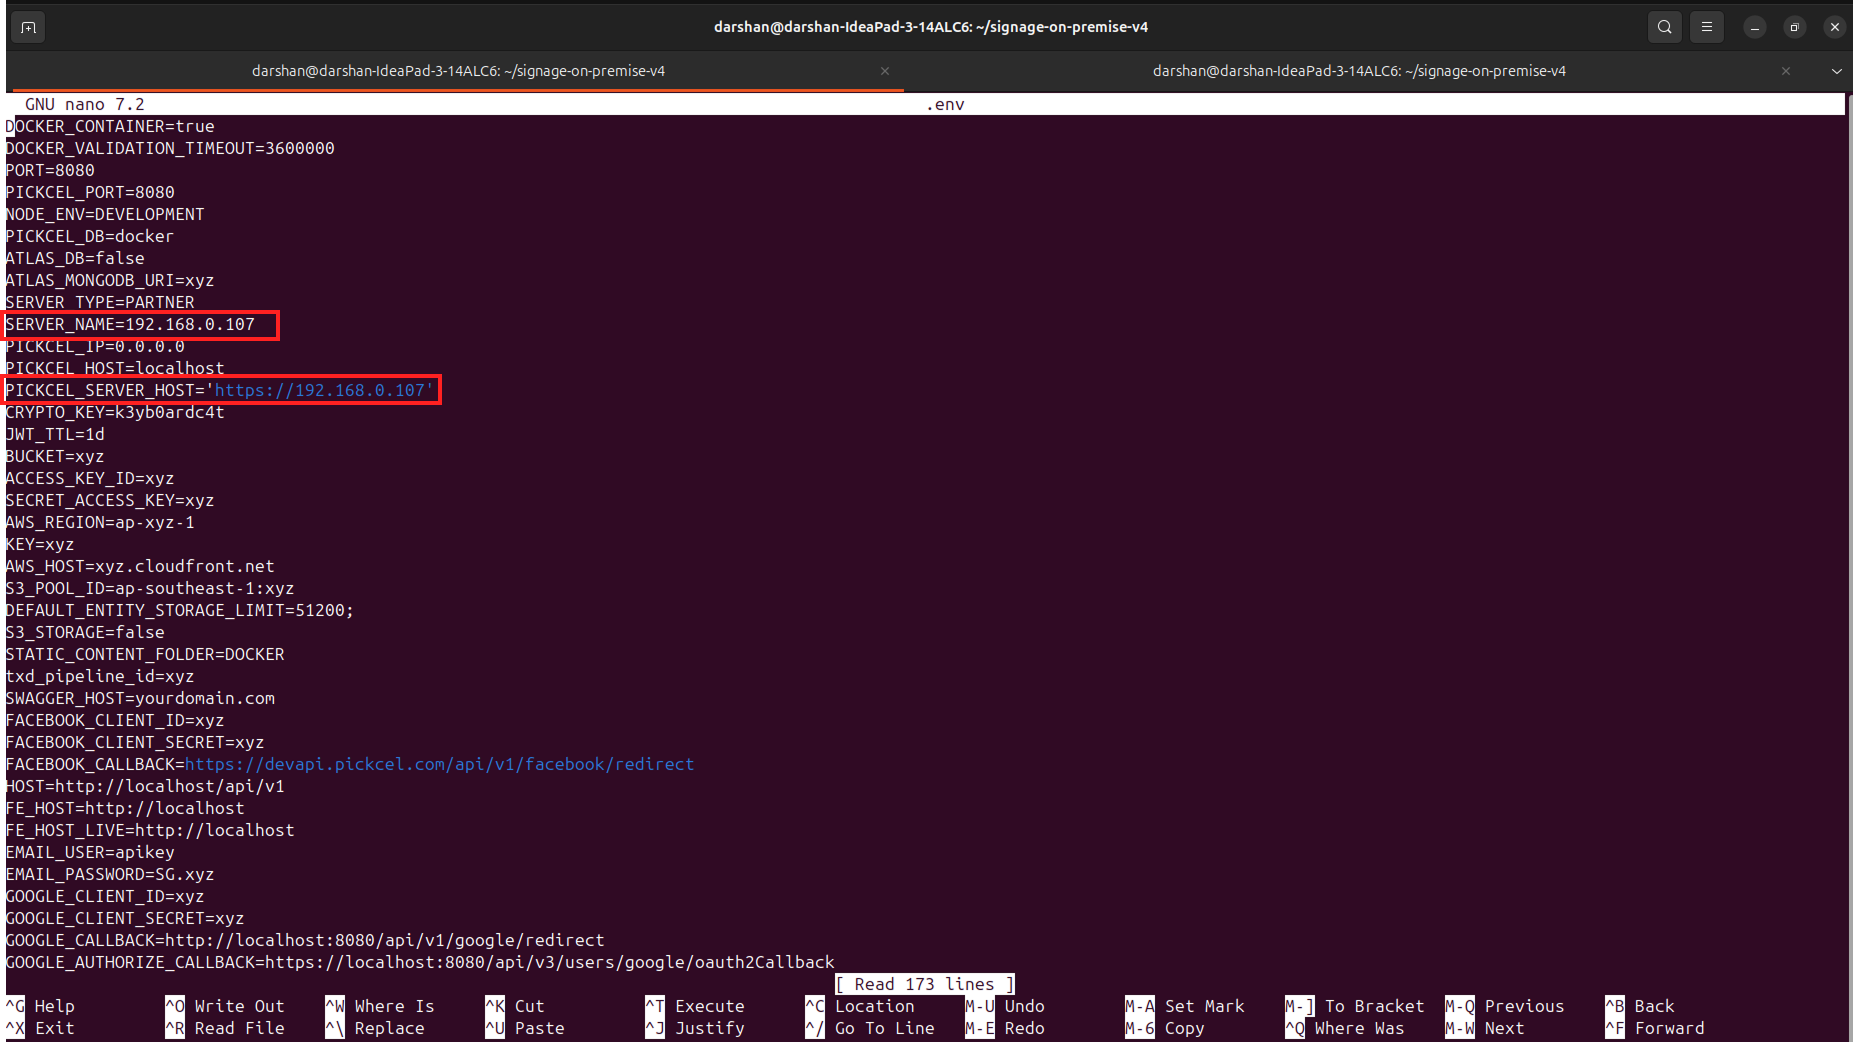
Update the NGINX Configuration

1

Open NGINX config file

Open the NGINX config file: nano nginx/nginx.conf
2

Update IP address and save

Scroll to the bottom of the file and update the IP address where it’s mentioned. Save and exit by pressing: Ctrl + X, then Shift + S

Restart the Server

Run the following commands to restart your Pickcel server with the new configuration:
sudo docker compose down
sudo docker compose up -d --build
After the restart, your Pickcel server will be accessible using the new IP address.
Should you encounter difficulties, please contact support at contact@pickcel.com for assistance.