> ## Documentation Index
> Fetch the complete documentation index at: https://docs.pickcel.com/llms.txt
> Use this file to discover all available pages before exploring further.
# How to Add and Associate Screens to a Store
> Learn how to associate existing screens or register new devices to a store location in Pickcel
Once a store is created, you can populate it with screens. There are two ways to add screens to a store: associate existing screens that are already registered in your account, or register a brand new device directly within the store.
A screen can only belong to **one store at a time**. Associating a screen with a new store will automatically remove it from its previous store.
## Option A: Associate Existing Screens
If you have screens already registered in your Pickcel Console, you can quickly map them to your store.
Navigate to the **Store** module and click on the store you want to add screens to.
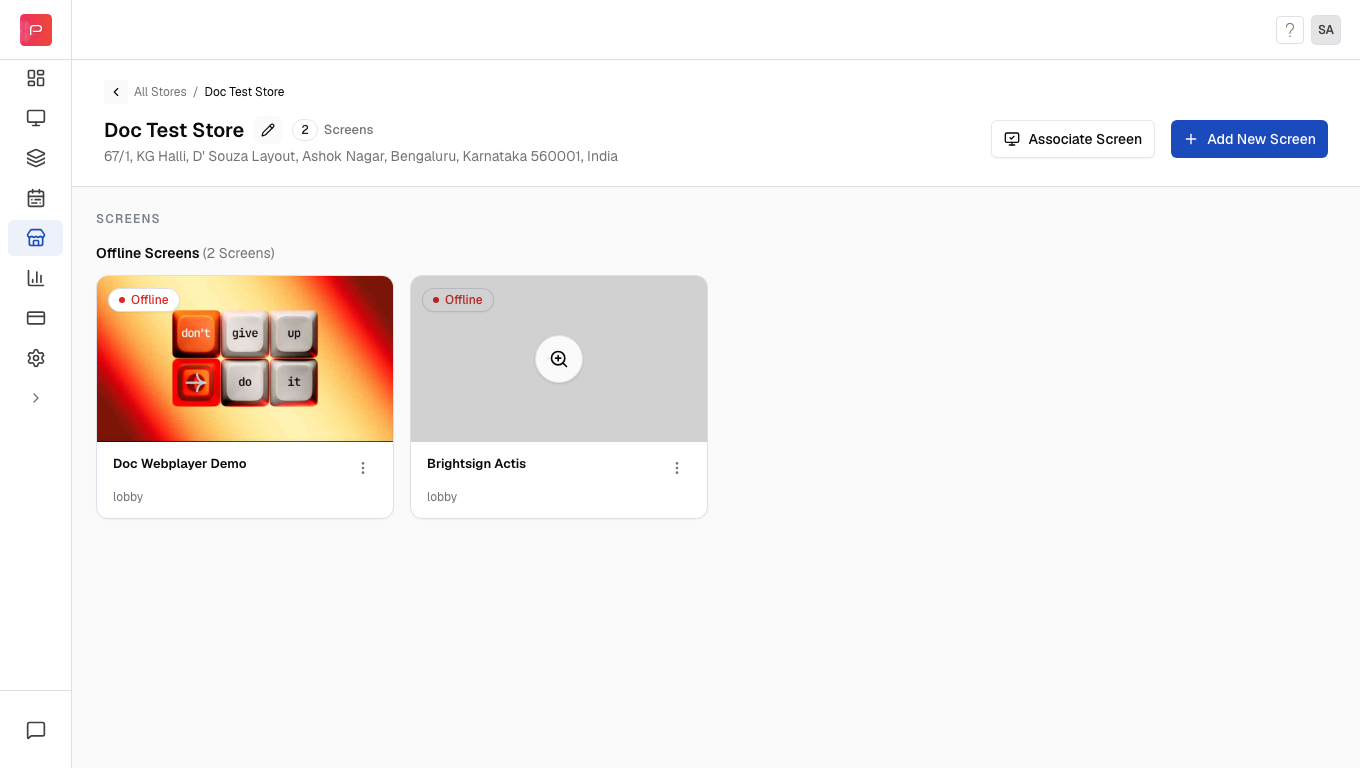 Inside the store details page, click the **Associate Screen** button.
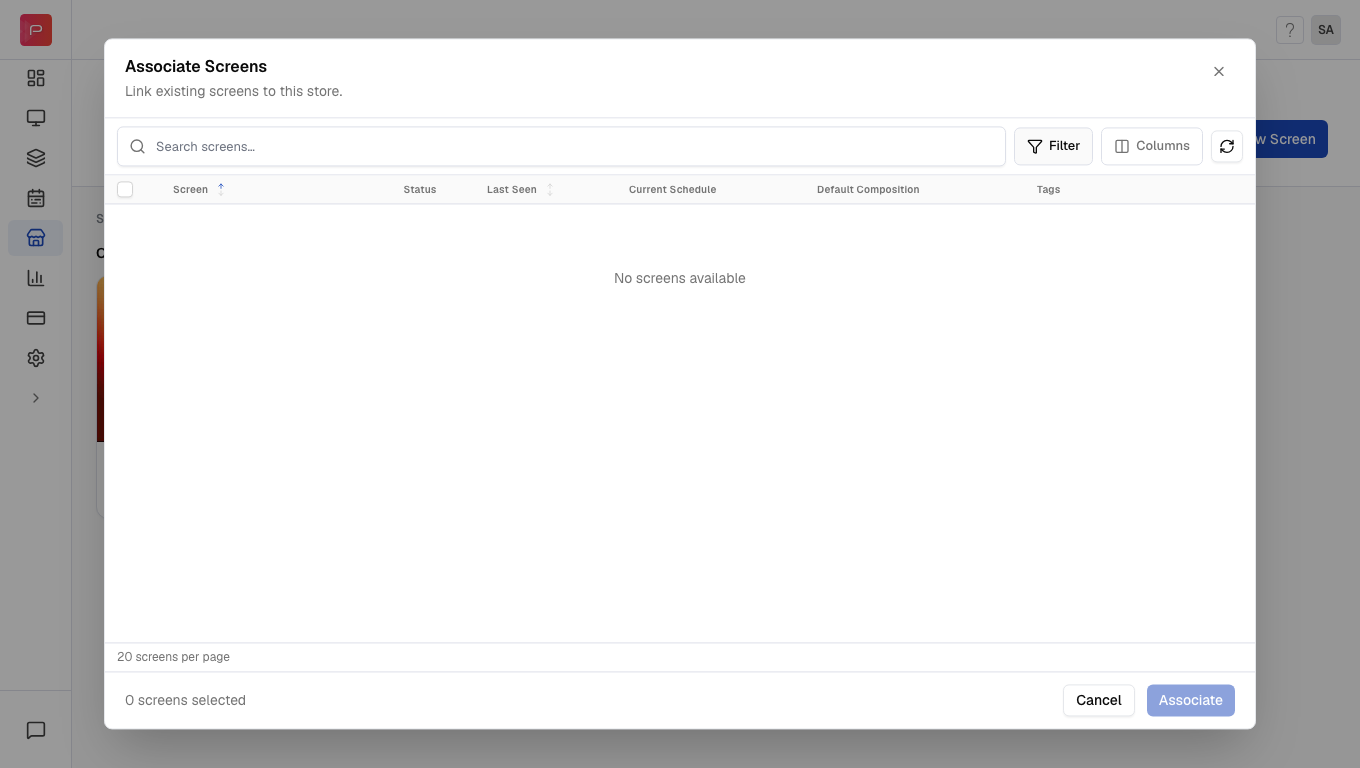 A modal will appear showing all available screens. You can:
* **Search** by screen name to quickly find specific devices
* **Multi-select** multiple screens to associate them in one action
* **Scroll** through the list to browse all available screens
A modal will appear showing all available screens. You can:
* **Search** by screen name to quickly find specific devices
* **Multi-select** multiple screens to associate them in one action
* **Scroll** through the list to browse all available screens
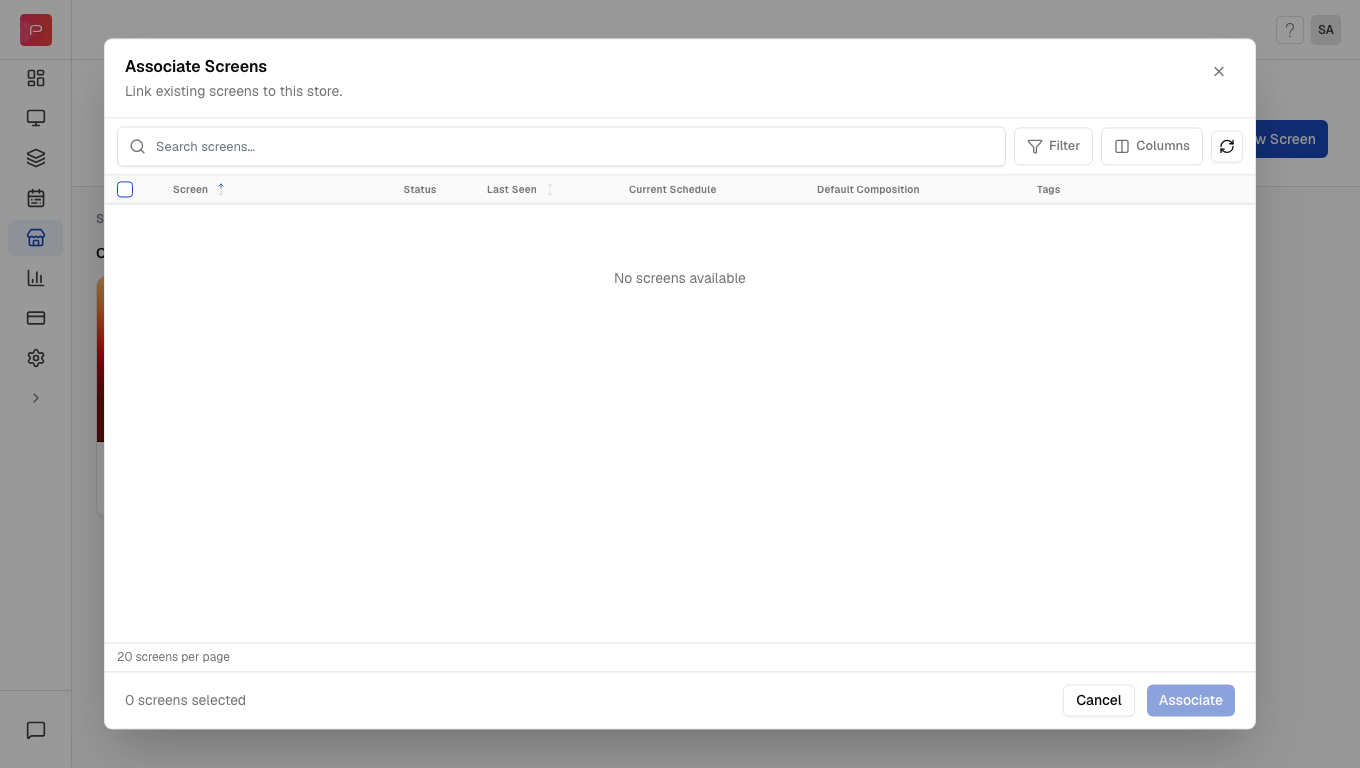 Click **Associate** to map the selected screens to this store.
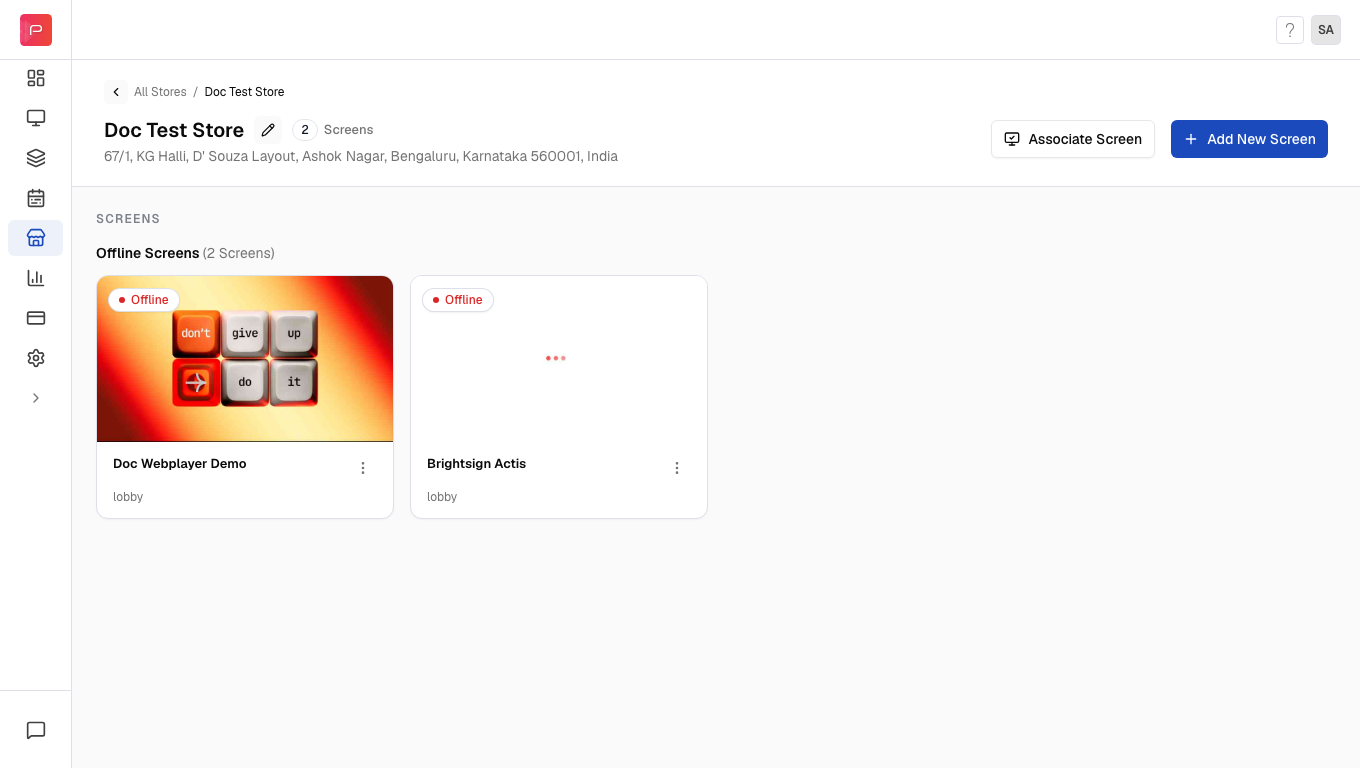
The screens will now appear in your store's screen list and can be managed from within the store context.
Click **Associate** to map the selected screens to this store.
The screens will now appear in your store's screen list and can be managed from within the store context.
 Use [Screen Grouping](/settings/screen-grouping) to organize screens within your account for easier selection during association.
***
## Option B: Register a New Screen
If you're deploying a new device, you can register it directly within the store context. This automatically associates the screen with the store upon registration.
**Prerequisites:**
* A display device with the Pickcel app installed
* The 6-digit registration code displayed on your device
* An active internet connection
Navigate to the **Store** module and click on the store where you want to add a new screen.
Inside the store details page, click the **Add New Screen** button.
Use [Screen Grouping](/settings/screen-grouping) to organize screens within your account for easier selection during association.
***
## Option B: Register a New Screen
If you're deploying a new device, you can register it directly within the store context. This automatically associates the screen with the store upon registration.
**Prerequisites:**
* A display device with the Pickcel app installed
* The 6-digit registration code displayed on your device
* An active internet connection
Navigate to the **Store** module and click on the store where you want to add a new screen.
Inside the store details page, click the **Add New Screen** button.
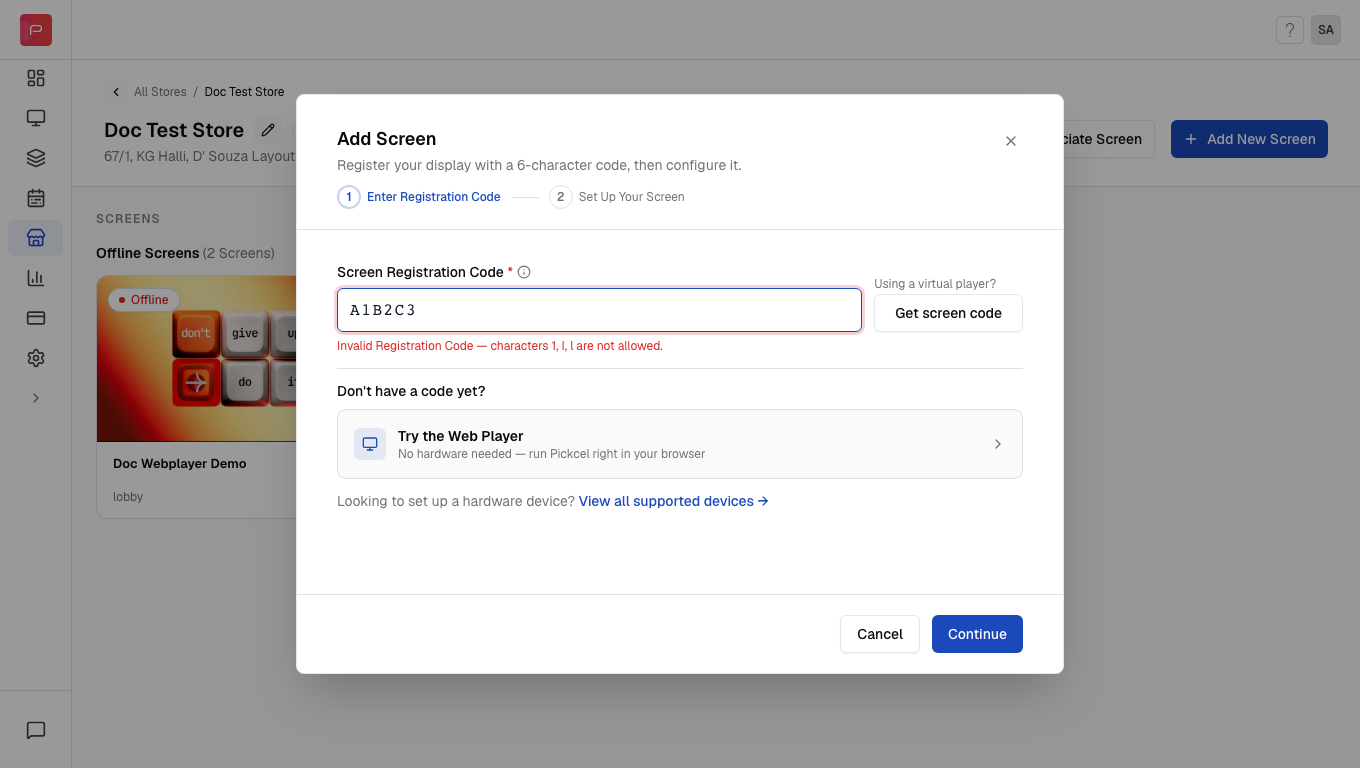
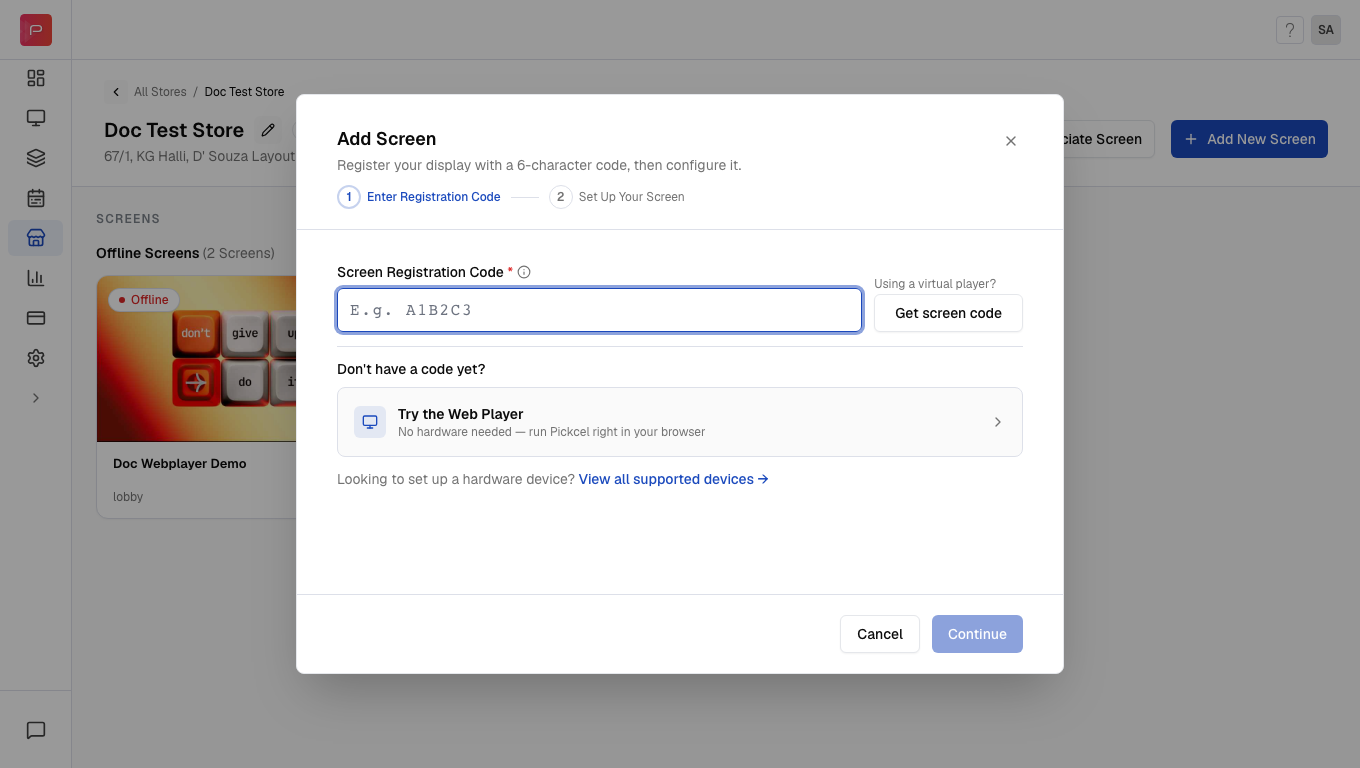 Enter the **6-digit alphanumeric registration code** displayed on your TV or device.
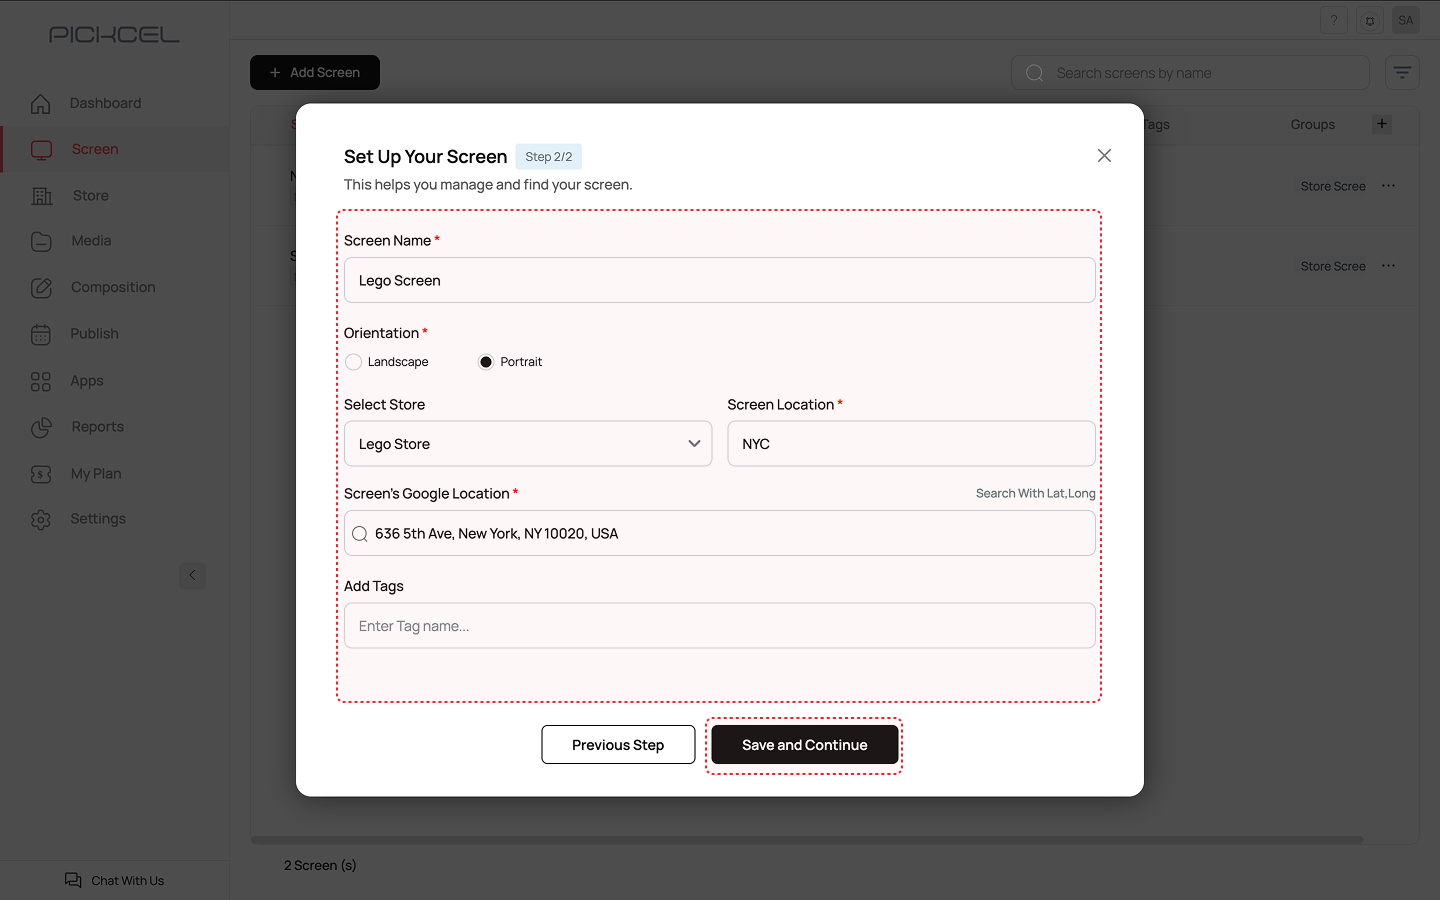
 Fill in the screen information. Fields marked with \* are required.
| Property | Description |
| ------------------------------- | --------------------------------------------------------------------------------------------------------------------------------------------------- |
| **Screen Name** \* | A descriptive name for the screen (e.g., *Lego Screen*, *Entrance Display*) |
| **Orientation** \* | Choose **Landscape** or **Portrait** based on your display setup |
| **Select Store** | The store is automatically selected based on where you initiated the registration |
| **Screen Location** \* | Internal location details (e.g., *NYC*, *Conference Room*, *Pillar 3*) |
| **Screen's Google Location** \* | Physical address with map coordinates. Use **Search With Lat,Long** to look up by coordinates. Defaults to the store's location but can be adjusted |
| **Add Tags** | Optional tags for better organization and filtering (e.g., *lobby*, *promotional*) |
Fill in the screen information. Fields marked with \* are required.
| Property | Description |
| ------------------------------- | --------------------------------------------------------------------------------------------------------------------------------------------------- |
| **Screen Name** \* | A descriptive name for the screen (e.g., *Lego Screen*, *Entrance Display*) |
| **Orientation** \* | Choose **Landscape** or **Portrait** based on your display setup |
| **Select Store** | The store is automatically selected based on where you initiated the registration |
| **Screen Location** \* | Internal location details (e.g., *NYC*, *Conference Room*, *Pillar 3*) |
| **Screen's Google Location** \* | Physical address with map coordinates. Use **Search With Lat,Long** to look up by coordinates. Defaults to the store's location but can be adjusted |
| **Add Tags** | Optional tags for better organization and filtering (e.g., *lobby*, *promotional*) |
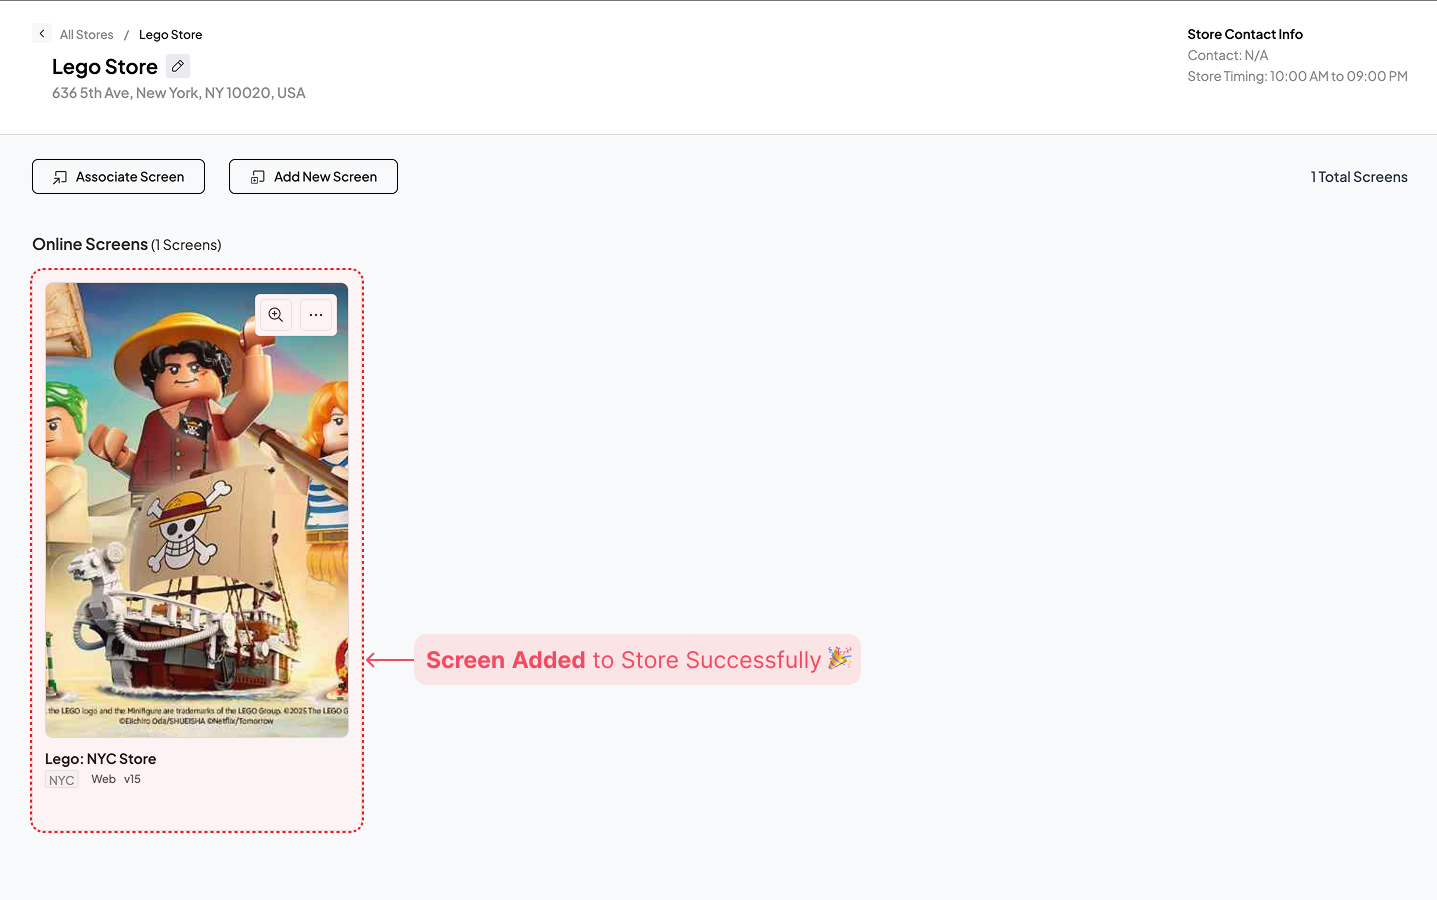
 Click **Save and Continue** to complete registration.
The screen is now online and automatically associated with this store.
Click **Save and Continue** to complete registration.
The screen is now online and automatically associated with this store.
 **Need more details on screen registration?**
Check out our complete [Screen Registration Guide](/screen-registration/screen-registration) for step-by-step instructions on installing the Pickcel app and registering devices.
## What's Next?
Once screens are added to your store, you can monitor and manage them from a unified dashboard:
* Learn how to [Manage Screens at a Glance](/store/manage-screens)
* Set up [Schedules](/schedule-and-publish/publish-v4) for your screens
**Need more details on screen registration?**
Check out our complete [Screen Registration Guide](/screen-registration/screen-registration) for step-by-step instructions on installing the Pickcel app and registering devices.
## What's Next?
Once screens are added to your store, you can monitor and manage them from a unified dashboard:
* Learn how to [Manage Screens at a Glance](/store/manage-screens)
* Set up [Schedules](/schedule-and-publish/publish-v4) for your screens