> ## Documentation Index
> Fetch the complete documentation index at: https://docs.pickcel.com/llms.txt
> Use this file to discover all available pages before exploring further.
# How to Enable Multi-Factor Authentication (MFA) in Pickcel
> Step-by-step guide to set up Multi-Factor Authentication on your Pickcel digital signage account for enhanced security
**Note:** MFA is exclusively available for **Business Plan** users. For other plans, please [contact our support team](mailto:support@pickcel.com) to enable MFA.
Log in to your Pickcel account using your credentials at [console.pickcel.com](https://console.pickcel.com).
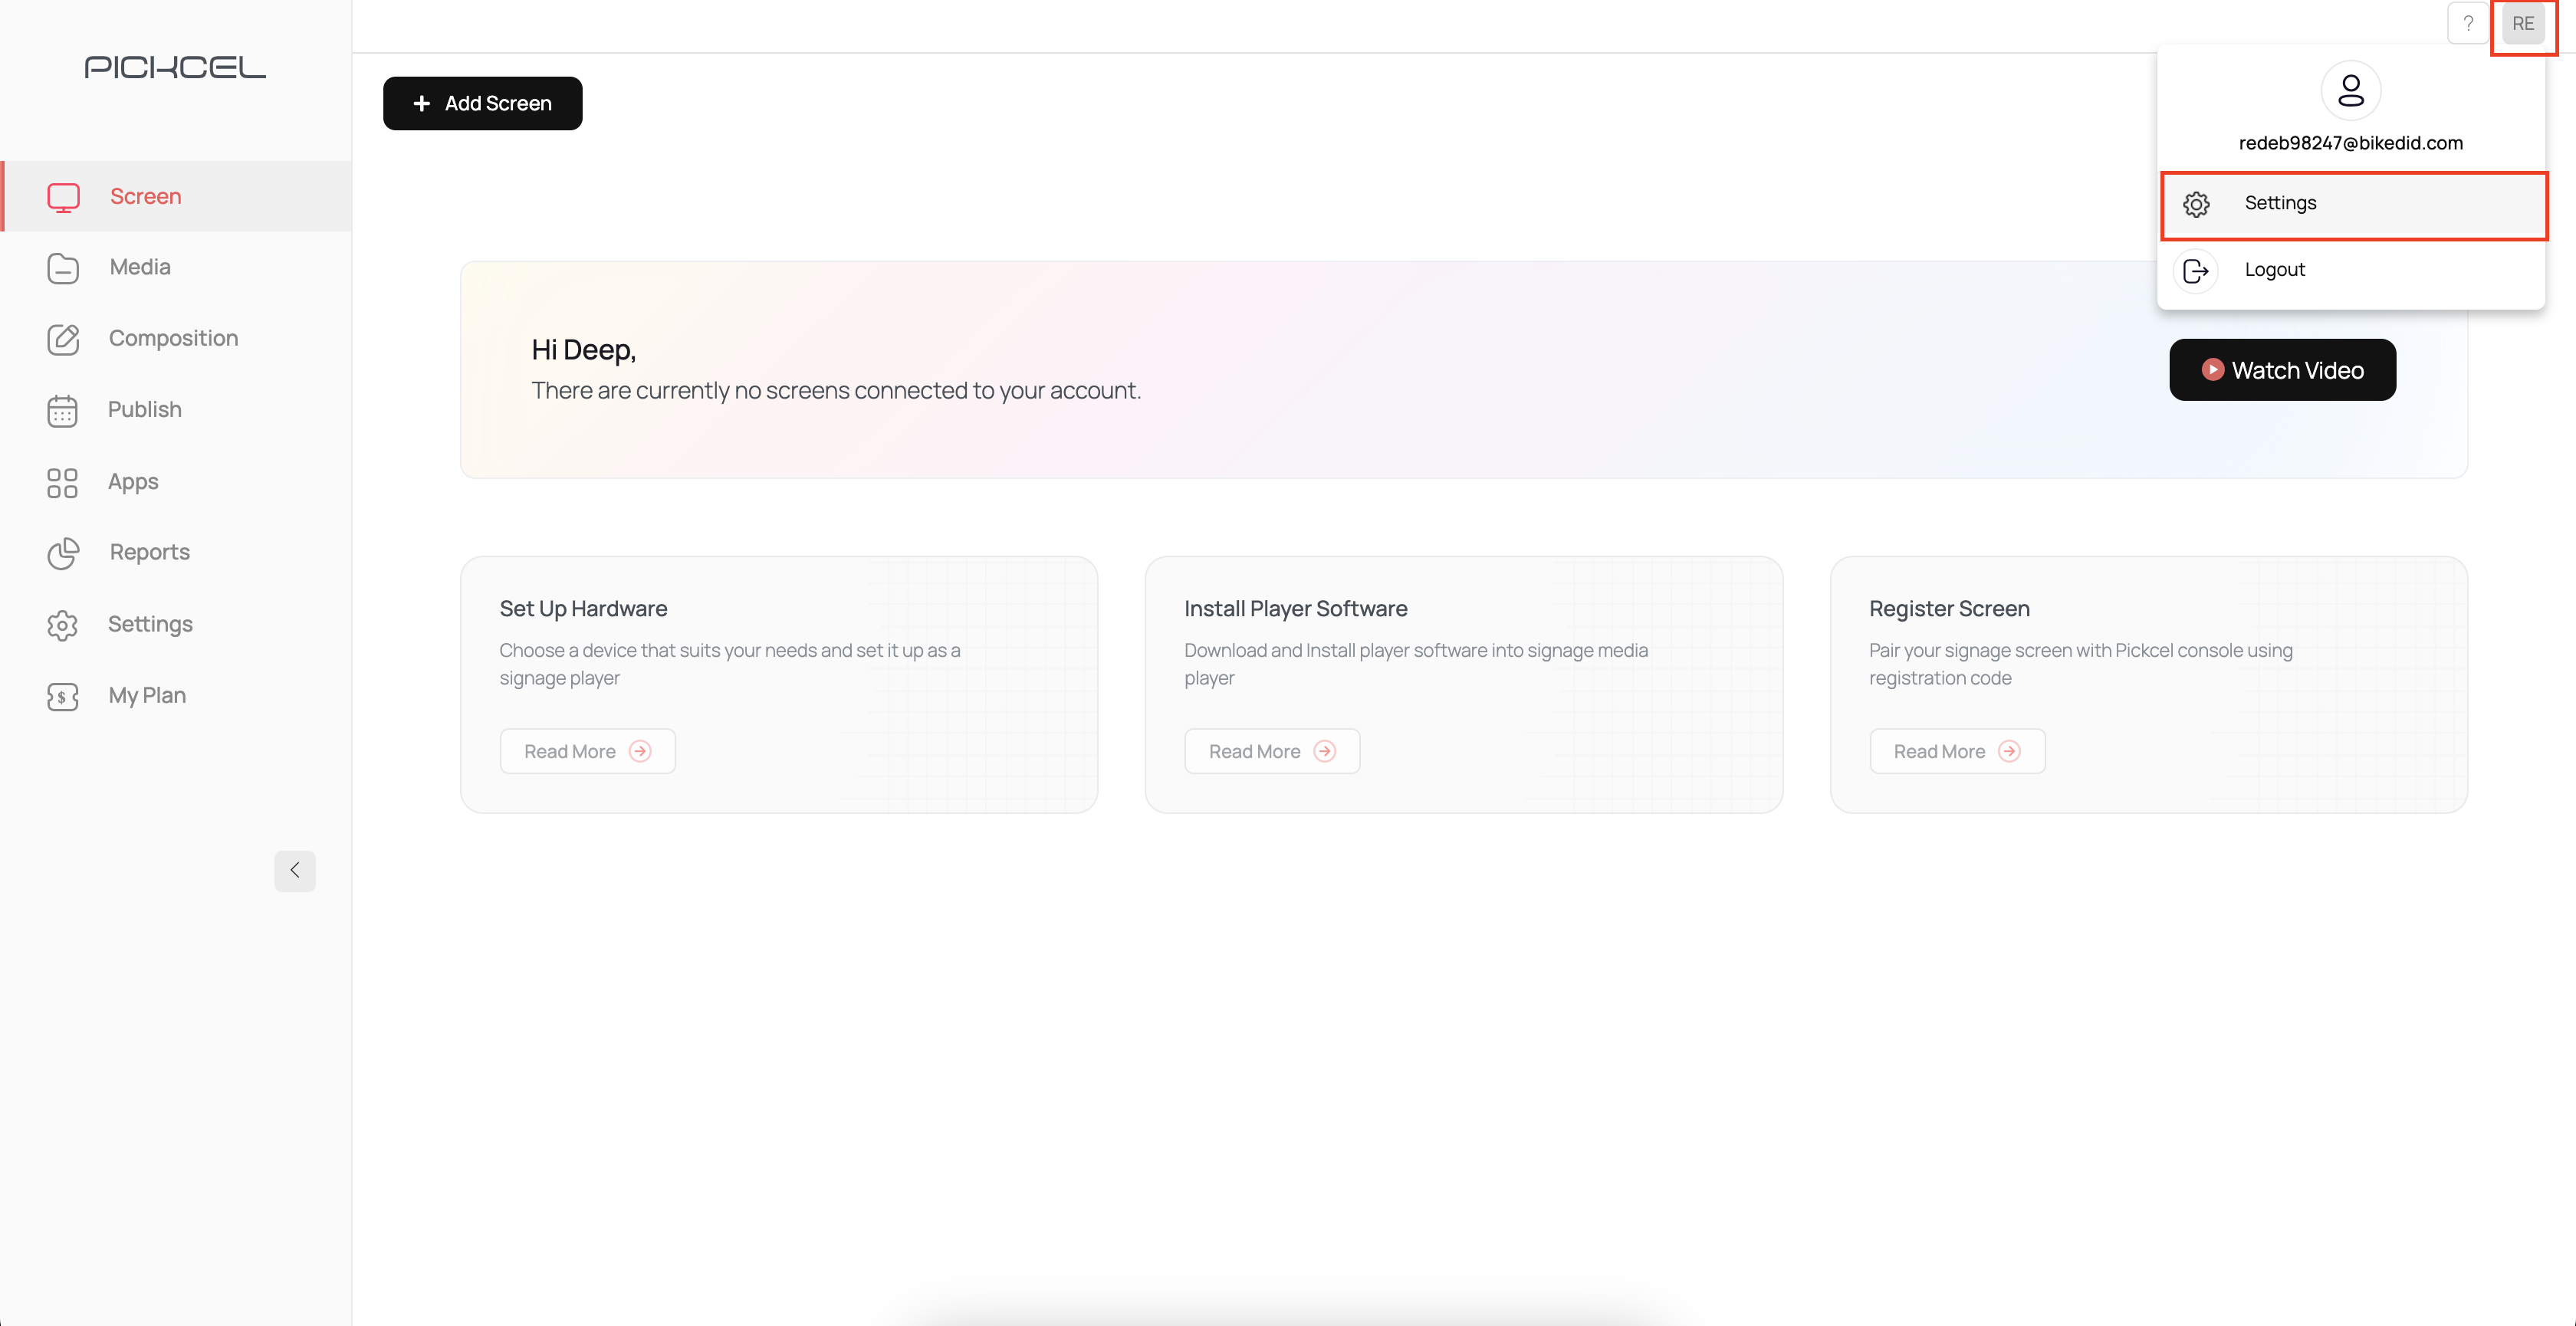
Click on the **profile icon** at the top right corner of the screen, then select **Settings** from the dropdown.
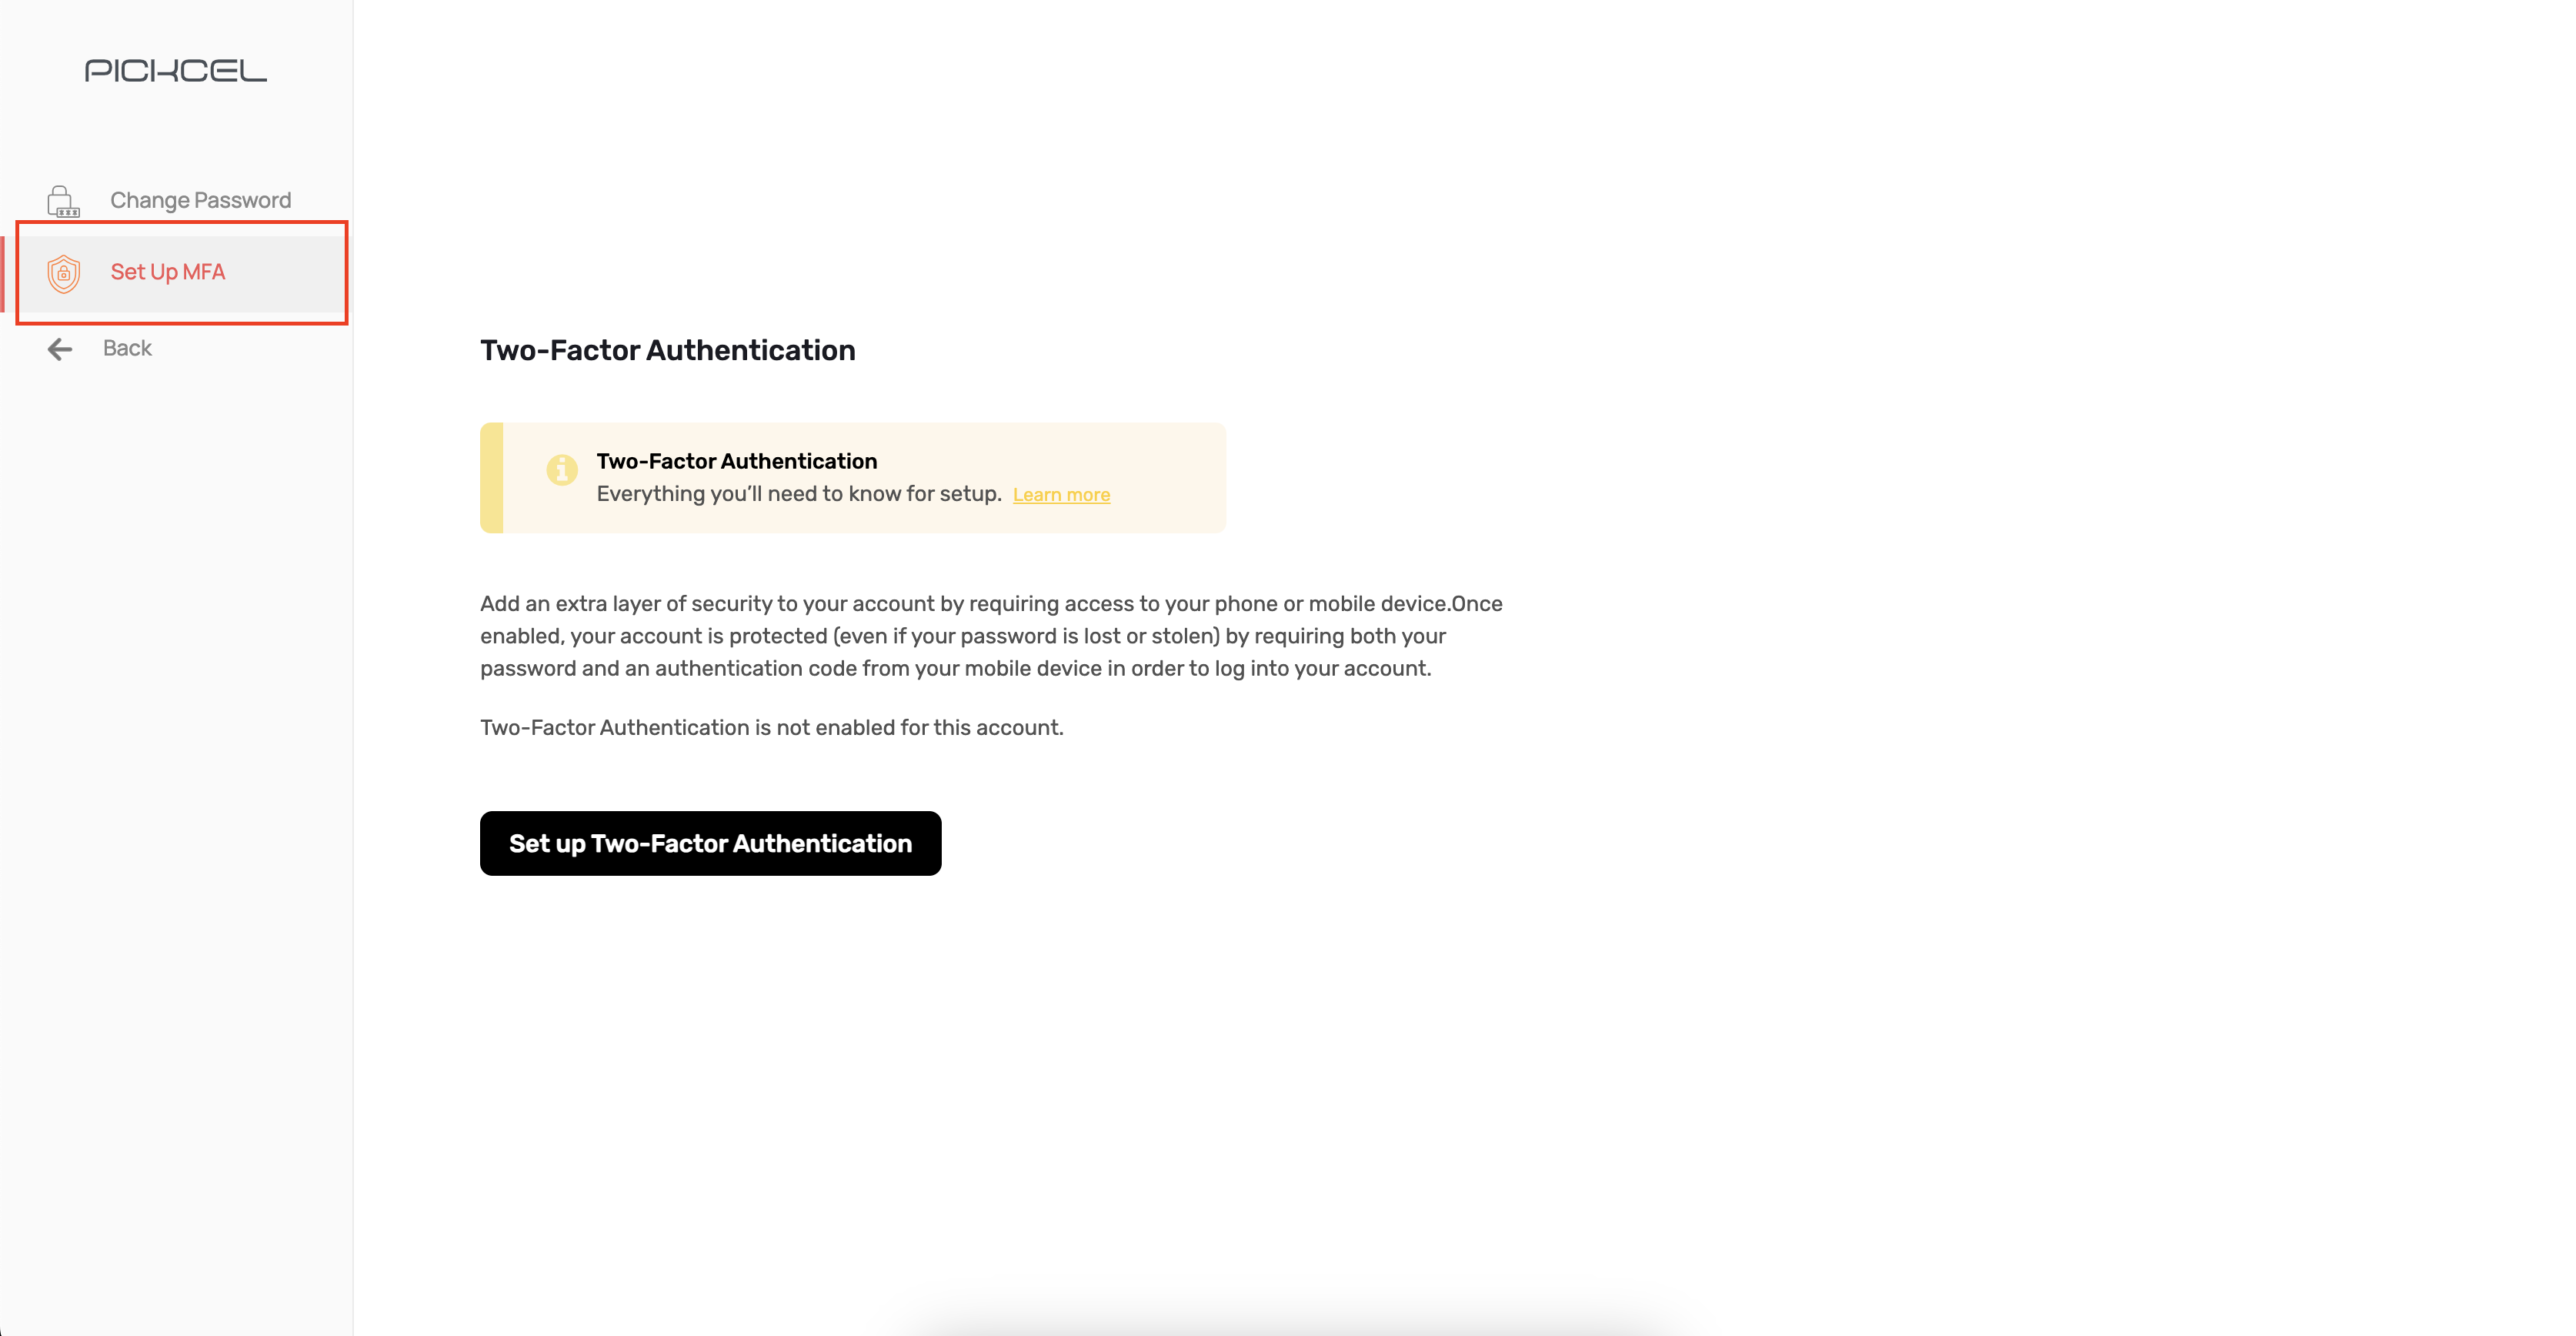
 Inside Settings, click on **Set Up MFA** from the left sidebar.
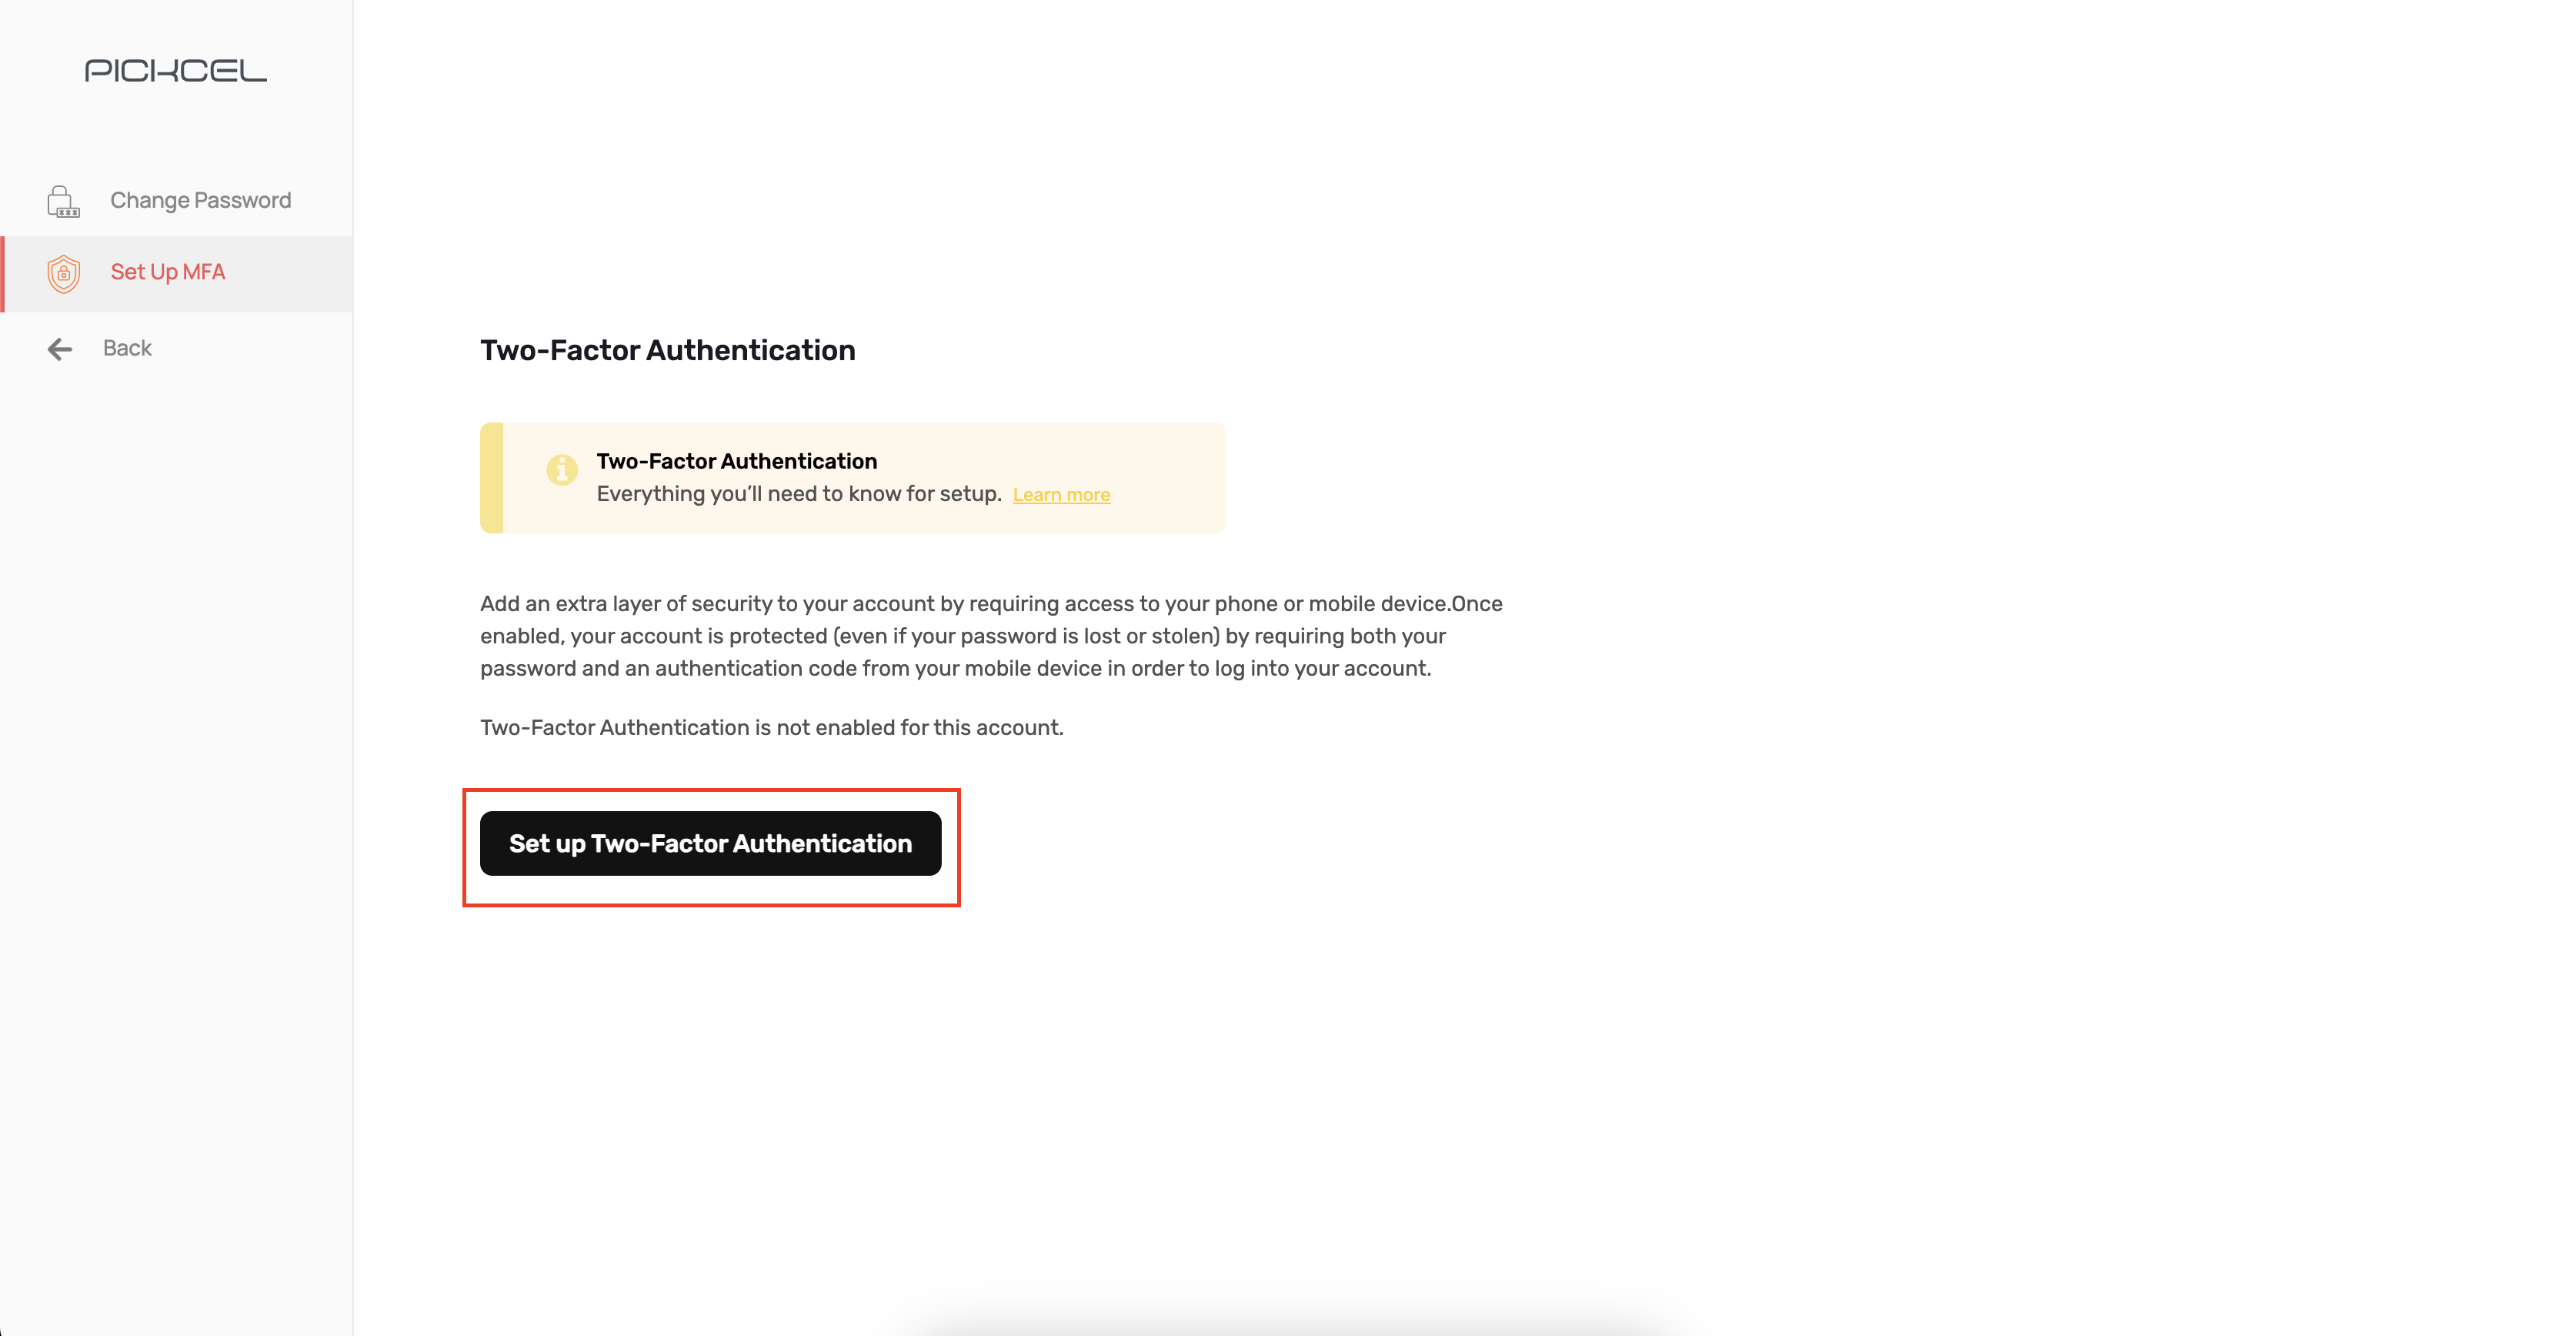
 Click the **"Set up Two-Factor Authentication"** button to begin the setup process.
 Download and install the **Google Authenticator** app on your mobile device:
* **Android:** [Google Play Store](https://play.google.com/store/apps/details?id=com.google.android.apps.authenticator2)
* **iOS:** [Apple App Store](https://apps.apple.com/app/google-authenticator/id388497605)
Download and install the **Google Authenticator** app on your mobile device:
* **Android:** [Google Play Store](https://play.google.com/store/apps/details?id=com.google.android.apps.authenticator2)
* **iOS:** [Apple App Store](https://apps.apple.com/app/google-authenticator/id388497605)
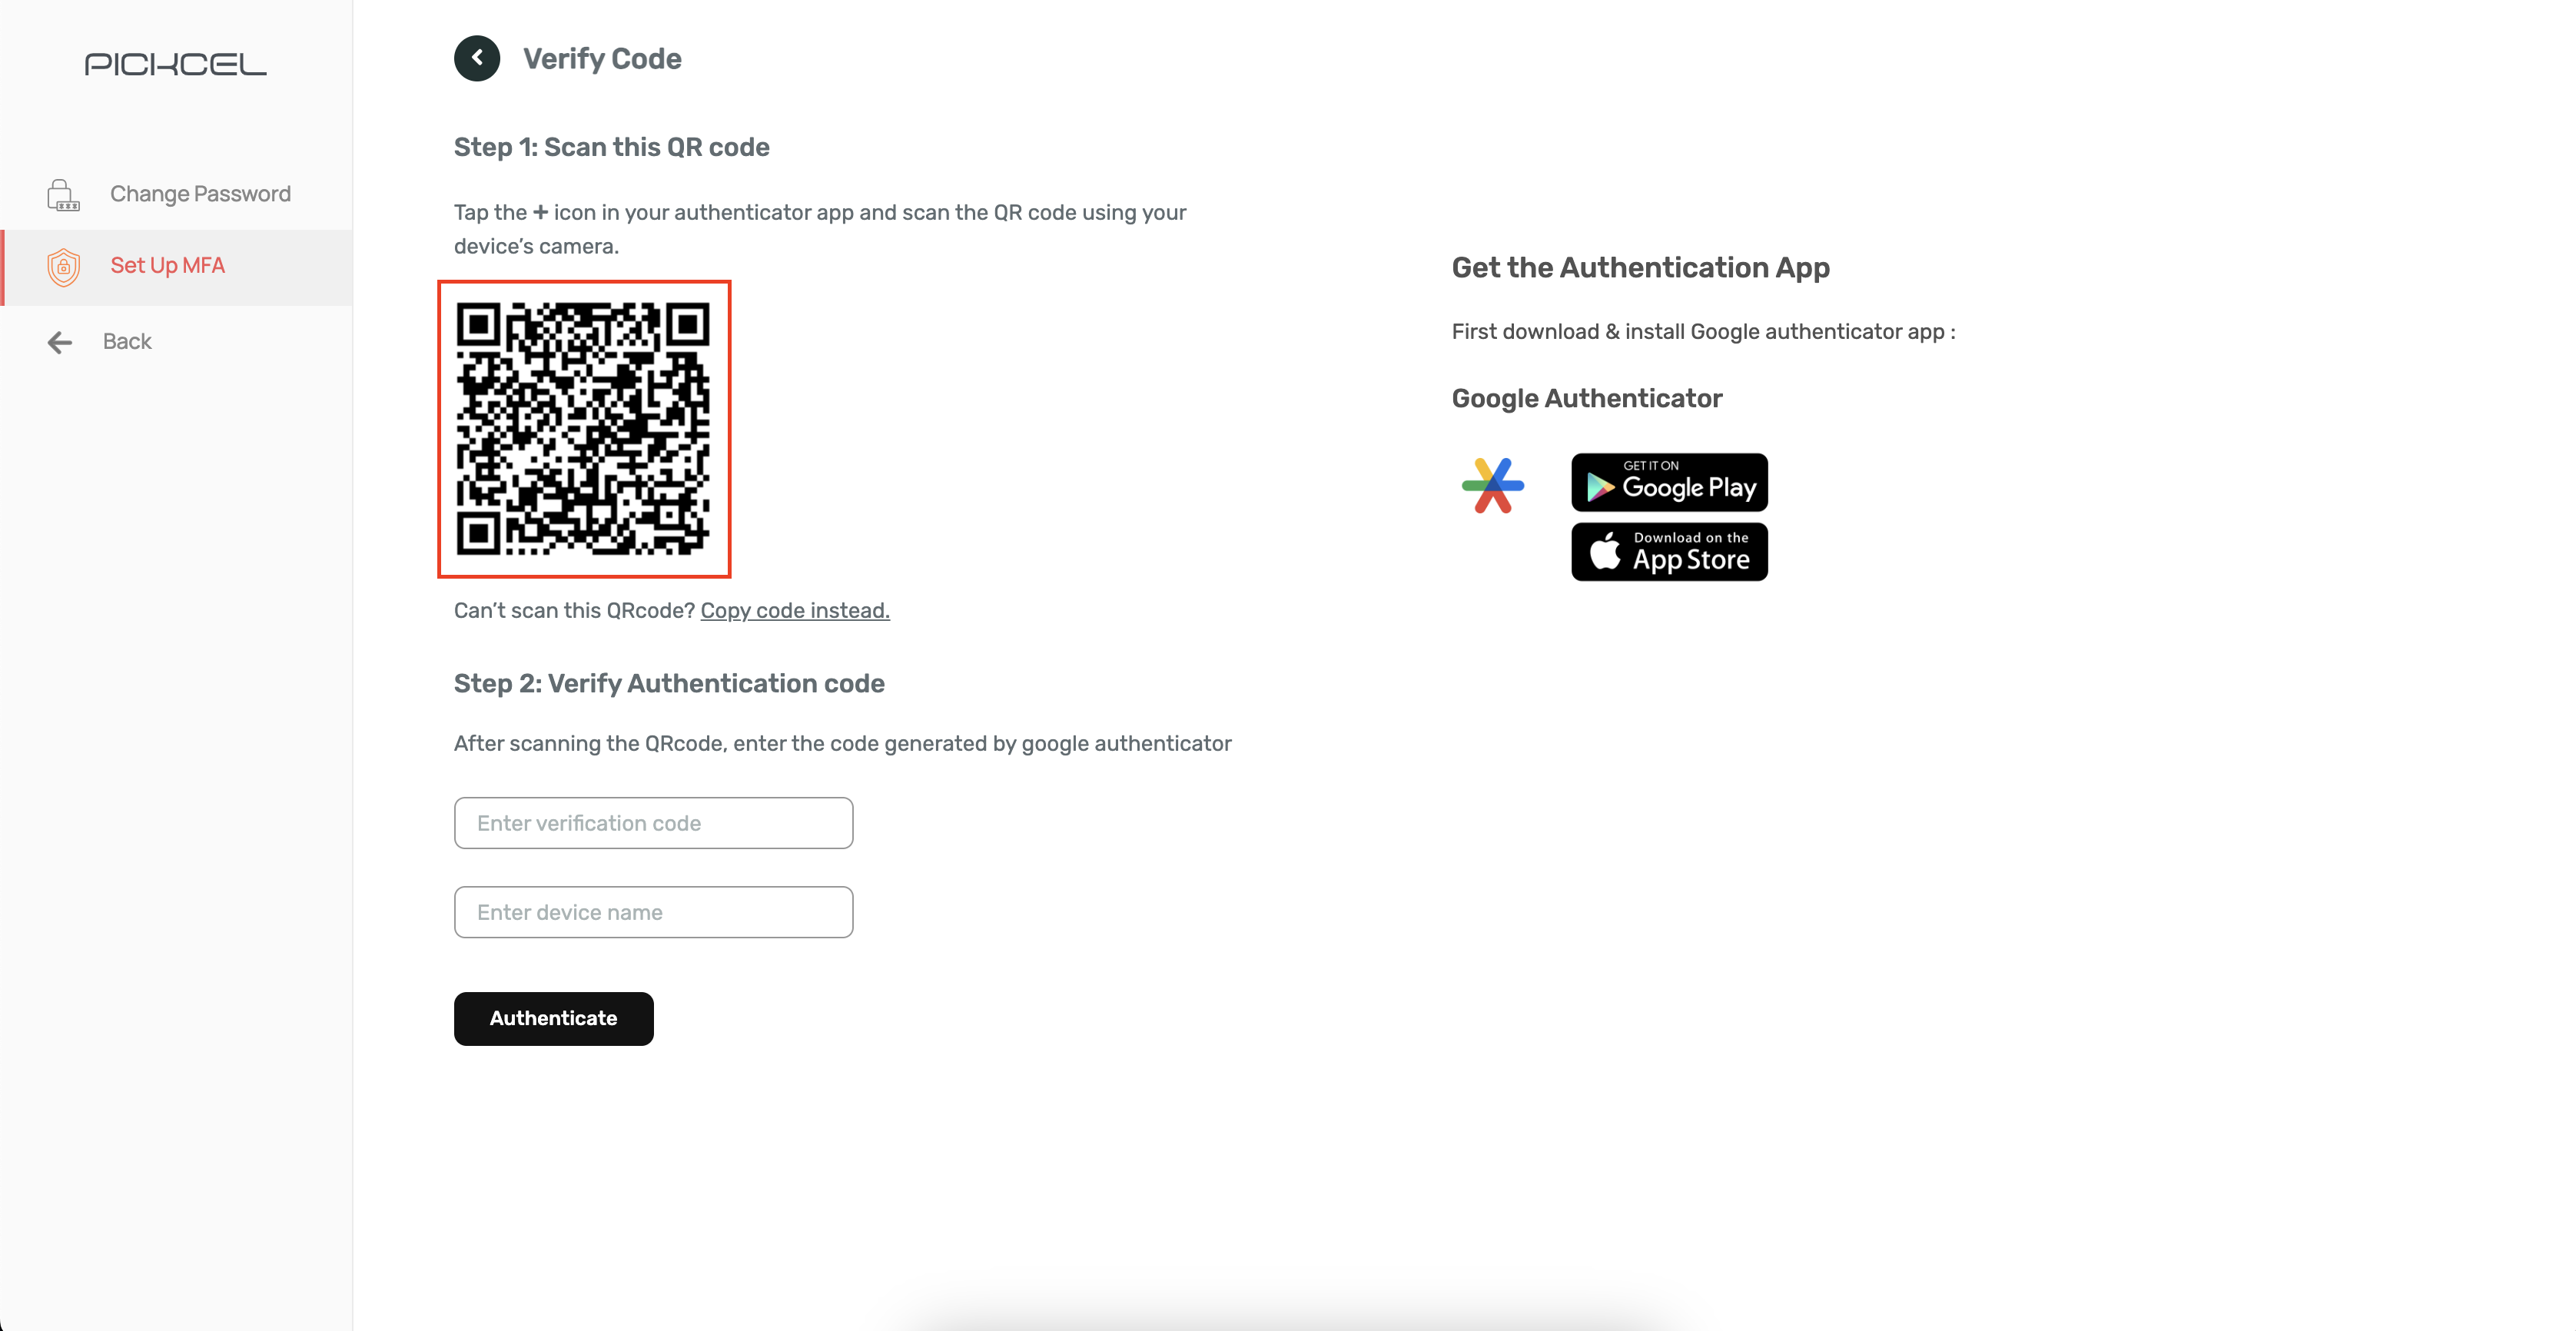
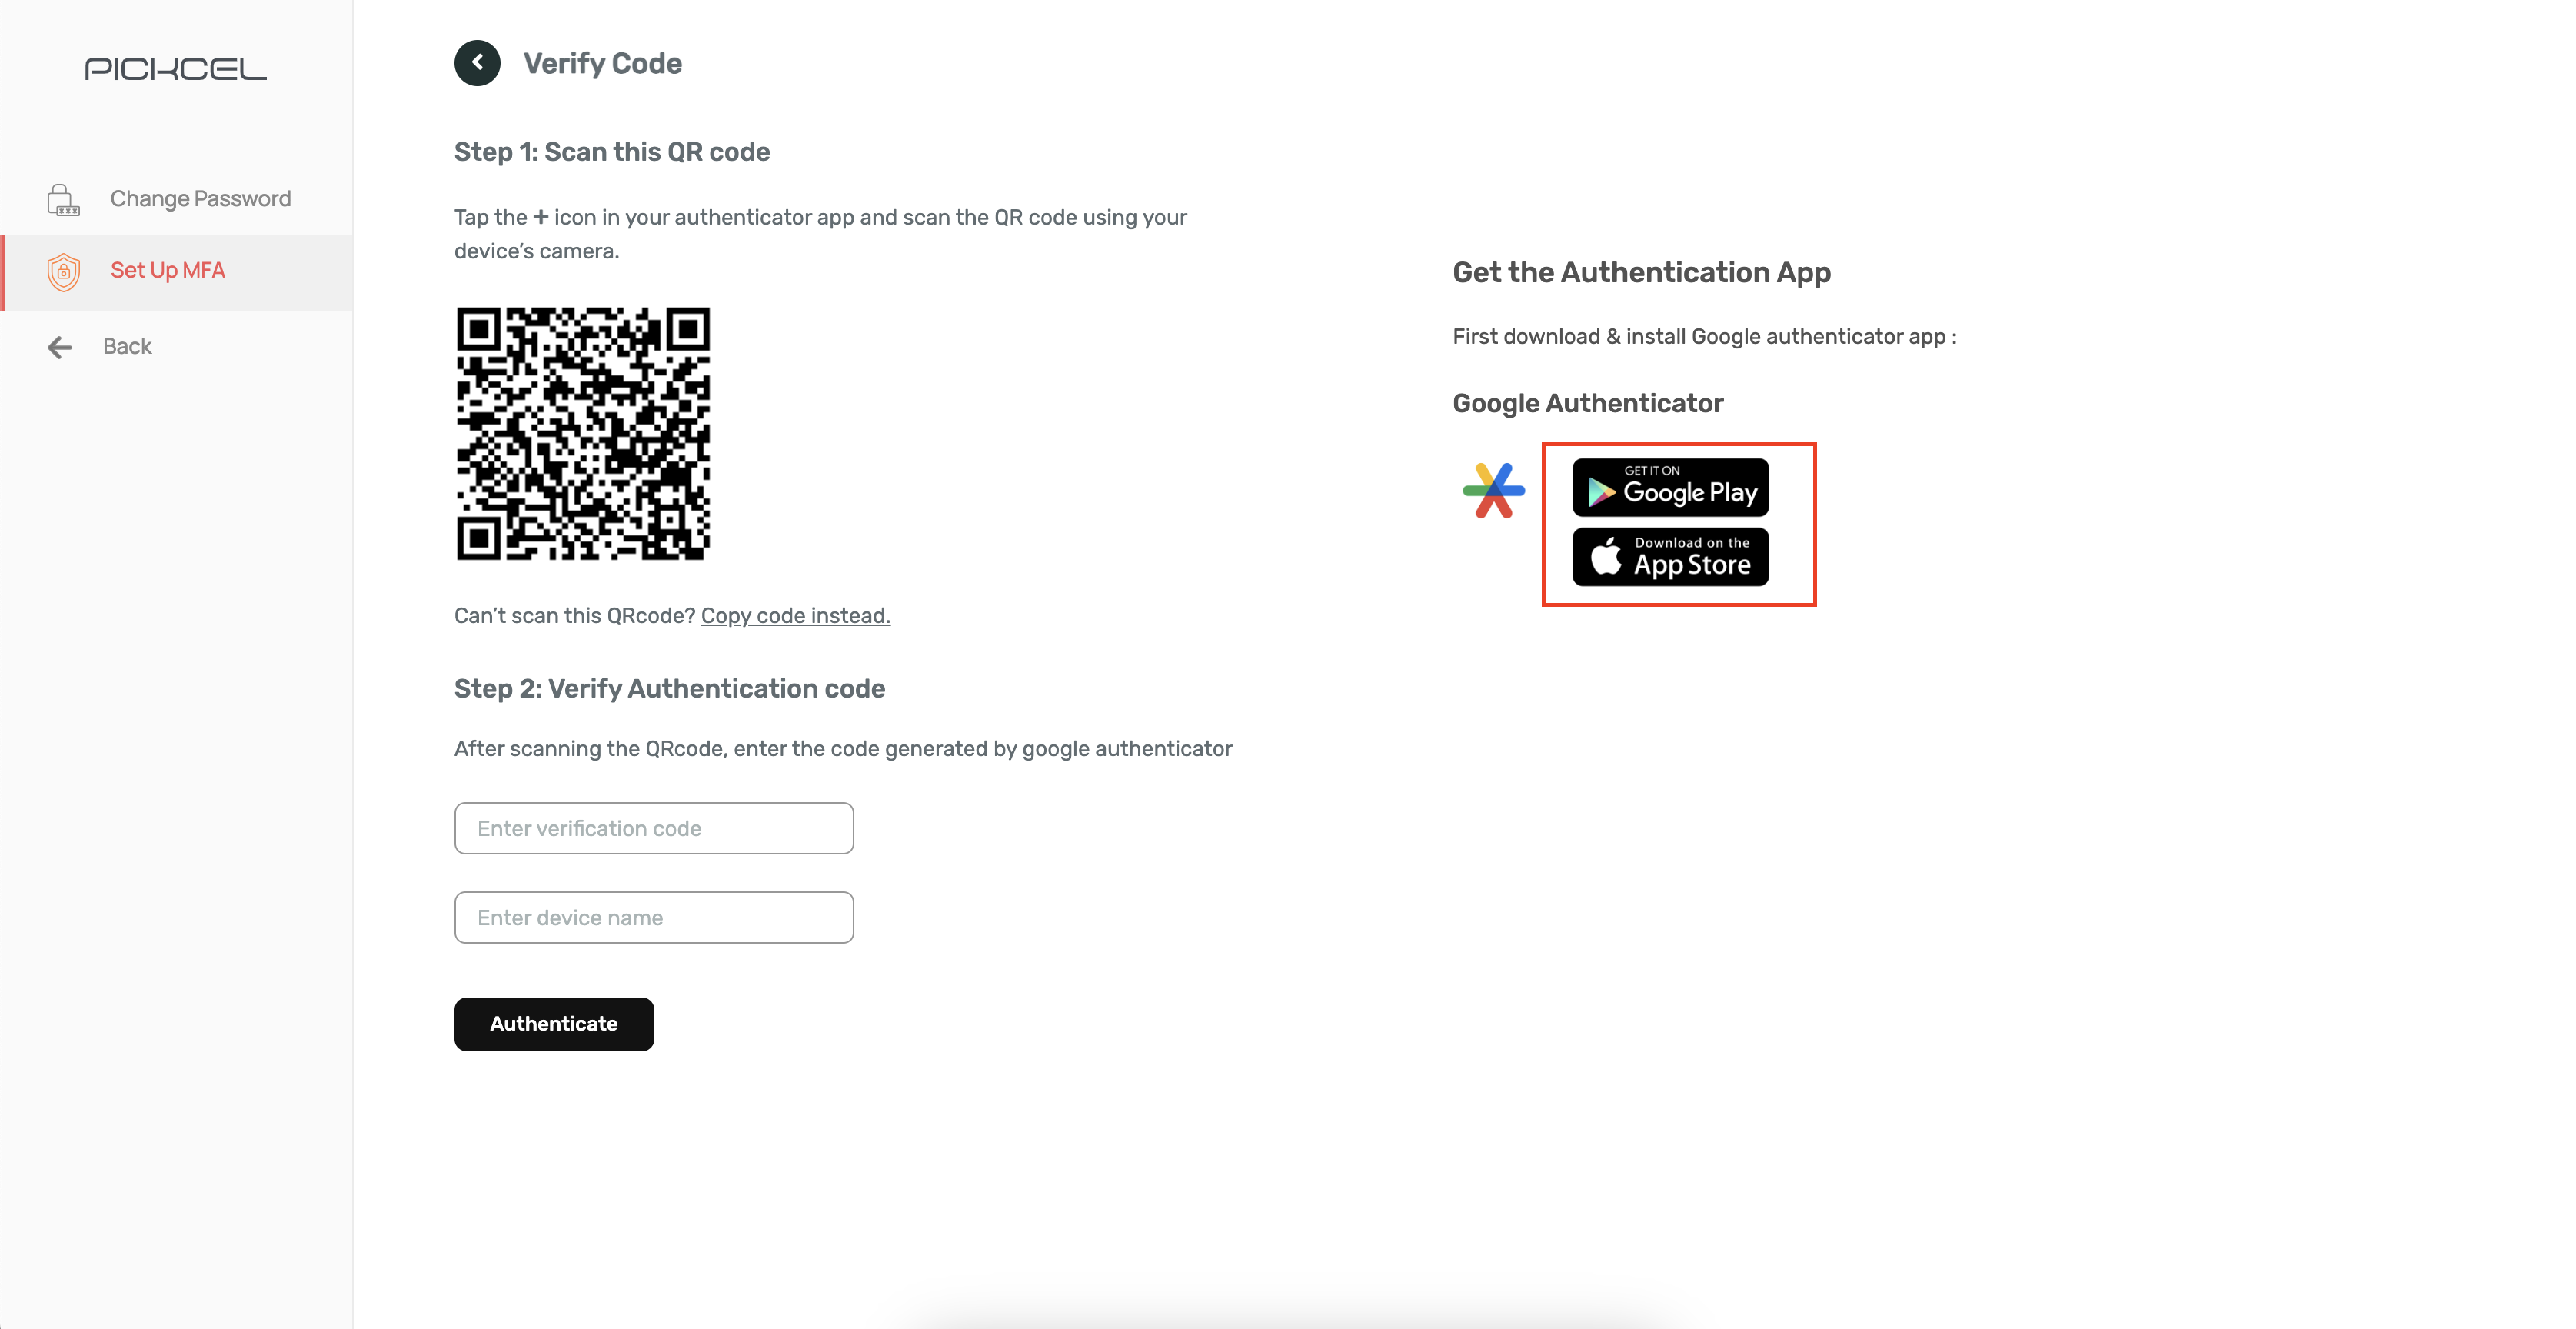 Open the Google Authenticator app and scan the **QR code** displayed on the Pickcel MFA setup screen.
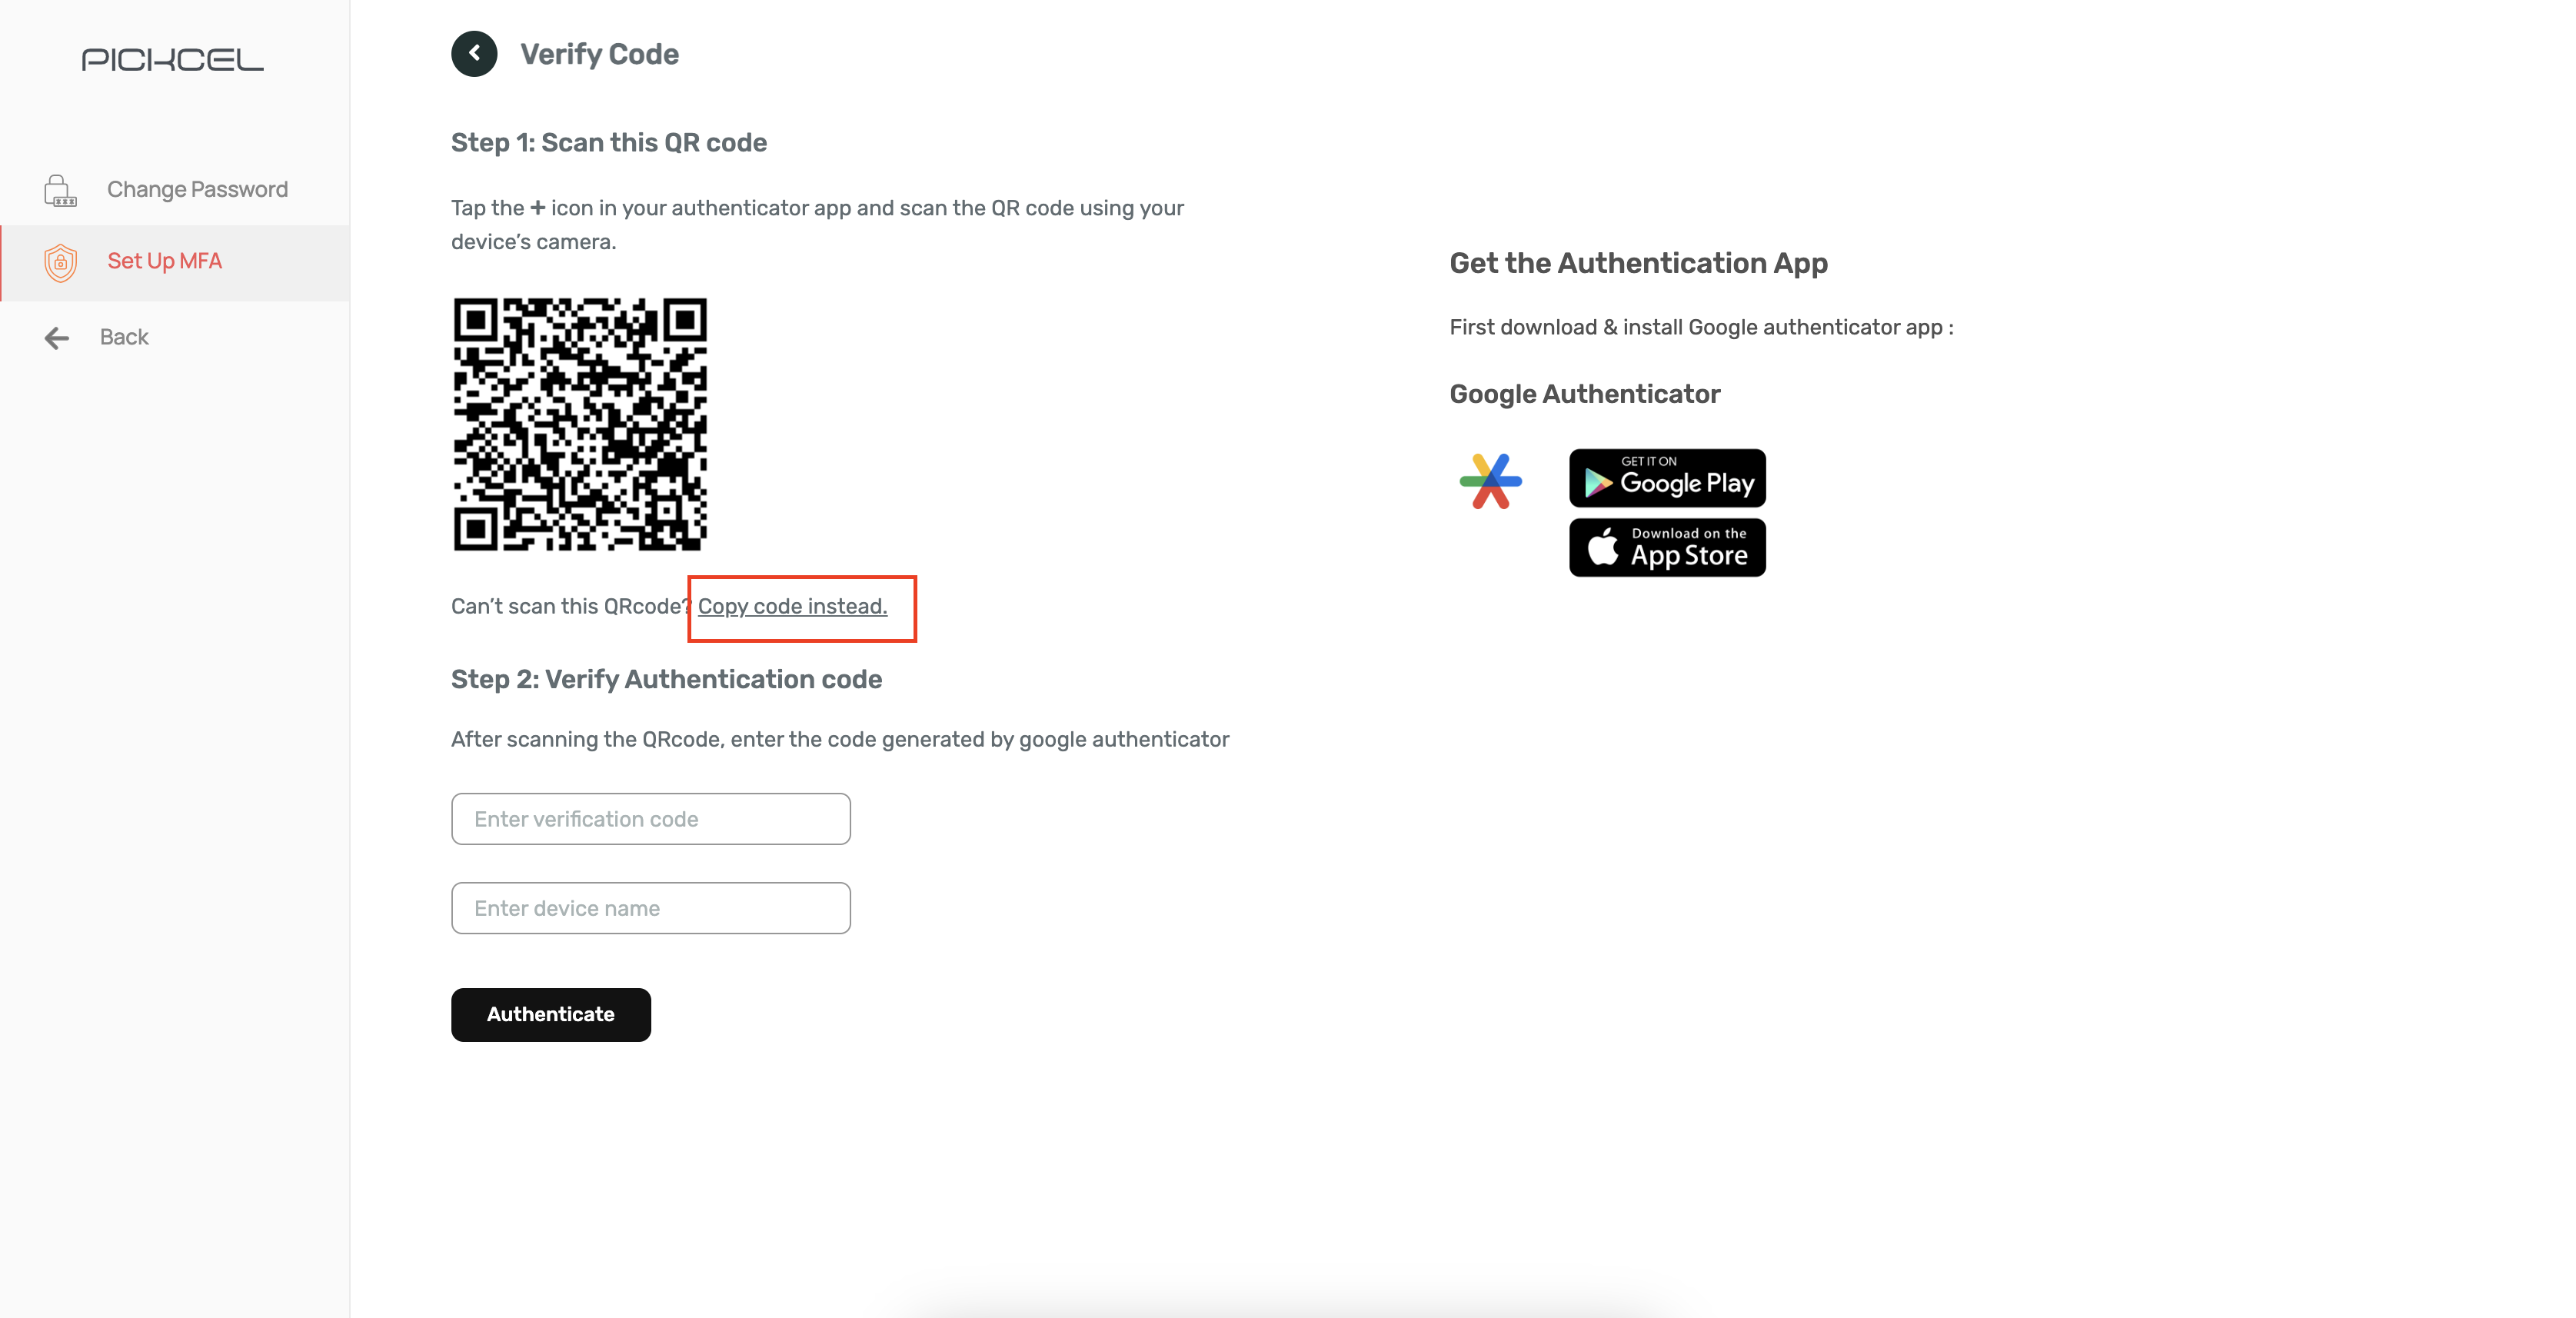
 If you're unable to scan the QR code, click **"Copy code instead"** and manually paste it into the **"Enter setup key"** field in your authenticator app.
 **Important:** Save the backup code displayed during MFA setup in a secure location. This code is essential for account recovery if you ever lose access to your authenticator app or switch devices.
Once your account is linked in the app, Google Authenticator will generate a **time-sensitive 6-digit code**.
* Enter the code in the **"Enter verification code"** field.
* Provide a name for your device in the **"Enter device name"** field.
**Important:** Save the backup code displayed during MFA setup in a secure location. This code is essential for account recovery if you ever lose access to your authenticator app or switch devices.
Once your account is linked in the app, Google Authenticator will generate a **time-sensitive 6-digit code**.
* Enter the code in the **"Enter verification code"** field.
* Provide a name for your device in the **"Enter device name"** field.
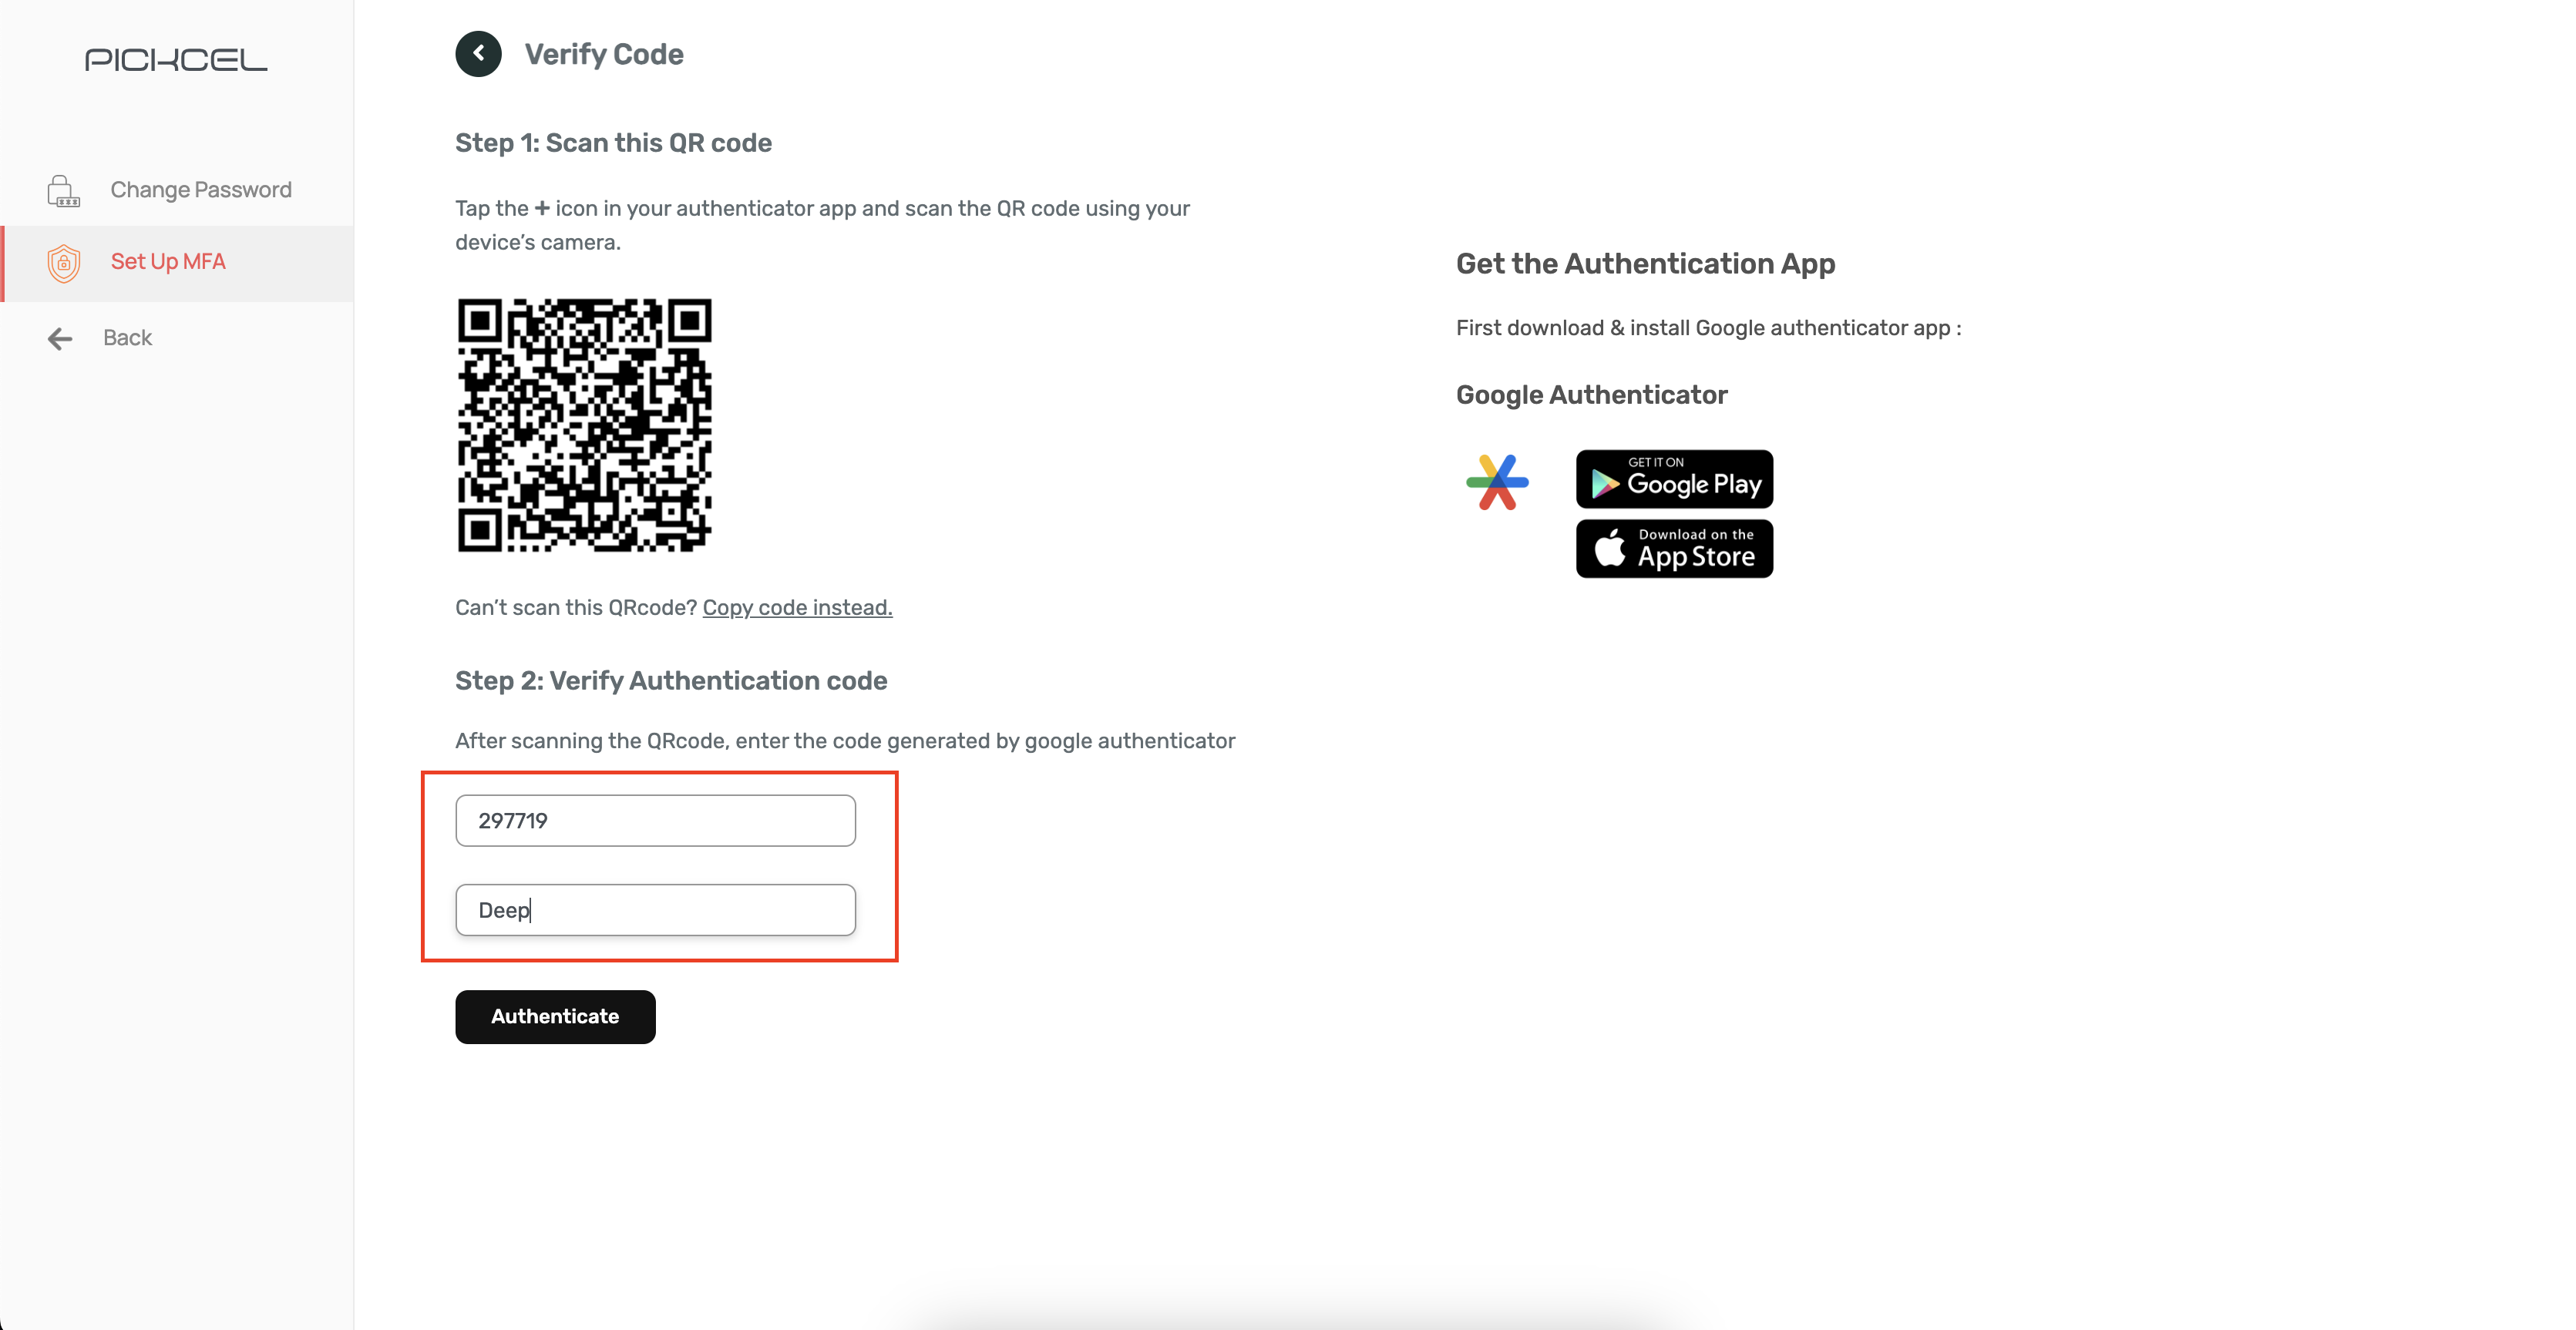 Click **"Authenticate"** before the TOTP code expires to complete verification.
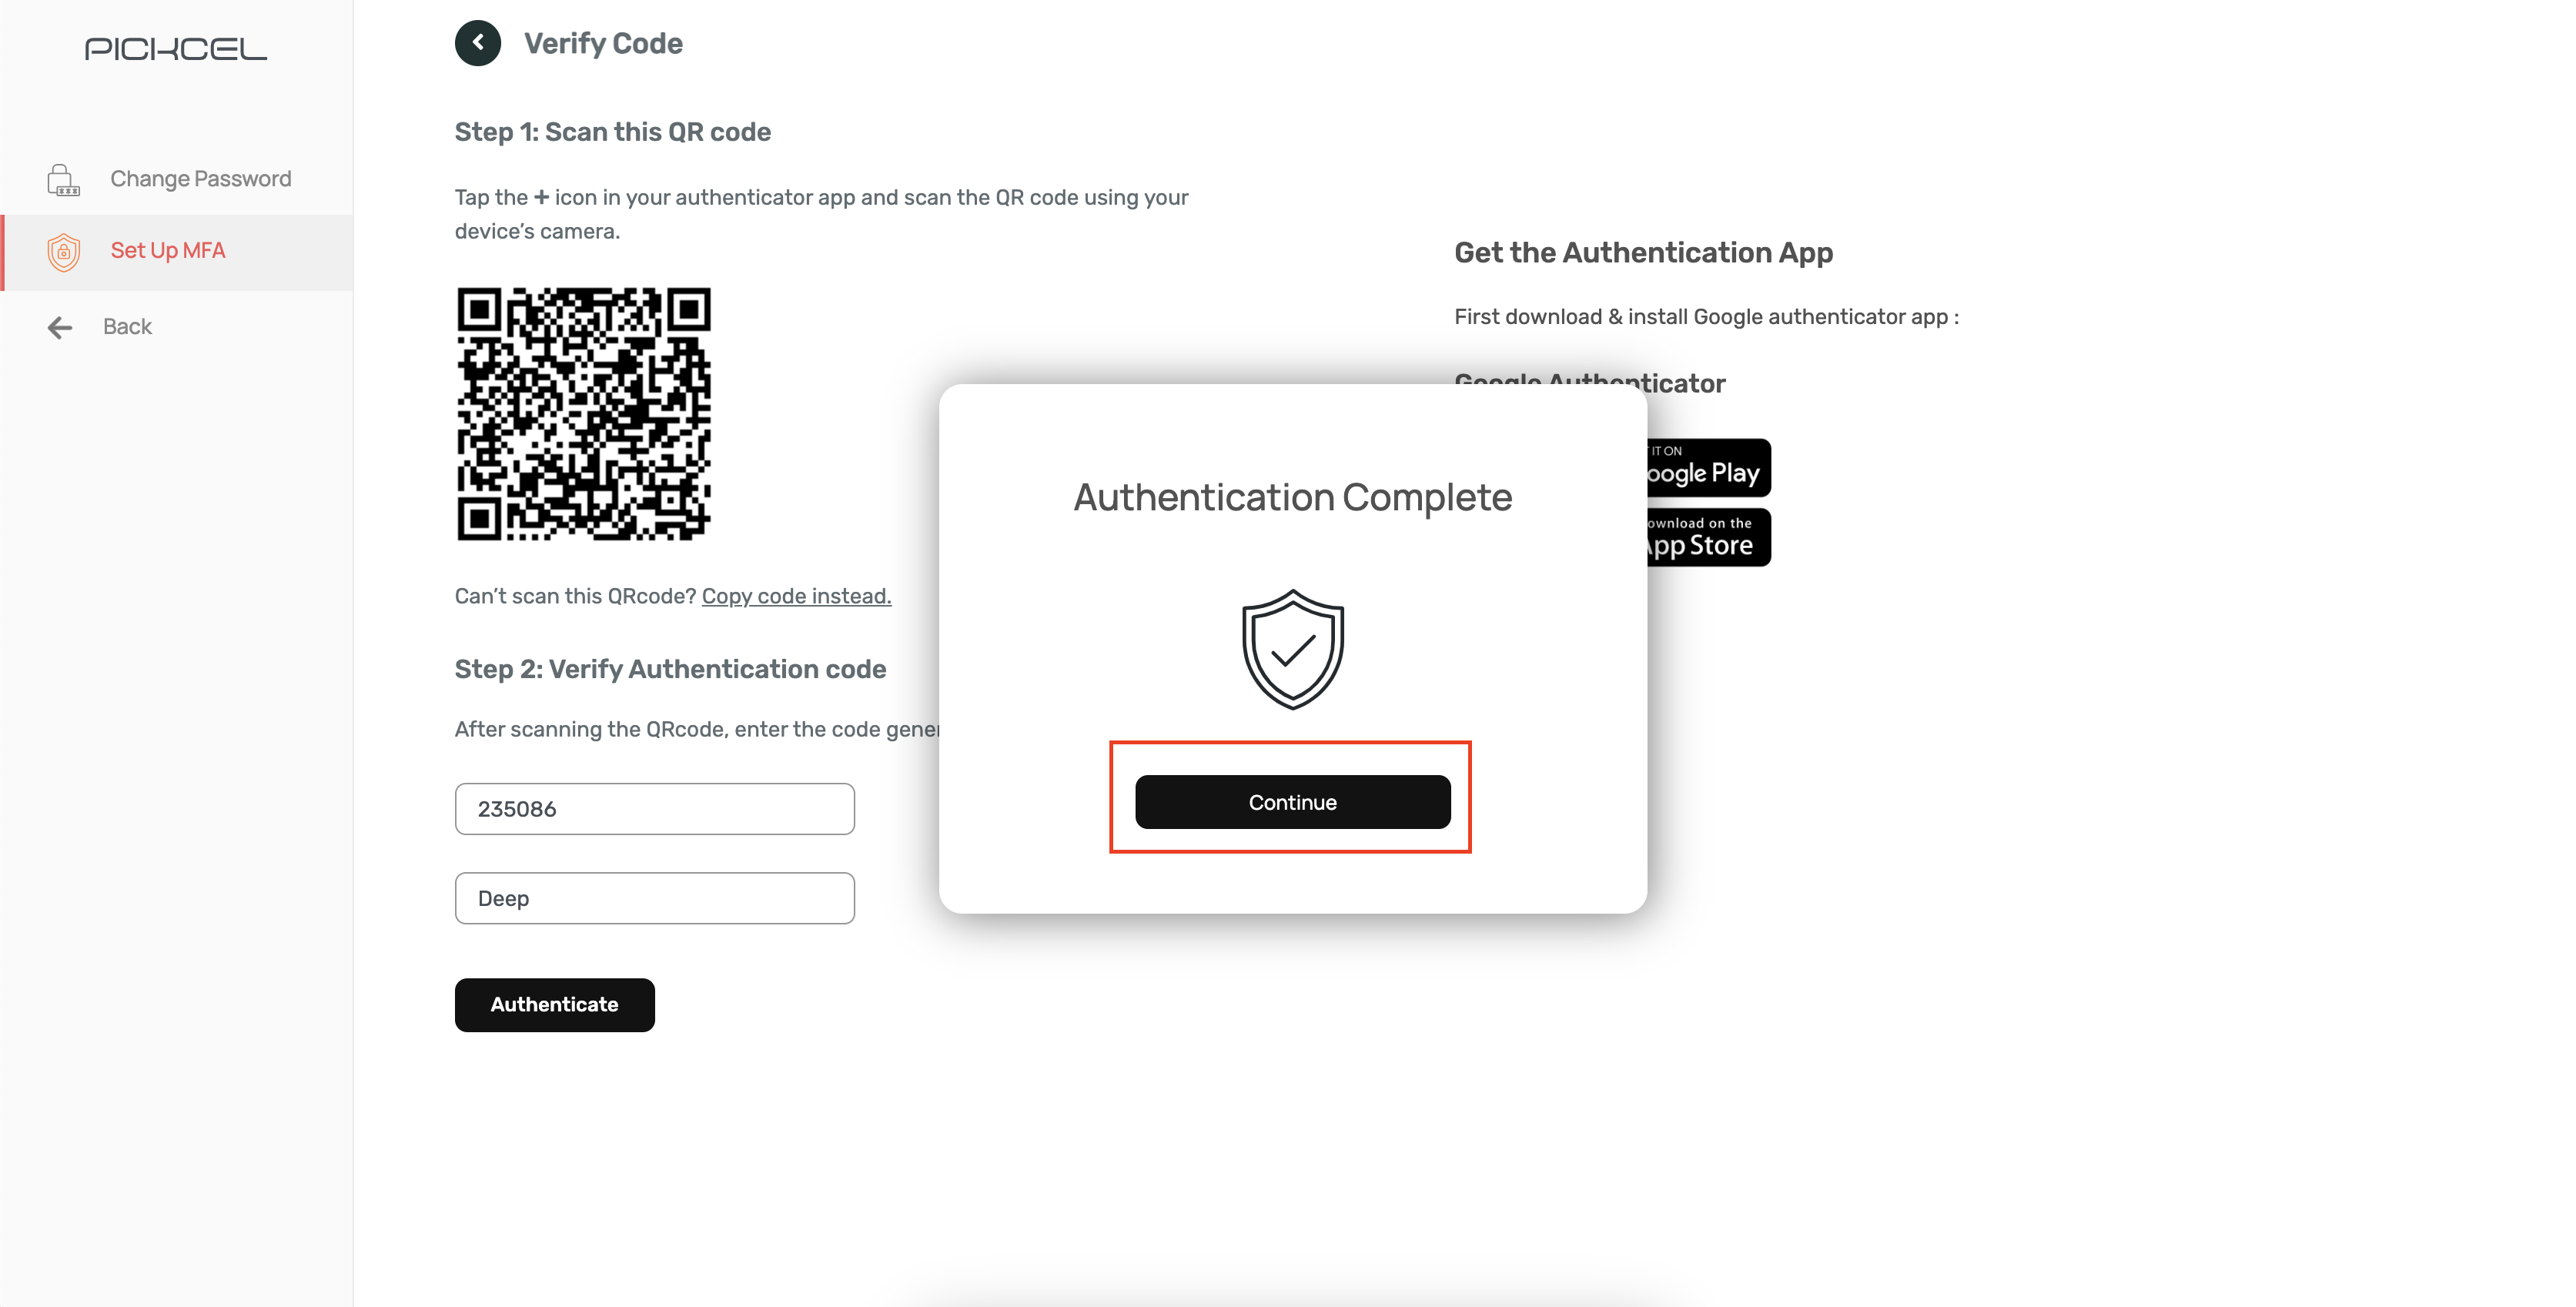
On successful verification, a confirmation pop-up will appear. Click **"Continue"** to finish.
Click **"Authenticate"** before the TOTP code expires to complete verification.
On successful verification, a confirmation pop-up will appear. Click **"Continue"** to finish.
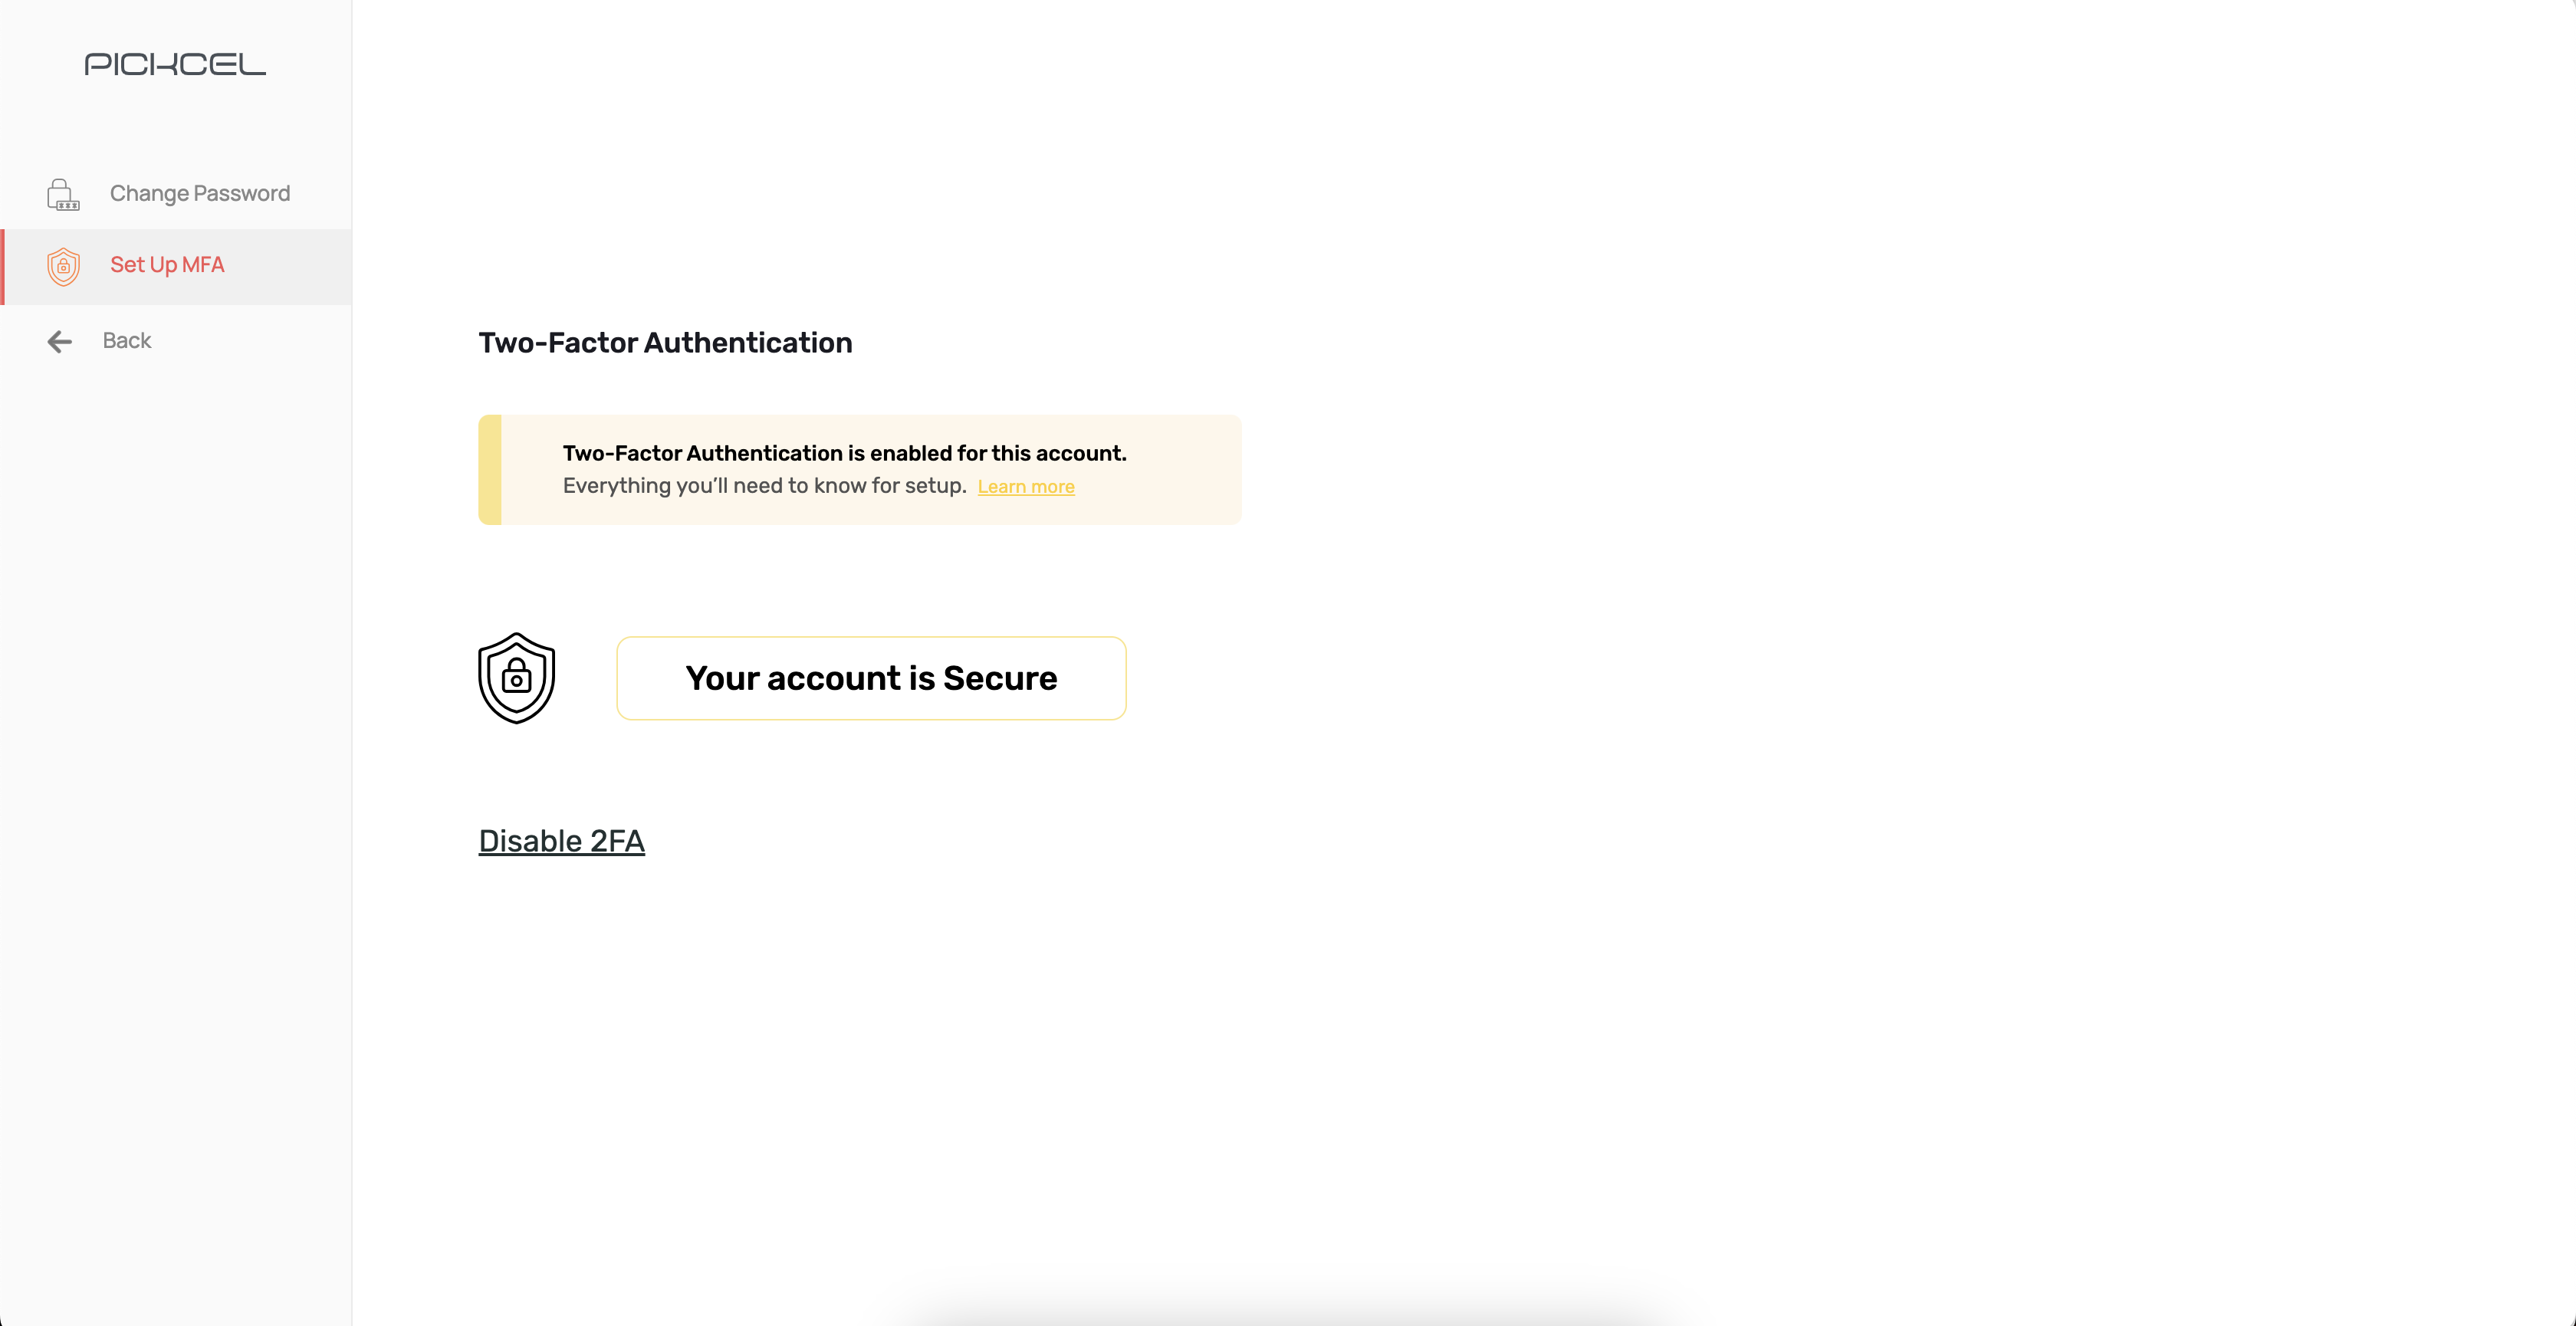
 Your account will now display **"Your account is Secure"**, confirming MFA is active.
 ***
## Verifying MFA Works
To confirm MFA is functioning correctly:
Log out of your Pickcel account and re-enter your credentials on the login page. Click **"Login."**
You'll be prompted to enter a **6-digit code**. Open your Google Authenticator app and enter the current code before it expires.
***
## Verifying MFA Works
To confirm MFA is functioning correctly:
Log out of your Pickcel account and re-enter your credentials on the login page. Click **"Login."**
You'll be prompted to enter a **6-digit code**. Open your Google Authenticator app and enter the current code before it expires.
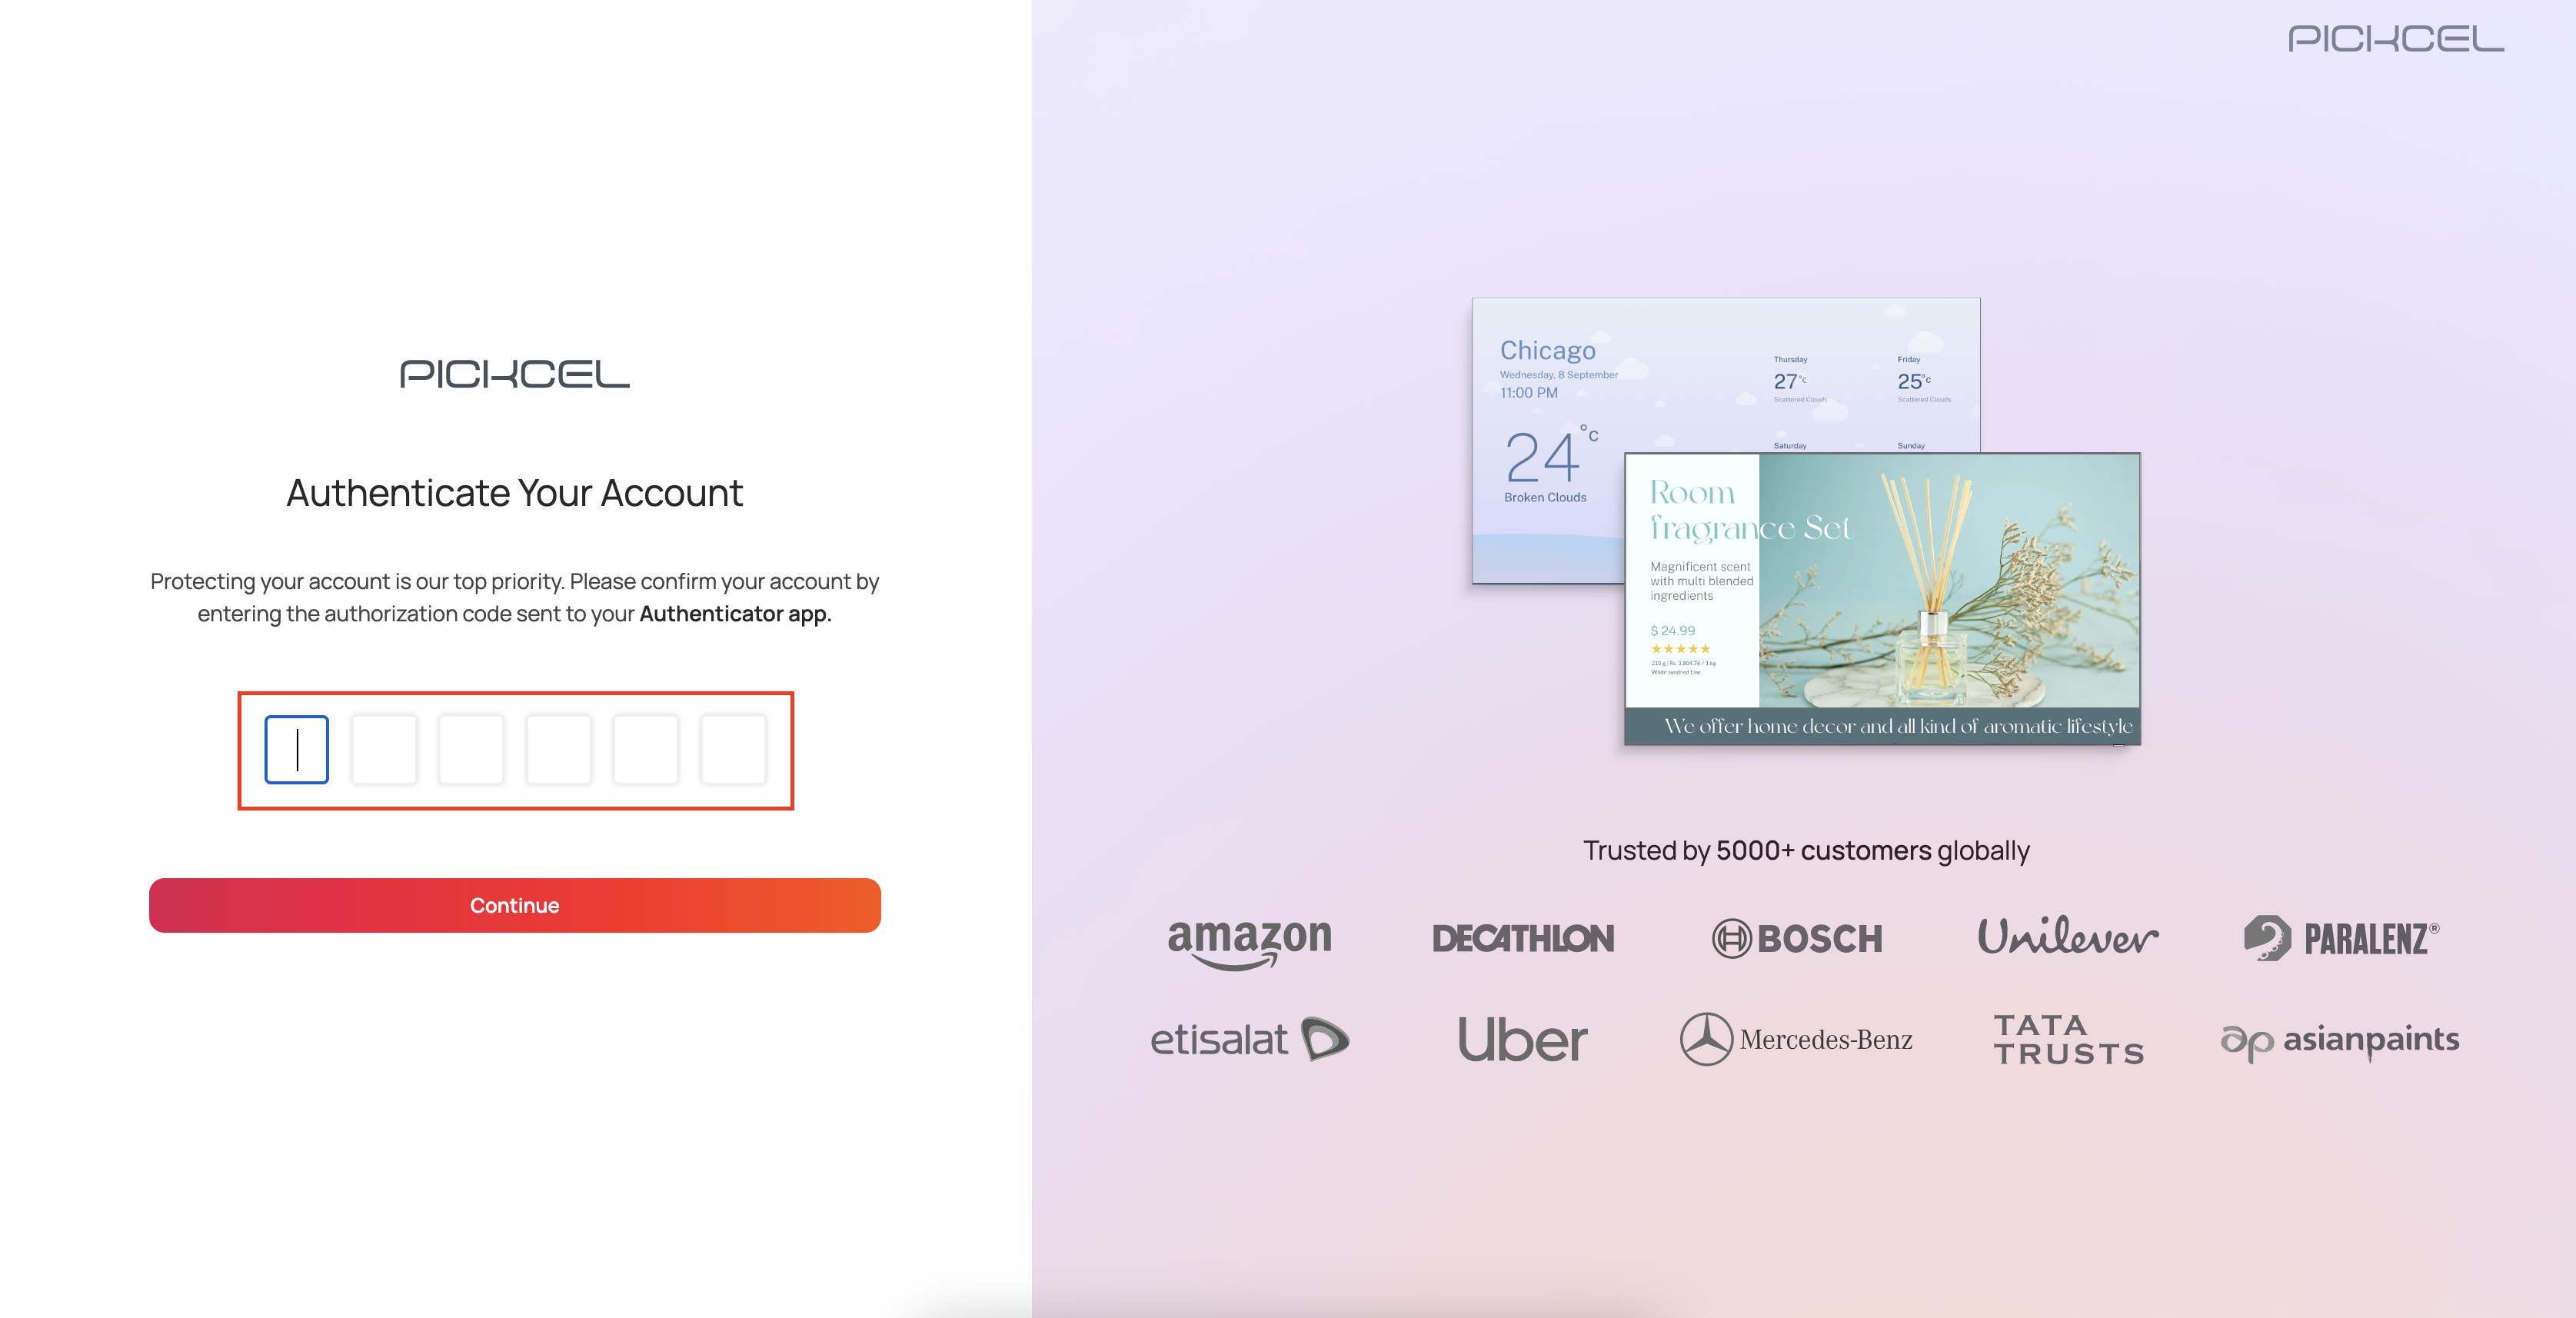 Click **"Continue."** On successful verification, you'll be securely logged into your account with MFA active.
***
**Keep in mind:**
1. Store your backup code securely, you'll need it if you lose access to the Google Authenticator app.
2. If you switch devices or reinstall the app, use the backup code to reconfigure MFA.
3. For any assistance, [contact our support team](mailto:support@pickcel.com).
If your organization uses an identity provider like Okta or Amazon Cognito, [Single Sign-On](/settings/sso) may be a better fit than MFA. Note that enabling SSO hides the MFA option, since authentication is then managed entirely by your identity provider.
Click **"Continue."** On successful verification, you'll be securely logged into your account with MFA active.
***
**Keep in mind:**
1. Store your backup code securely, you'll need it if you lose access to the Google Authenticator app.
2. If you switch devices or reinstall the app, use the backup code to reconfigure MFA.
3. For any assistance, [contact our support team](mailto:support@pickcel.com).
If your organization uses an identity provider like Okta or Amazon Cognito, [Single Sign-On](/settings/sso) may be a better fit than MFA. Note that enabling SSO hides the MFA option, since authentication is then managed entirely by your identity provider.