> ## Documentation Index
> Fetch the complete documentation index at: https://docs.pickcel.com/llms.txt
> Use this file to discover all available pages before exploring further.
# How to Create User Accounts in Partner Console?
> Learn how to create and manage user accounts in the Pickcel Partner Console
Pickcel Partners can create and manage individual customer accounts (entities) from a dedicated Partner Console, without needing the Pickcel team to provision them. This guide walks through creating an entity, sharing its login, and managing it afterward.
## Access the Partner Console
Log in to the Pickcel Partner Console at [console.pickcel.com/partner](https://console.pickcel.com/partner).
Your login credentials are provided by the **Pickcel Sales team**.
## Add a new entity
After logging in, click **+ Entity** to add a new user (organisation) for Pickcel's services.
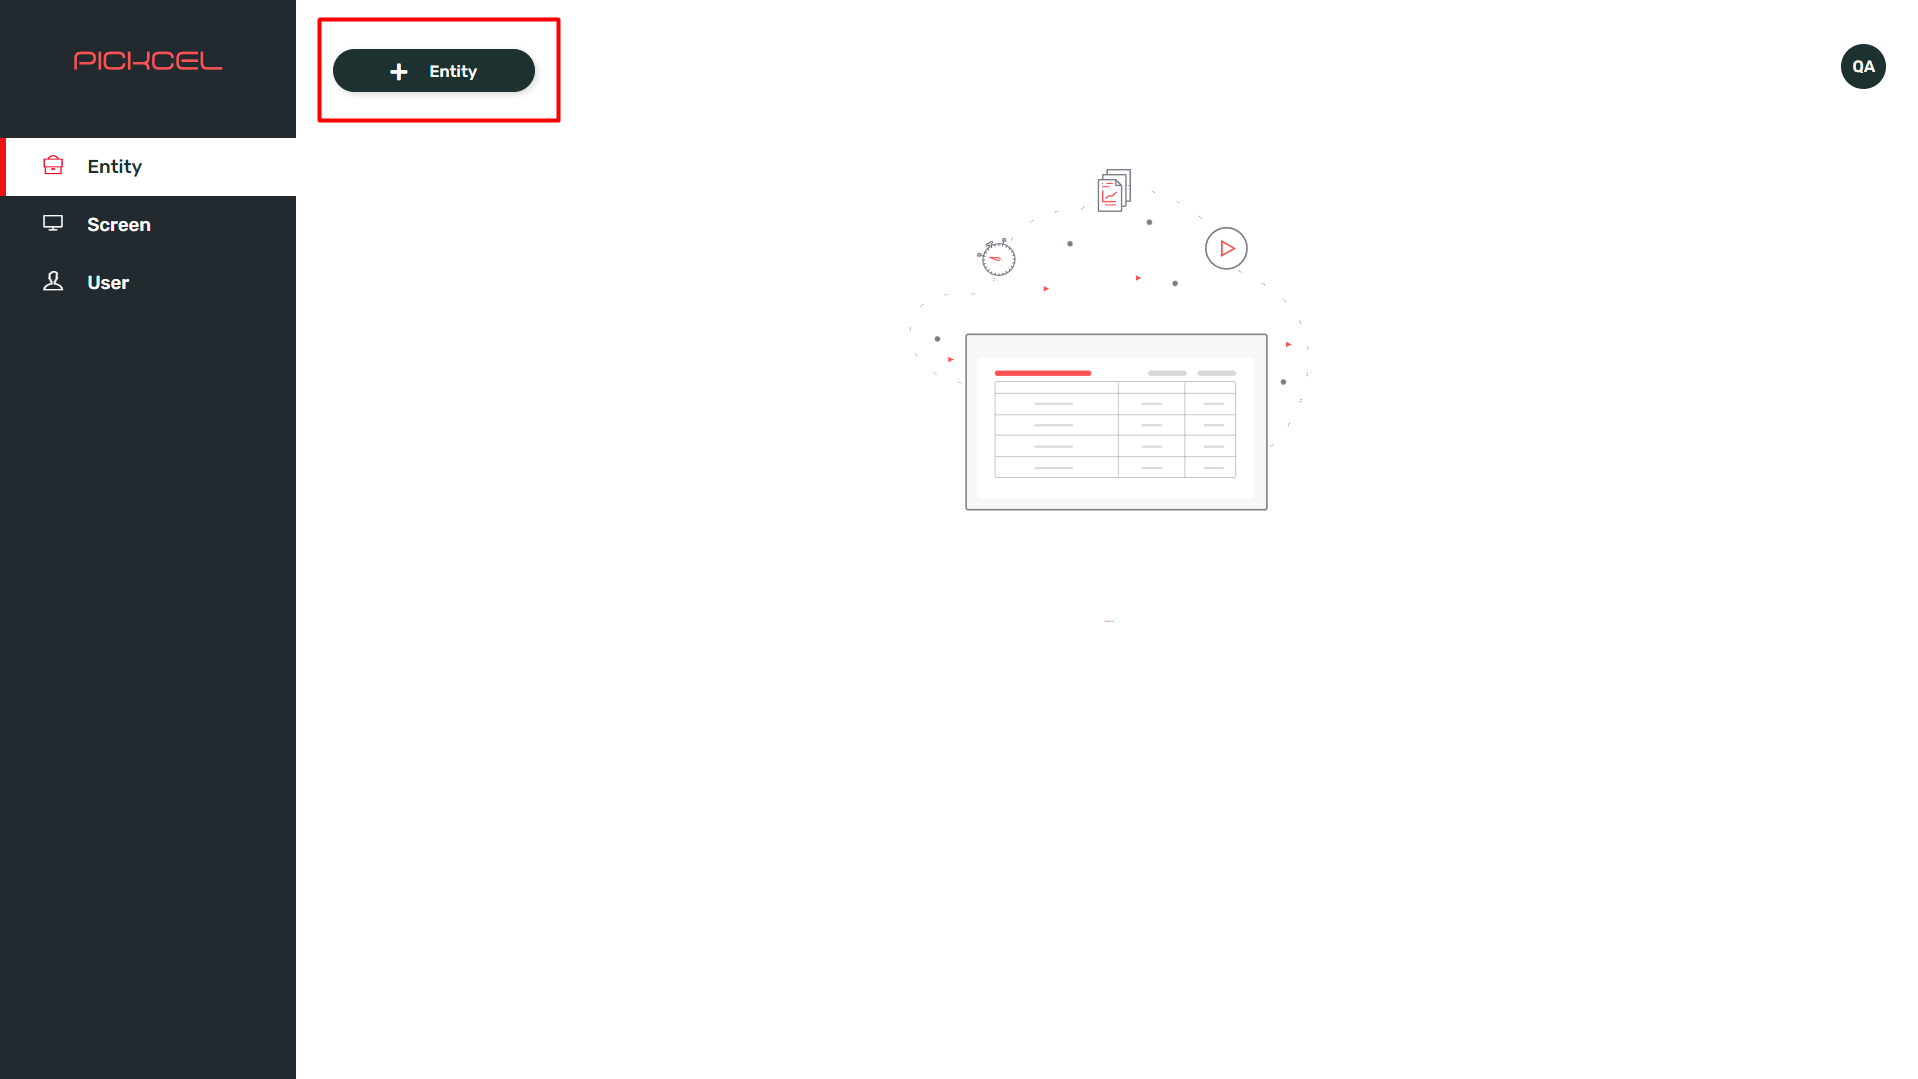 Fill in the required details:
* **Entity Name**: The organisation's name.
* **Email ID**: The user's email address, used for login.
* **Contact Person's Name**: The primary contact person for the entity.
* **Mobile Number**: The contact person's mobile number.
* **Password**: A secure password for the user's account.
Click **Add** to create the entity.
Fill in the required details:
* **Entity Name**: The organisation's name.
* **Email ID**: The user's email address, used for login.
* **Contact Person's Name**: The primary contact person for the entity.
* **Mobile Number**: The contact person's mobile number.
* **Password**: A secure password for the user's account.
Click **Add** to create the entity.
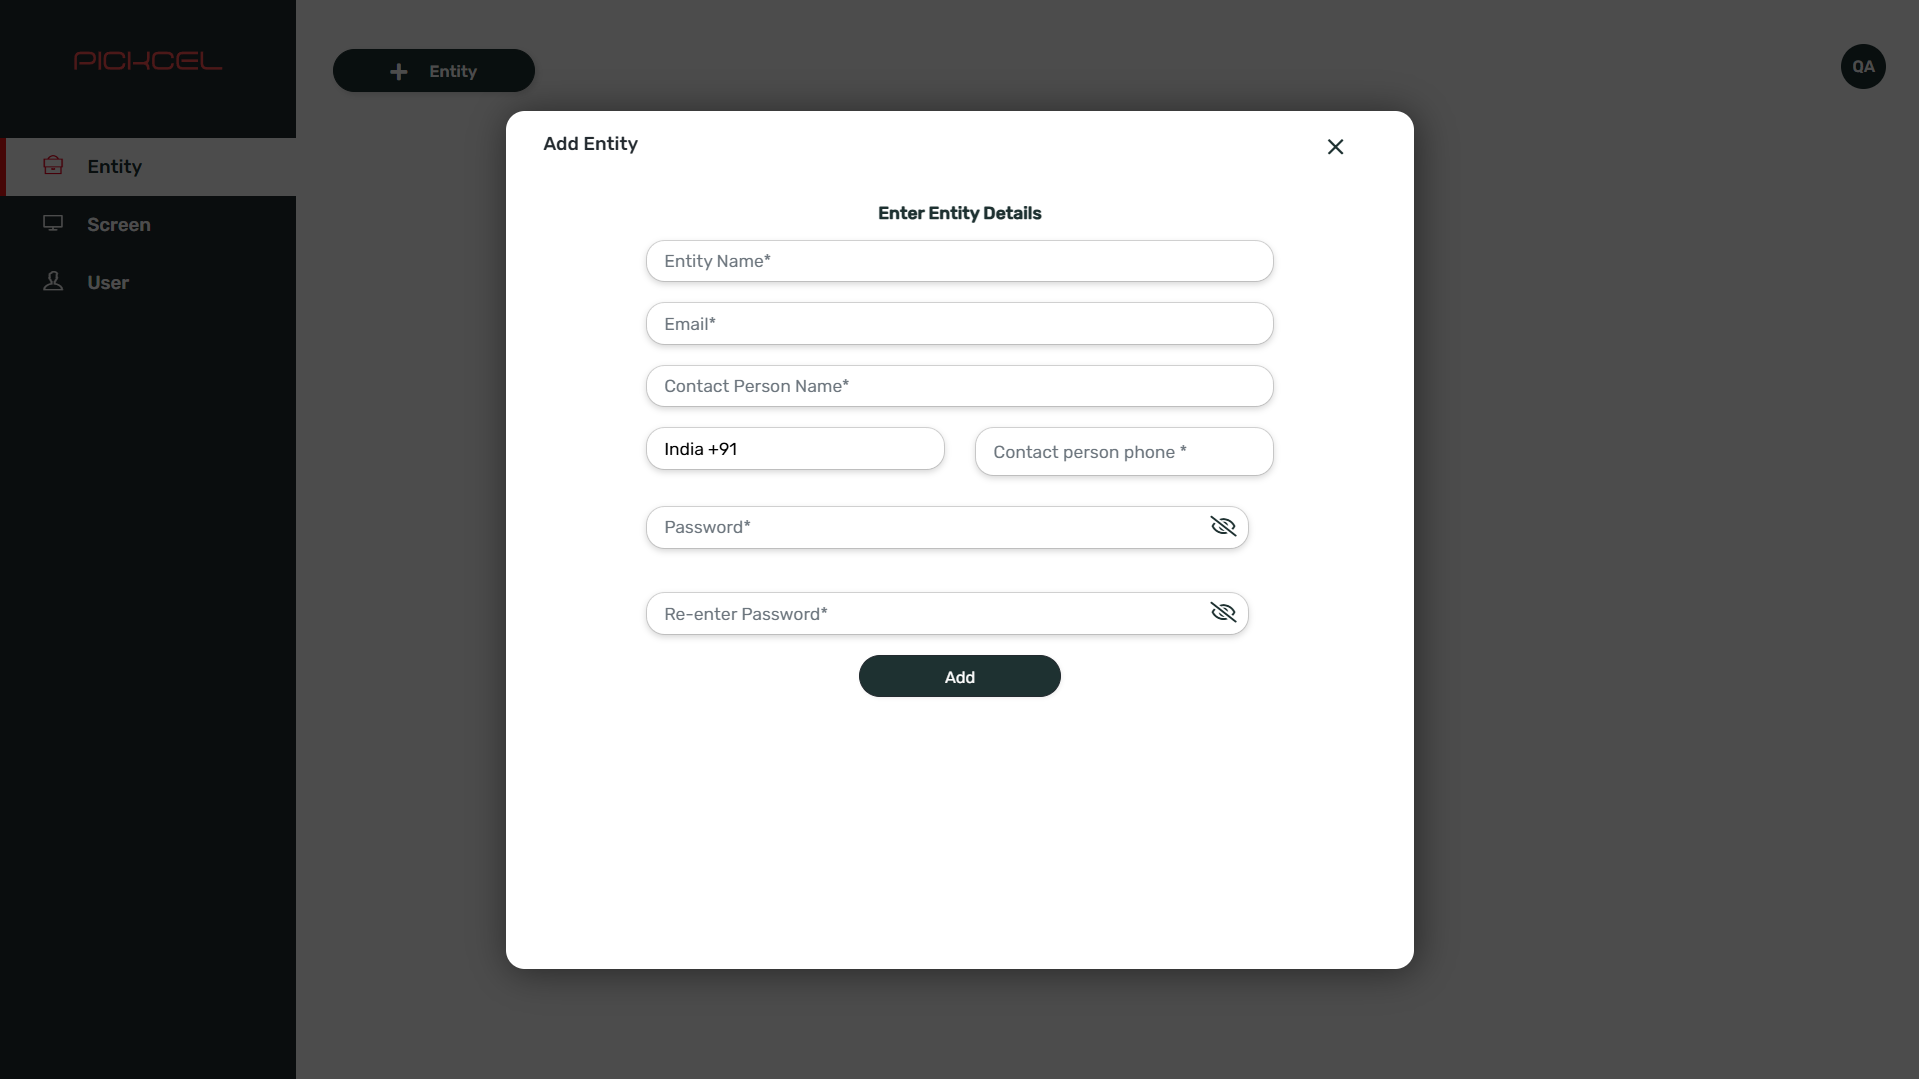 The new entity appears in the list of user accounts, alongside any others you've already created.
 ## Notify the user
Once the entity is created, share the username (email ID) and password with the user so they can sign in.
* Users log in via [console.pickcel.com](https://console.pickcel.com/). As the partner, you're responsible for sharing the email and password with the user.
* Each new entity is assigned **2 licenses** by default. If you need additional licenses for an entity, contact our Sales team at [contact@pickcel.com](mailto:contact@pickcel.com).
## Modify an existing account
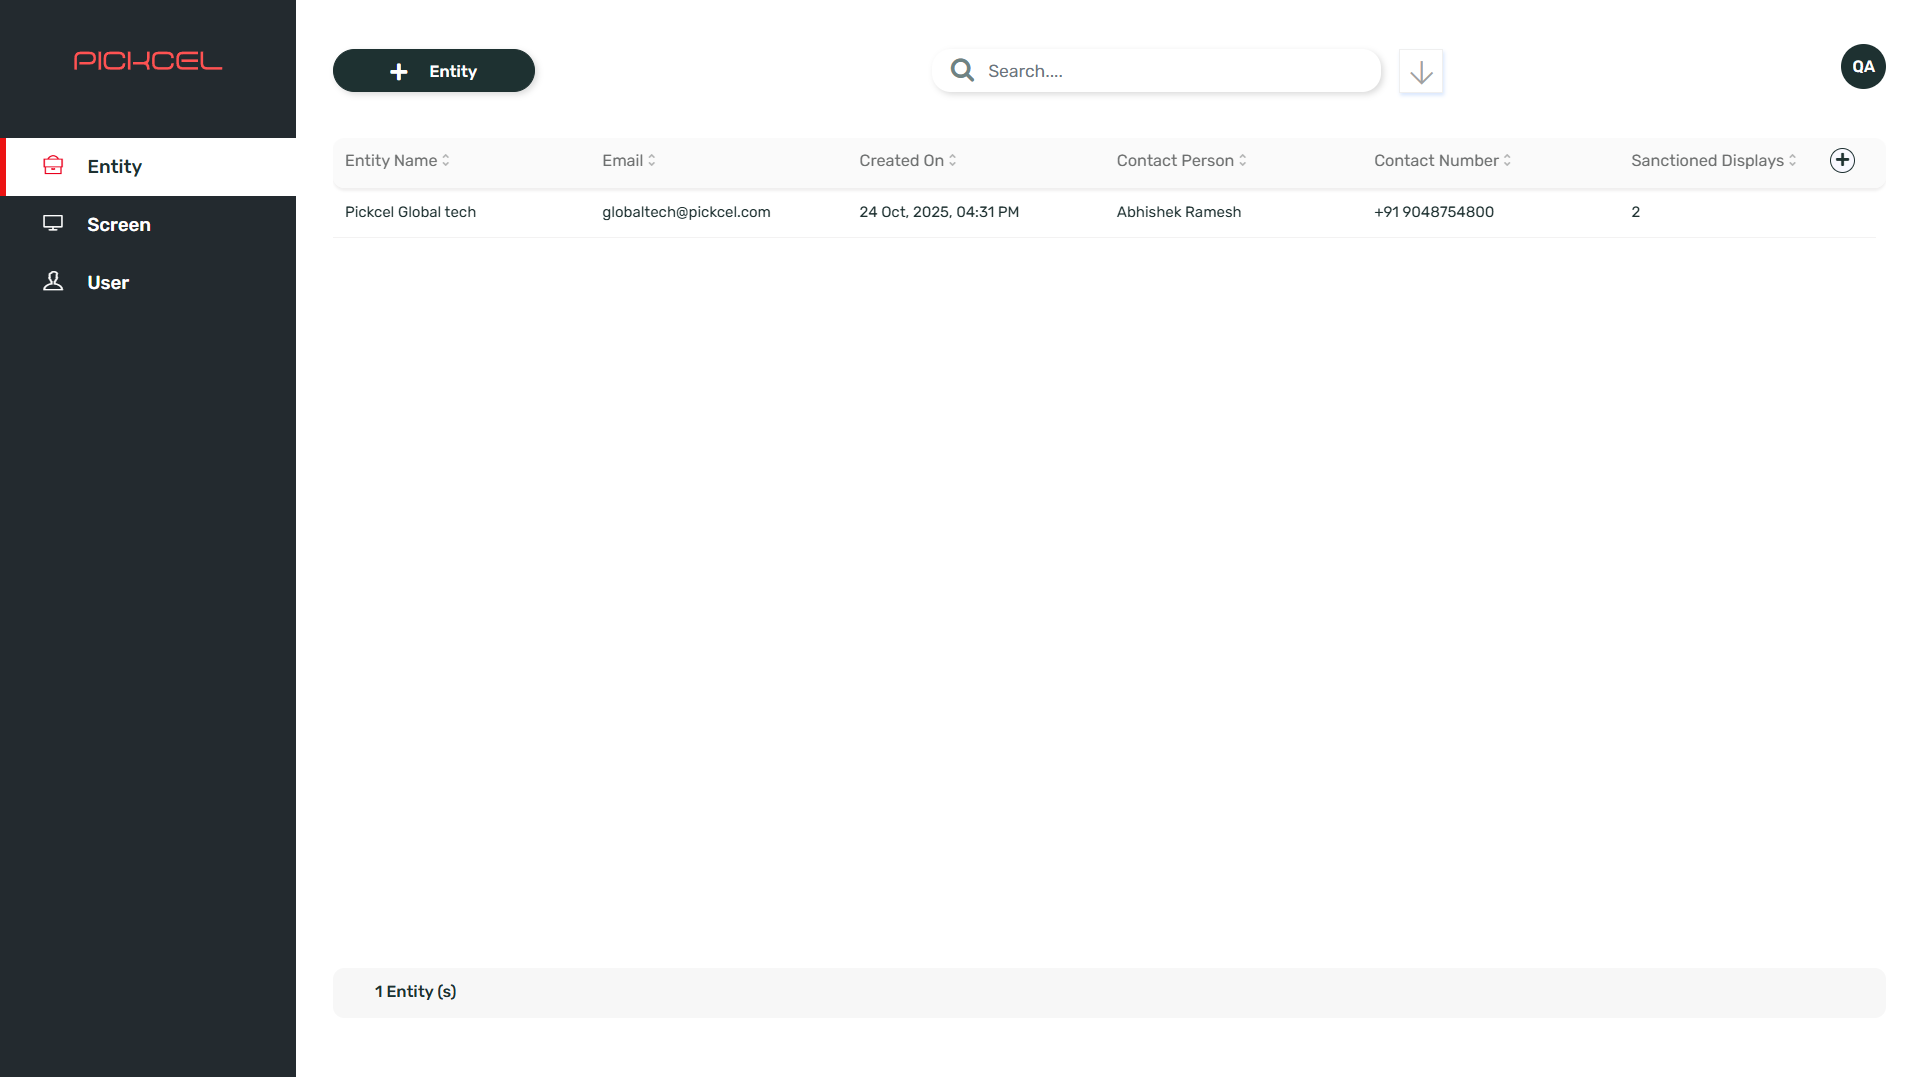
From the Partner Console, you can update a user's details or status, and reset their password at any time.
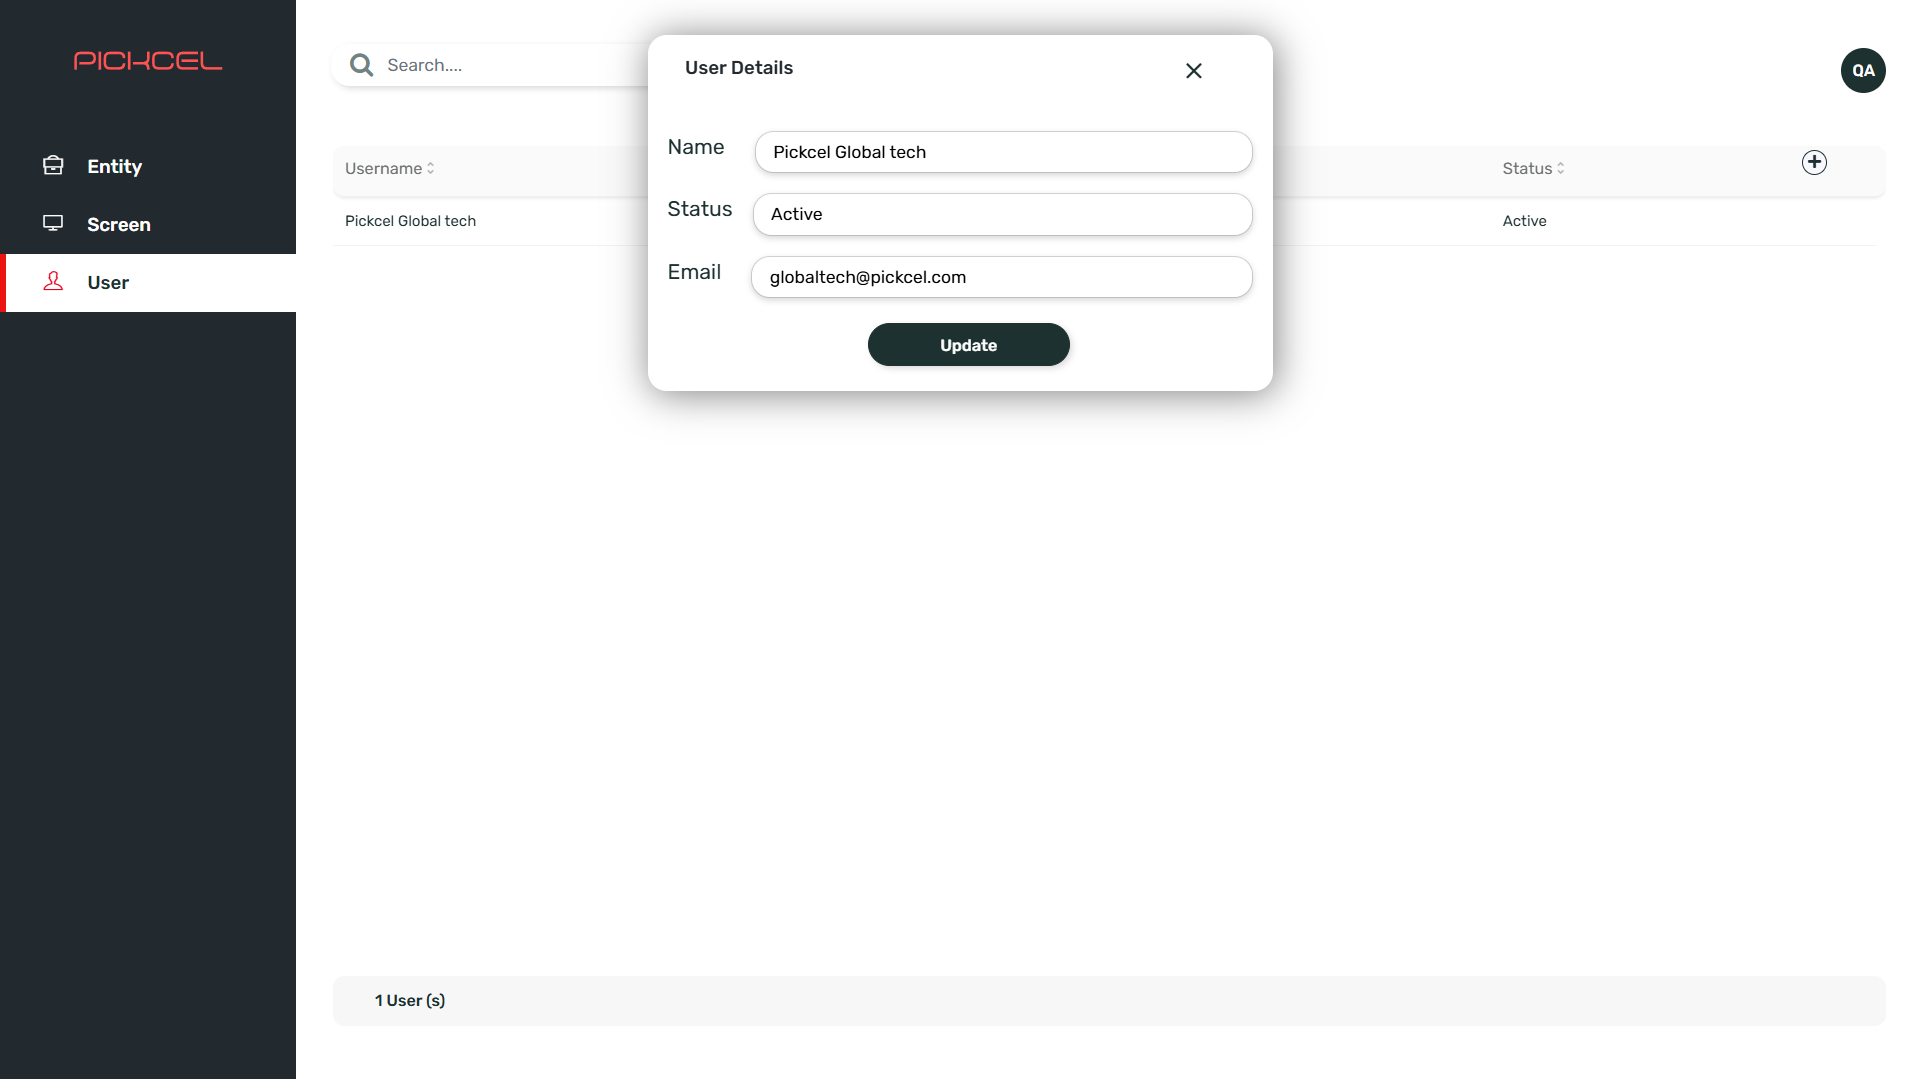
Go to the **Users** section and hover over the row for the user you want to change. Click the **three-dot menu**, select **Edit**, then update the username or account status (**Active** or **Inactive**). Click **Update** to save.
## Notify the user
Once the entity is created, share the username (email ID) and password with the user so they can sign in.
* Users log in via [console.pickcel.com](https://console.pickcel.com/). As the partner, you're responsible for sharing the email and password with the user.
* Each new entity is assigned **2 licenses** by default. If you need additional licenses for an entity, contact our Sales team at [contact@pickcel.com](mailto:contact@pickcel.com).
## Modify an existing account
From the Partner Console, you can update a user's details or status, and reset their password at any time.
Go to the **Users** section and hover over the row for the user you want to change. Click the **three-dot menu**, select **Edit**, then update the username or account status (**Active** or **Inactive**). Click **Update** to save.
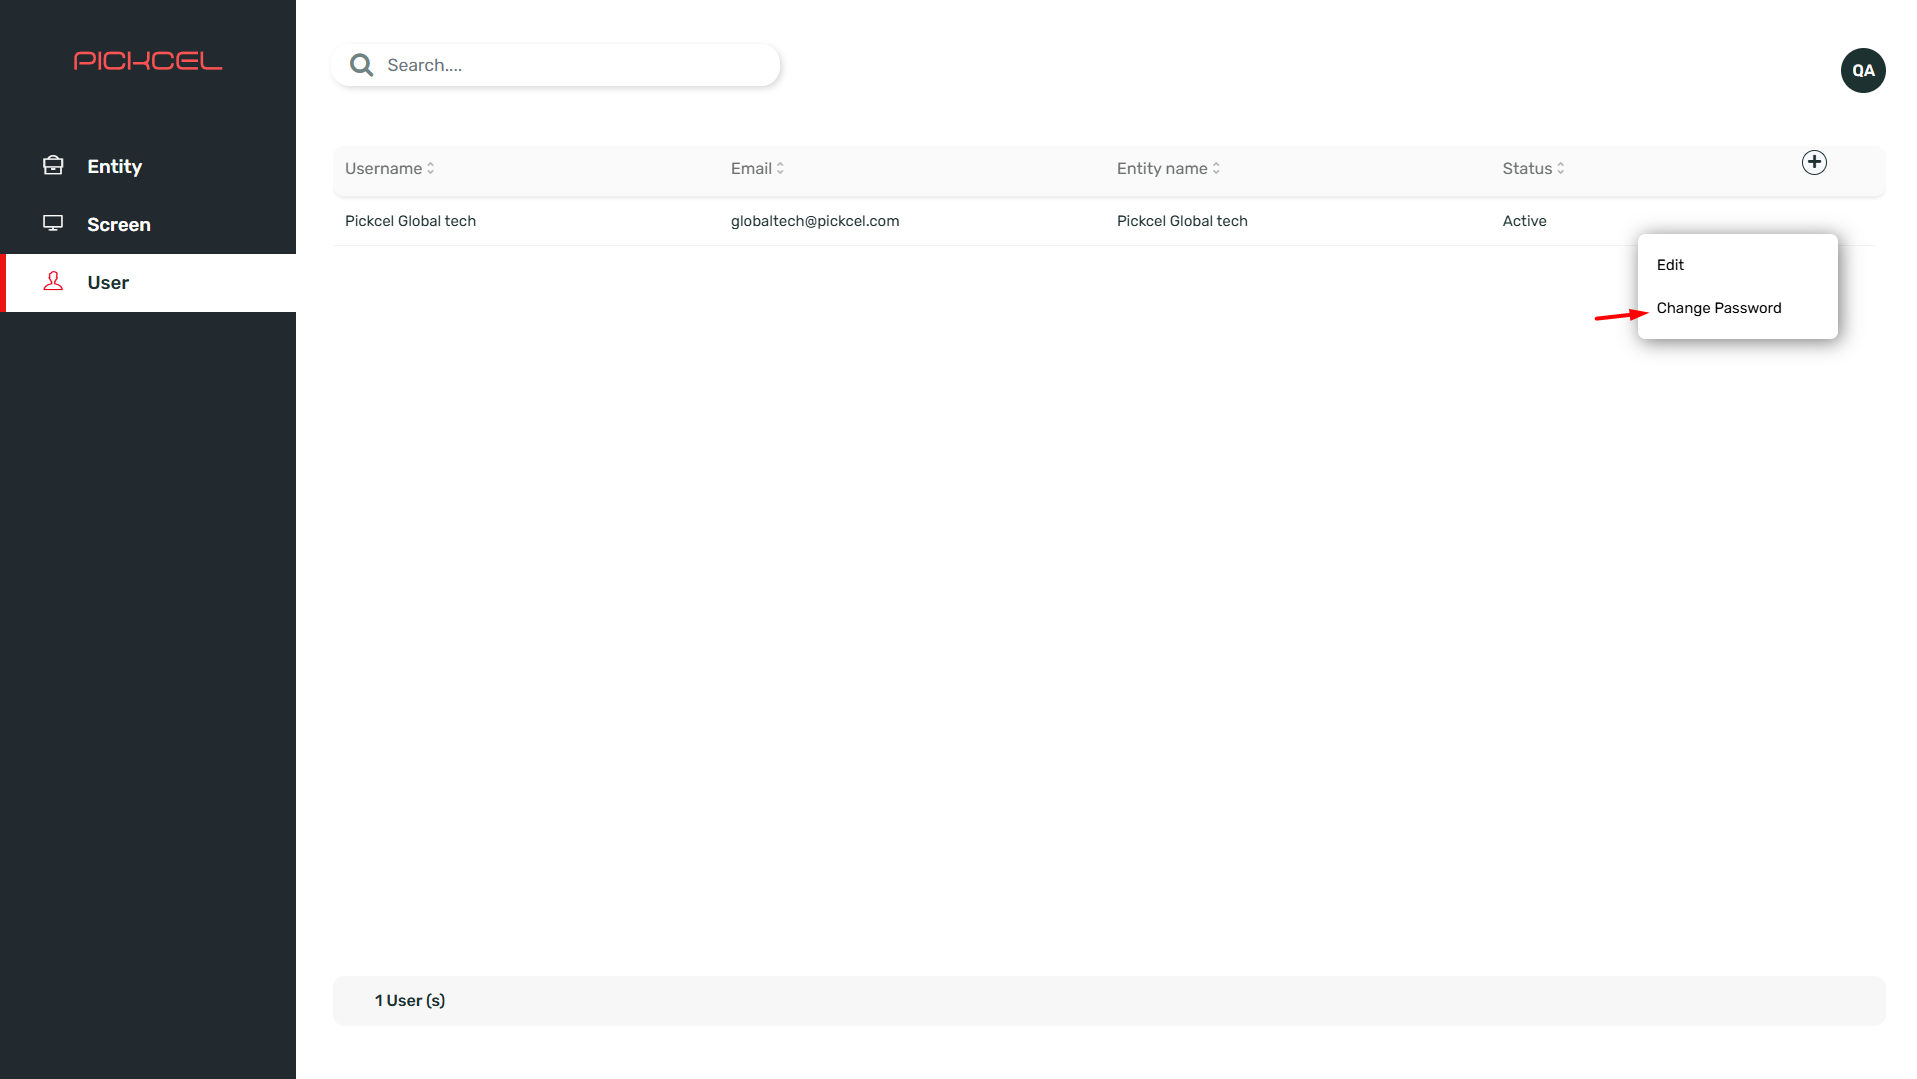
 Click the **three-dot menu** on the user's row, select **Change Password**, enter the new password, and confirm. Share the new password with the user afterward, since Pickcel does not notify them automatically.
 ## View screen details
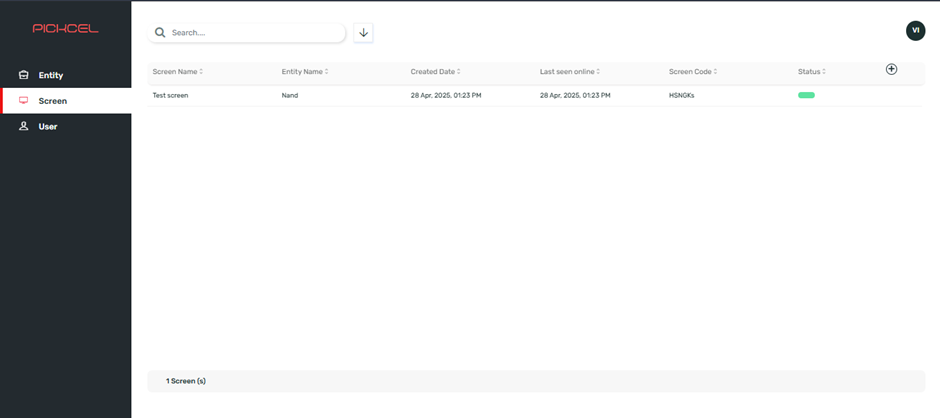
The **Screens** section of the Partner Console gives you visibility into every screen registered across your entities, useful for support and auditing without having to log in to each customer's account separately.
Open **Screens** to view each device's **screen name**, entity name, **created date**, **last seen online**, **screen code**, and **status**.
## View screen details
The **Screens** section of the Partner Console gives you visibility into every screen registered across your entities, useful for support and auditing without having to log in to each customer's account separately.
Open **Screens** to view each device's **screen name**, entity name, **created date**, **last seen online**, **screen code**, and **status**.