> ## Documentation Index
> Fetch the complete documentation index at: https://docs.pickcel.com/llms.txt
> Use this file to discover all available pages before exploring further.
# How to create an employee recognition wall with the People Space app?
> Turn your digital signage screens into an employee recognition wall with the People Space app. Showcase birthdays, work anniversaries, new hires, achievements, and customer testimonials.
The People Space app turns any digital signage screen into a recognition wall or profile gallery. With one app you can run a year-round people board: celebrate an employee of the month, welcome new hires, mark birthdays and work anniversaries, and share customer testimonials that credit your team.
In this guide we build a lobby board called **HQ Lobby Team Spotlight** for a fictional retailer, with five profiles that cover the most common use cases: an employee of the month, a new hire welcome, a work anniversary, a birthday, and a customer testimonial.
## Prerequisites
Before you begin, make sure you have:
* A [Pickcel account](https://console.pickcel.com/) with access to the **Content** module
* The profile photos you want to display, uploaded to the **Media** library
The app assigns photos from your Pickcel **Media** library only; there is no direct upload inside the app editor. Upload every headshot first. Square or portrait crops work best because the templates display photos in a circular frame.
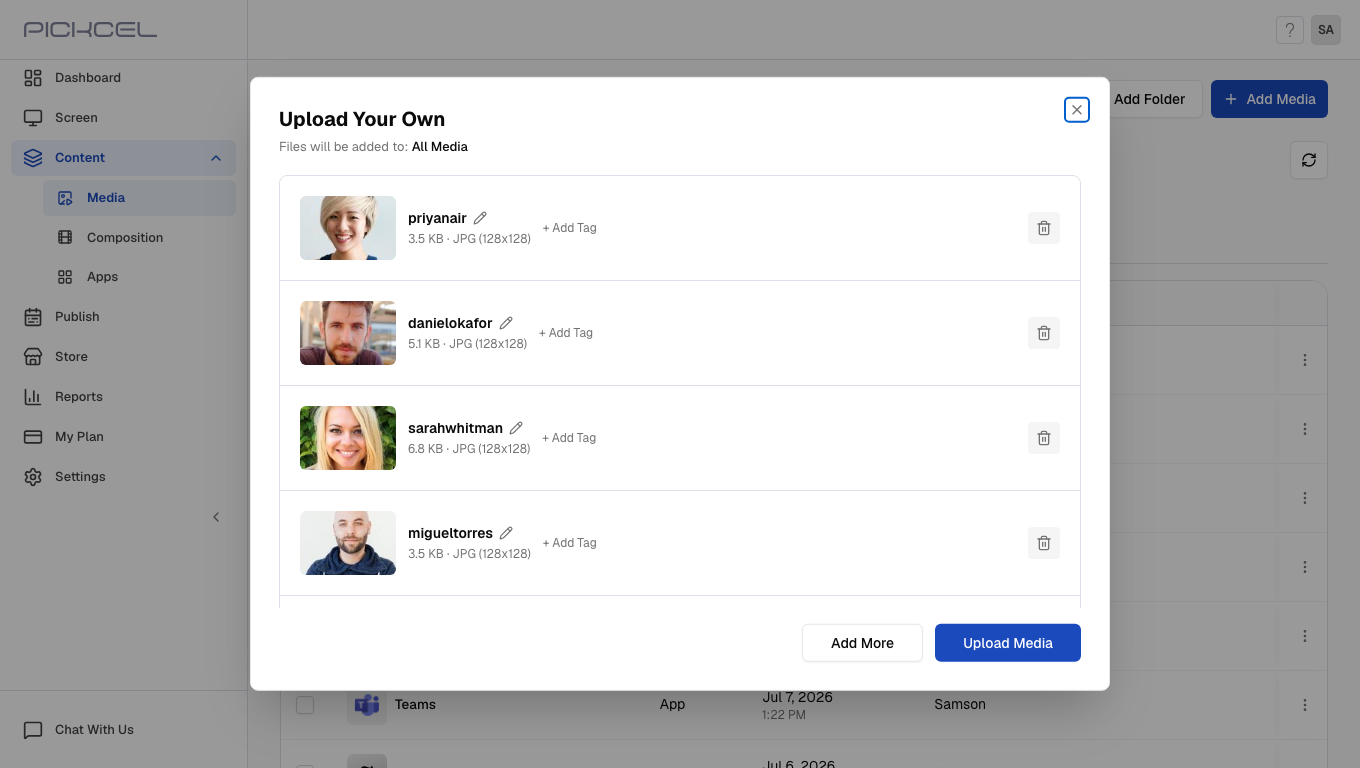
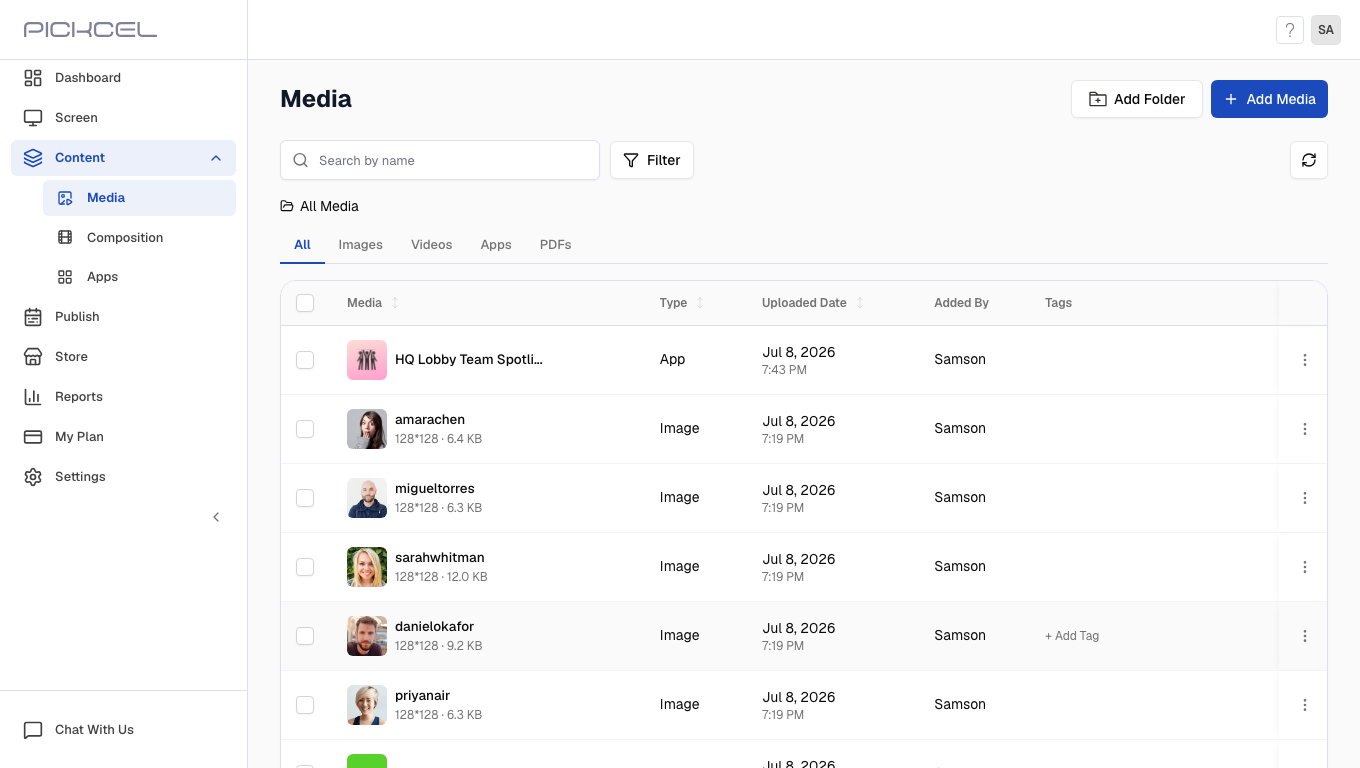
To upload the photos, go to **Content > Media**, click **Add Media**, choose **Upload Files**, then select all the headshots at once and click **Upload Media**. Naming each file after the person makes it easy to find later from the app's media picker.
 ## Create the app
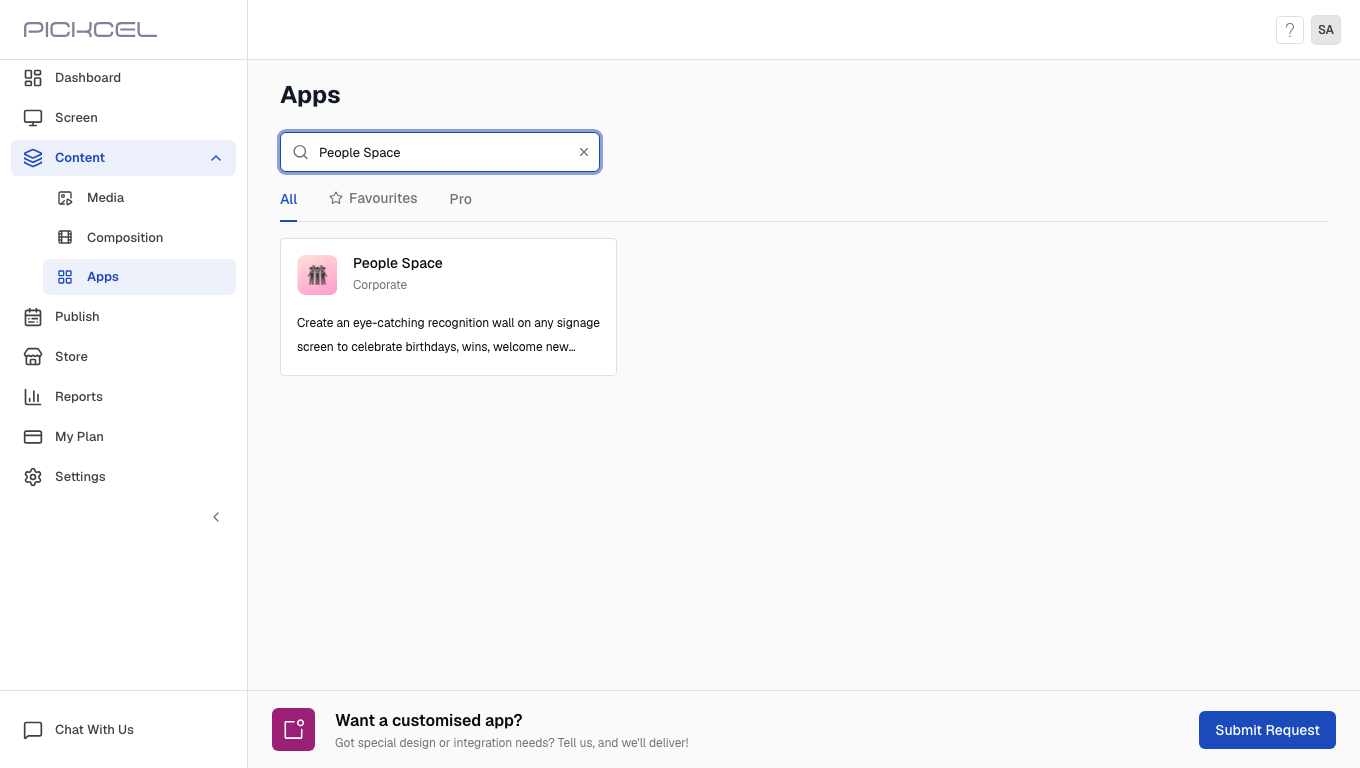
In the Pickcel console, expand **Content** in the left menu and select **Apps**. Search for **People Space** using the search field.
## Create the app
In the Pickcel console, expand **Content** in the left menu and select **Apps**. Search for **People Space** using the search field.
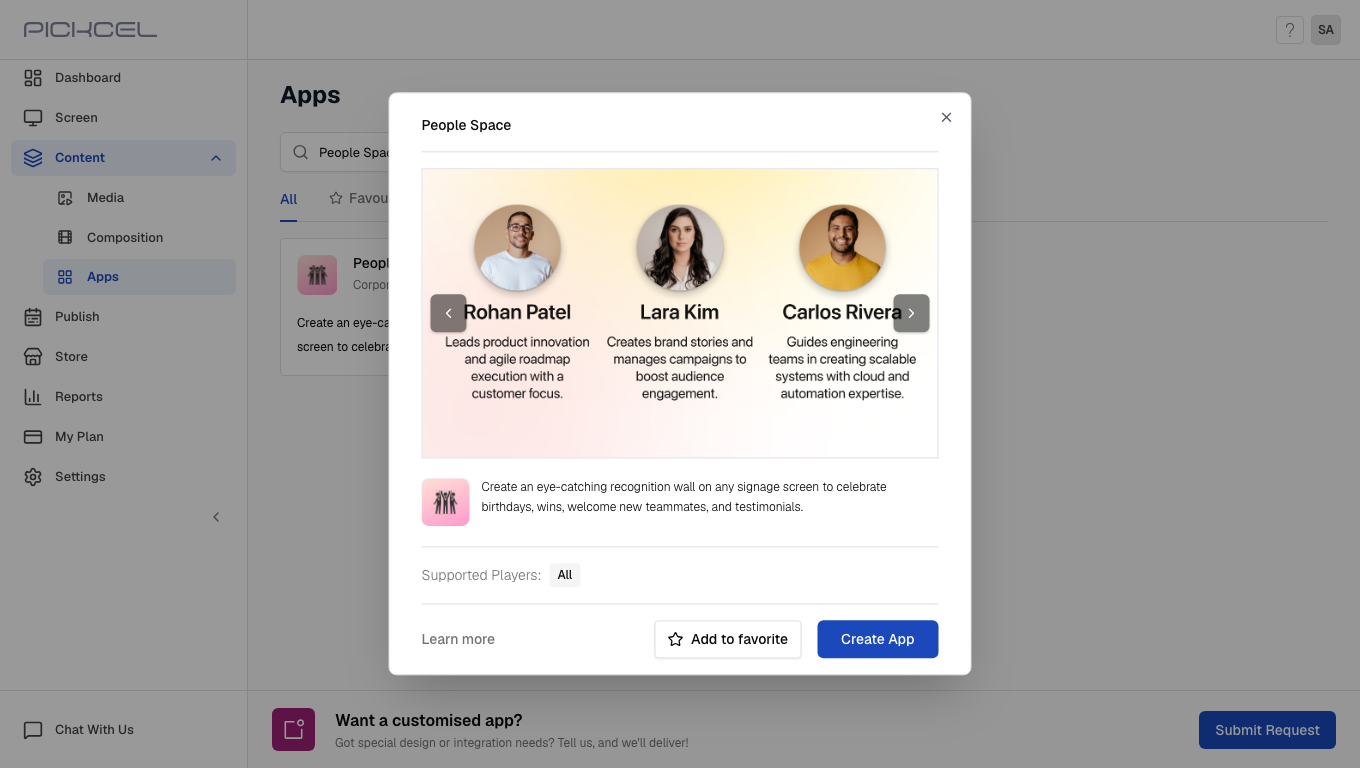
 Click the **People Space** card. A details panel opens with a live carousel of sample profiles. Click **Create App**. The app editor opens in a new browser tab.
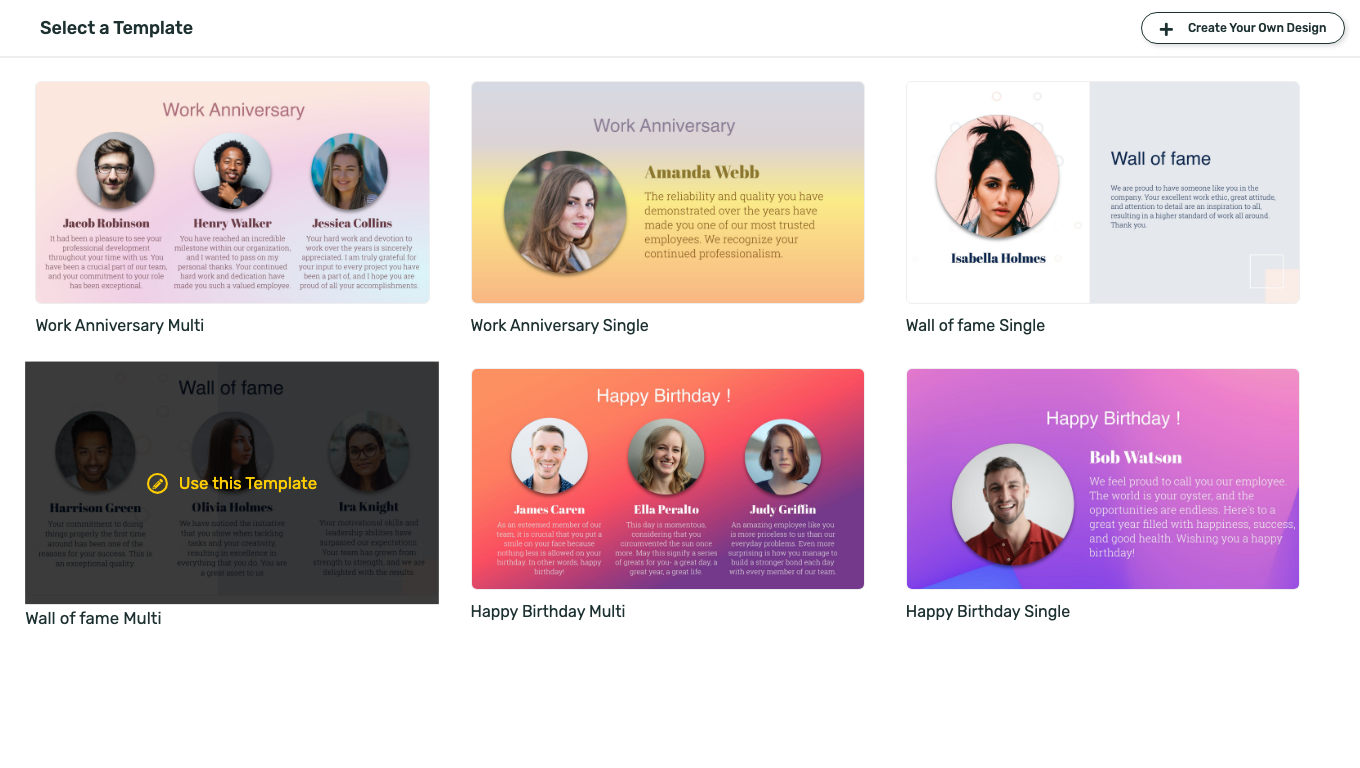
 The editor starts with a template gallery. There are six standard templates: **Work Anniversary Multi**, **Work Anniversary Single**, **Wall of fame Single**, **Wall of fame Multi**, **Happy Birthday Multi**, and **Happy Birthday Single**. You can also click **Create Your Own Design** to start from a blank board.
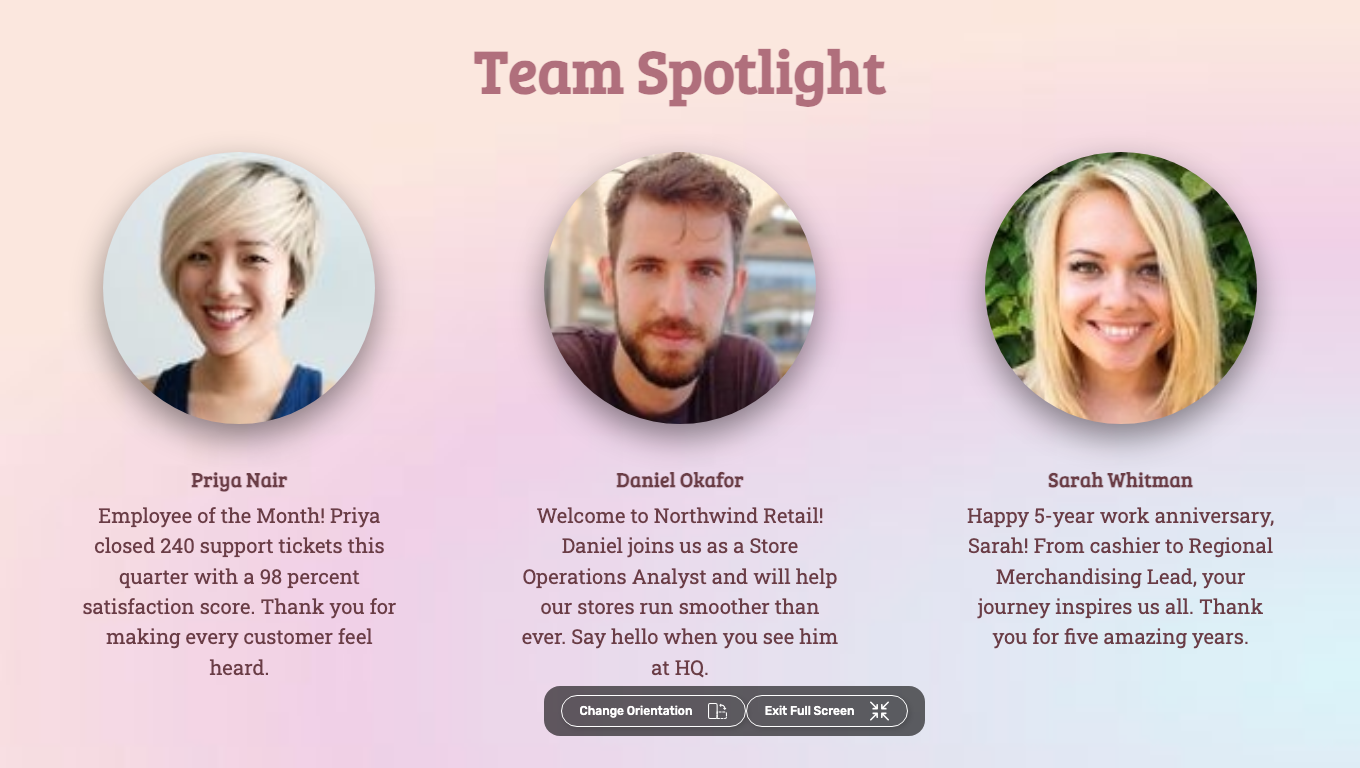
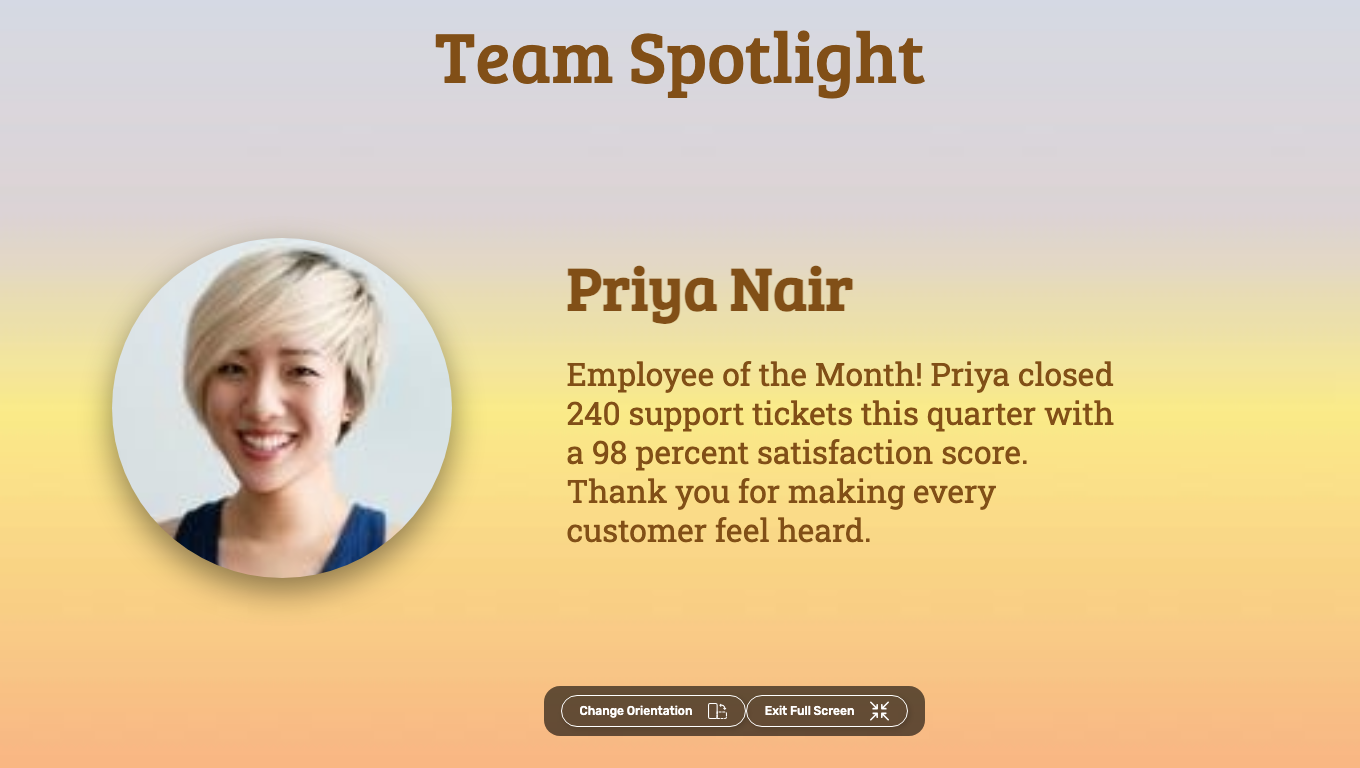
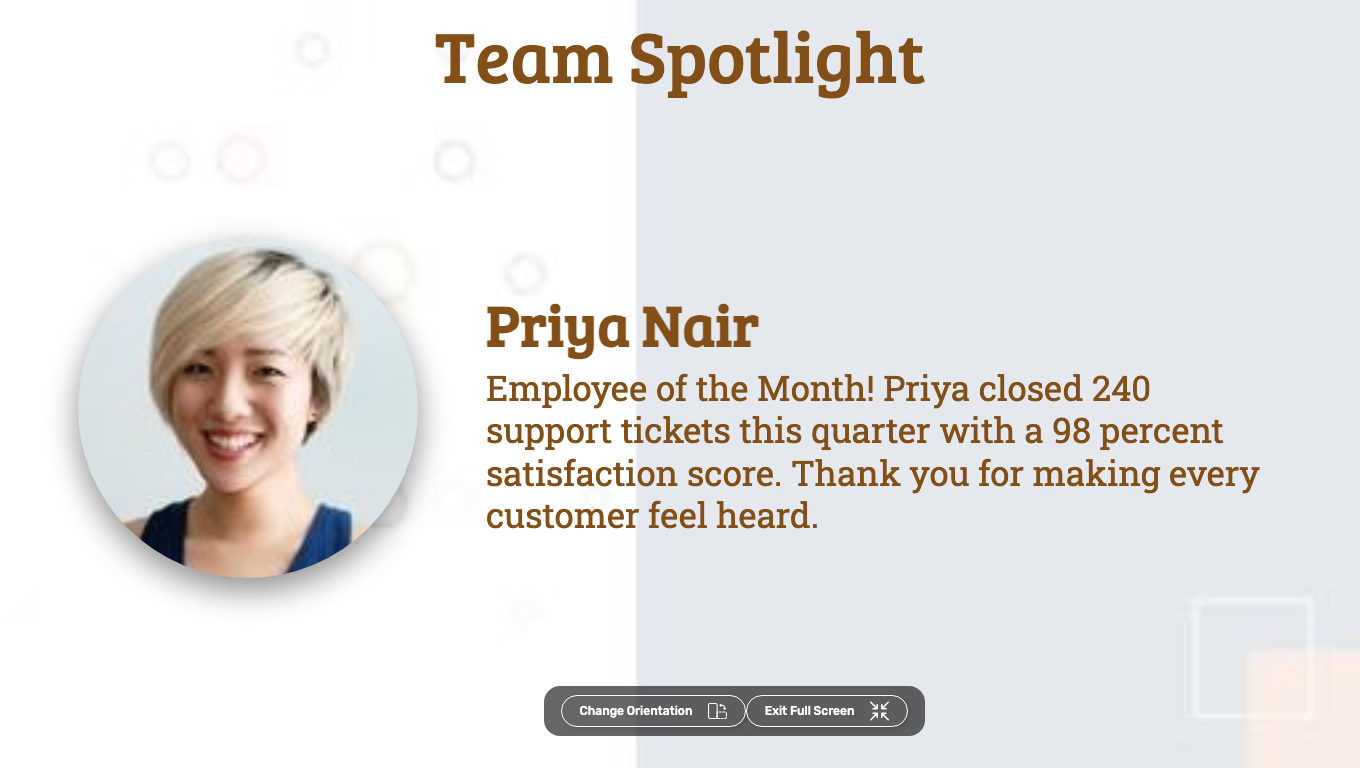
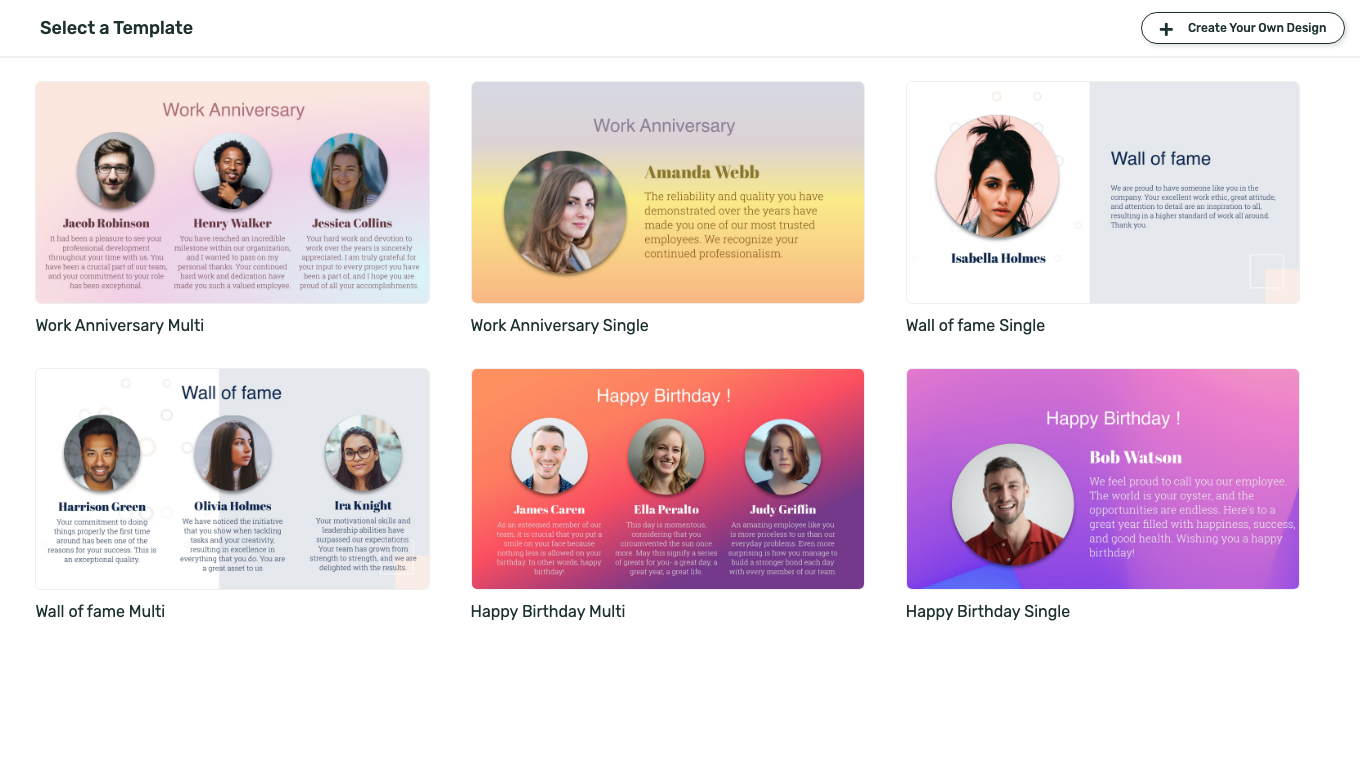 **Multi** templates rotate through your profiles three at a time, while **Single** templates give each person a full-screen slide. For a recognition wall that mixes several types of shout-outs, a Multi template keeps more faces on screen at once. Hover over a template and click **Use this Template**. We picked **Wall of fame Multi**.
 You are not locked in: the settings panel lets you switch to any other standard template later without losing the profiles you have entered.
The editor opens pre-filled with sample profiles so you can see how the board works.
You are not locked in: the settings panel lets you switch to any other standard template later without losing the profiles you have entered.
The editor opens pre-filled with sample profiles so you can see how the board works.
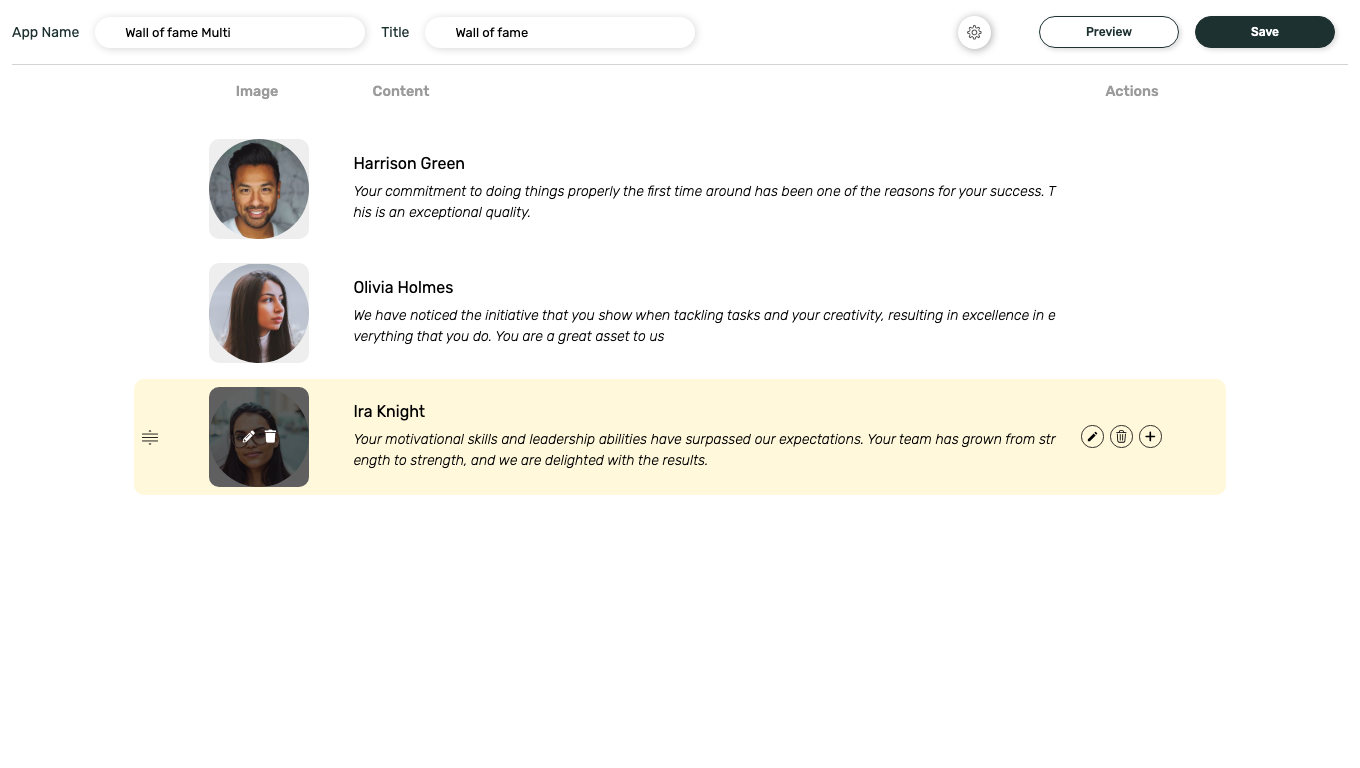 Replace the **App Name** with something you will recognize later in **Media**, such as **HQ Lobby Team Spotlight**. The **Title** is what displays at the top of the screen; we used **Team Spotlight**.
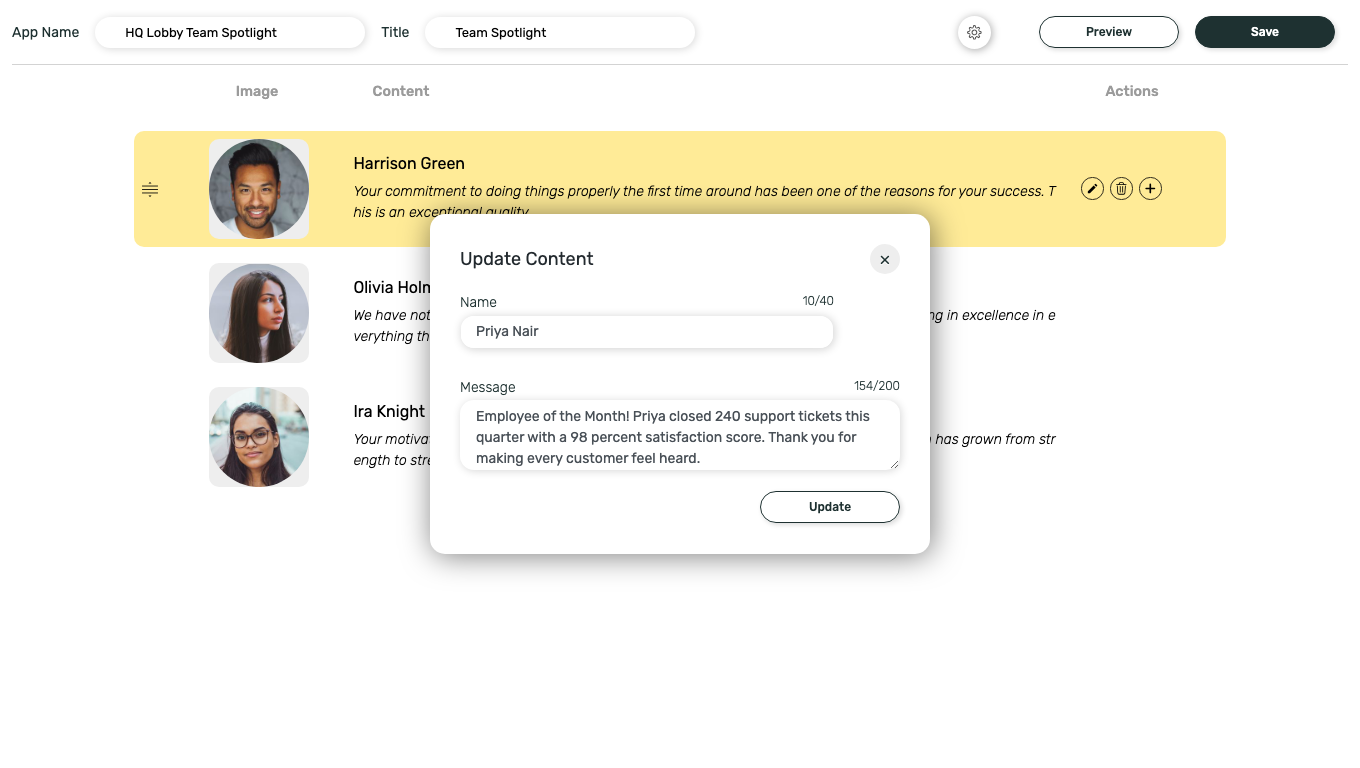
Hover over a sample profile row and click the pencil icon (**Edit Content**). Fill in the **Name** (up to 40 characters) and the **Message** (up to 200 characters), then click **Update**. The message can be a praise quote, a welcome line, an anniversary thank-you, a birthday wish, or a customer quote.
Replace the **App Name** with something you will recognize later in **Media**, such as **HQ Lobby Team Spotlight**. The **Title** is what displays at the top of the screen; we used **Team Spotlight**.
Hover over a sample profile row and click the pencil icon (**Edit Content**). Fill in the **Name** (up to 40 characters) and the **Message** (up to 200 characters), then click **Update**. The message can be a praise quote, a welcome line, an anniversary thank-you, a birthday wish, or a customer quote.
 To add more people, hover over a row and click the **+** icon (**Add Content**). To remove one, click the trash icon (**Remove Content**). You can also drag rows to reorder the slides.
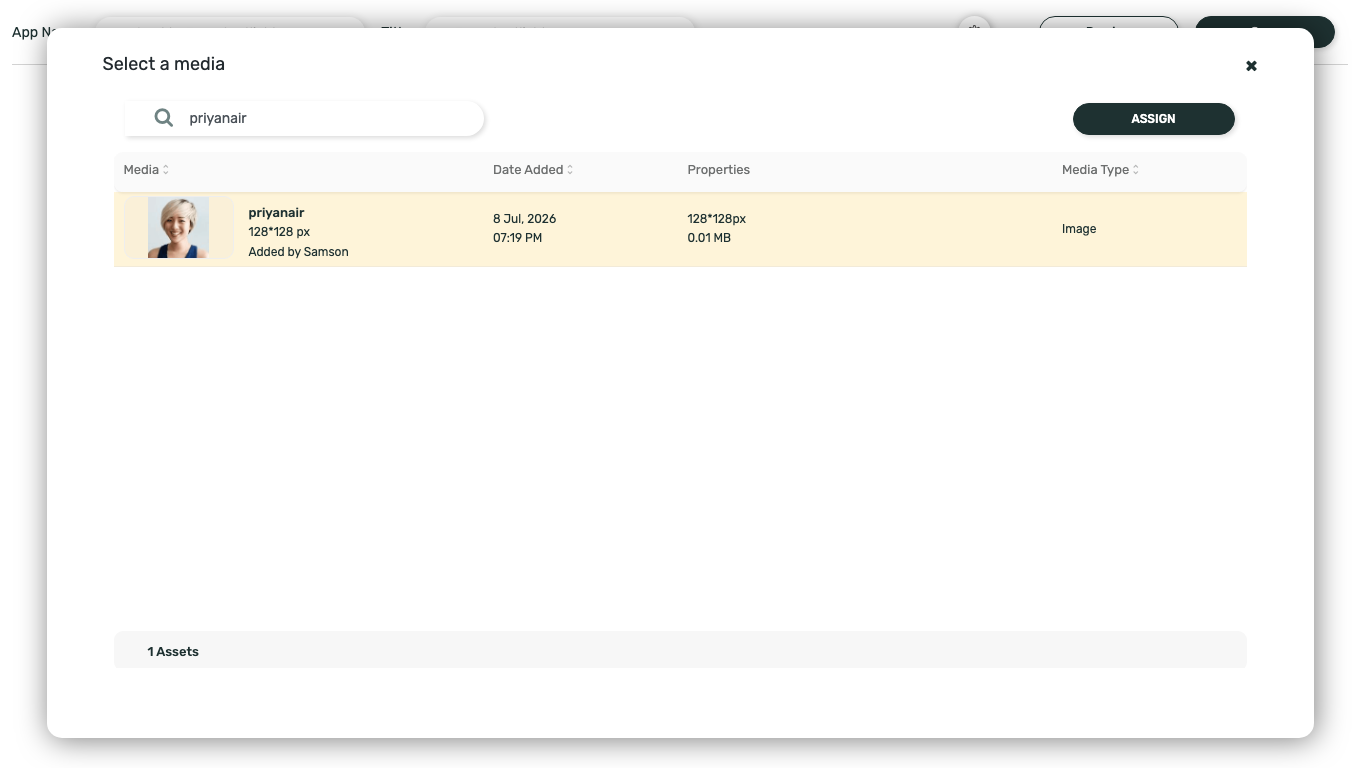
Hover over a profile's image and click the trash icon (**Delete Image**) to clear the sample photo, then hover again and click the folder icon that appears. The **Select a media** dialog opens with your Media library. Search for the person's photo, click it, and click **Assign**.
To add more people, hover over a row and click the **+** icon (**Add Content**). To remove one, click the trash icon (**Remove Content**). You can also drag rows to reorder the slides.
Hover over a profile's image and click the trash icon (**Delete Image**) to clear the sample photo, then hover again and click the folder icon that appears. The **Select a media** dialog opens with your Media library. Search for the person's photo, click it, and click **Assign**.
 If a photo is missing here, it is because it is not in your Media library yet. Upload it from **Content > Media** first, then come back; profiles without a photo display the person's initials instead.
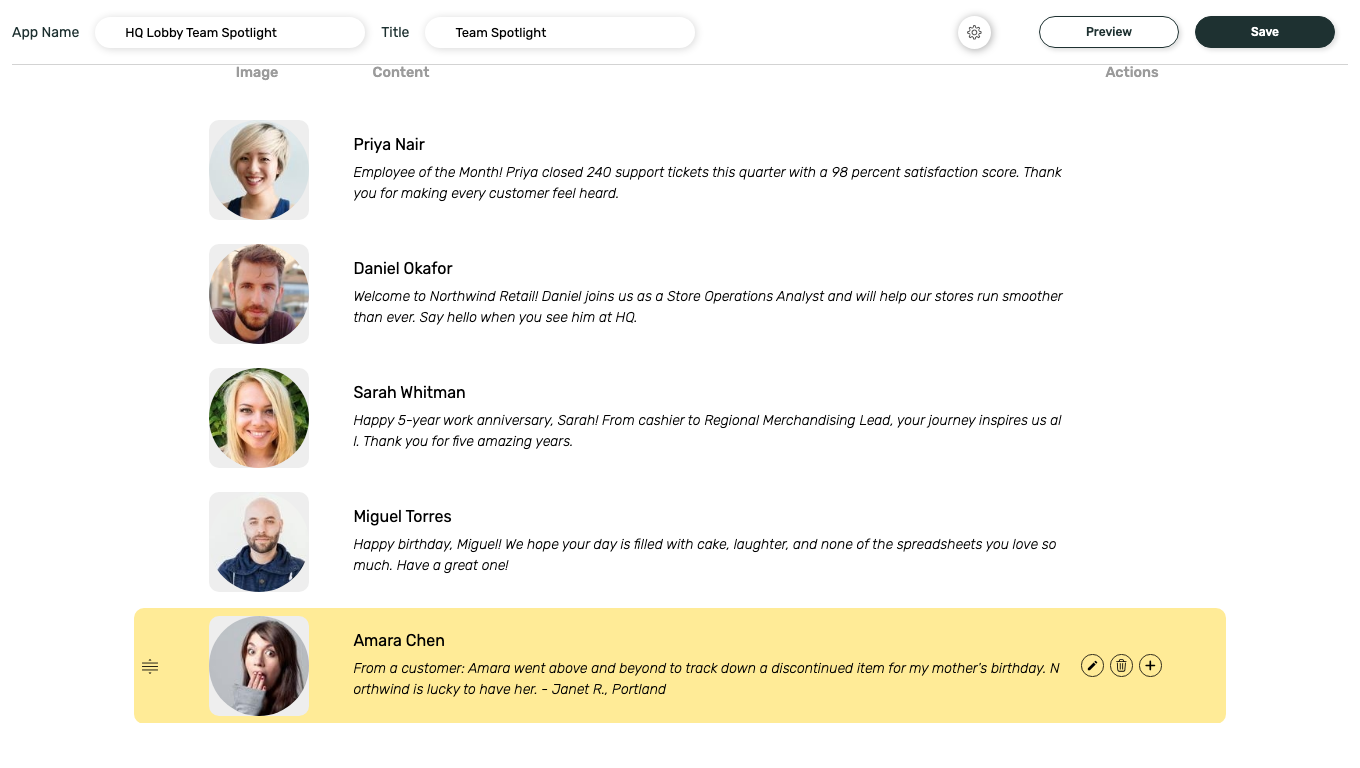
Repeat until every profile has the right photo. Our finished board has all five profiles filled in:
If a photo is missing here, it is because it is not in your Media library yet. Upload it from **Content > Media** first, then come back; profiles without a photo display the person's initials instead.
Repeat until every profile has the right photo. Our finished board has all five profiles filled in:
 Click the settings icon next to **Preview**. The settings panel controls the look of the board:
* **Title**: show or hide the board title, and set its font and color.
* **Body**: fonts and colors for the **Name** and **Message** text.
* **Background**: a solid **Color** or an **Image**, with an opacity slider.
* **Slide Duration**: how long each slide stays on screen.
We raised **Slide Duration** from the default 5 to **10 seconds**; a two-line message plus a name is hard to finish reading in five.
Click the settings icon next to **Preview**. The settings panel controls the look of the board:
* **Title**: show or hide the board title, and set its font and color.
* **Body**: fonts and colors for the **Name** and **Message** text.
* **Background**: a solid **Color** or an **Image**, with an opacity slider.
* **Slide Duration**: how long each slide stays on screen.
We raised **Slide Duration** from the default 5 to **10 seconds**; a two-line message plus a name is hard to finish reading in five.
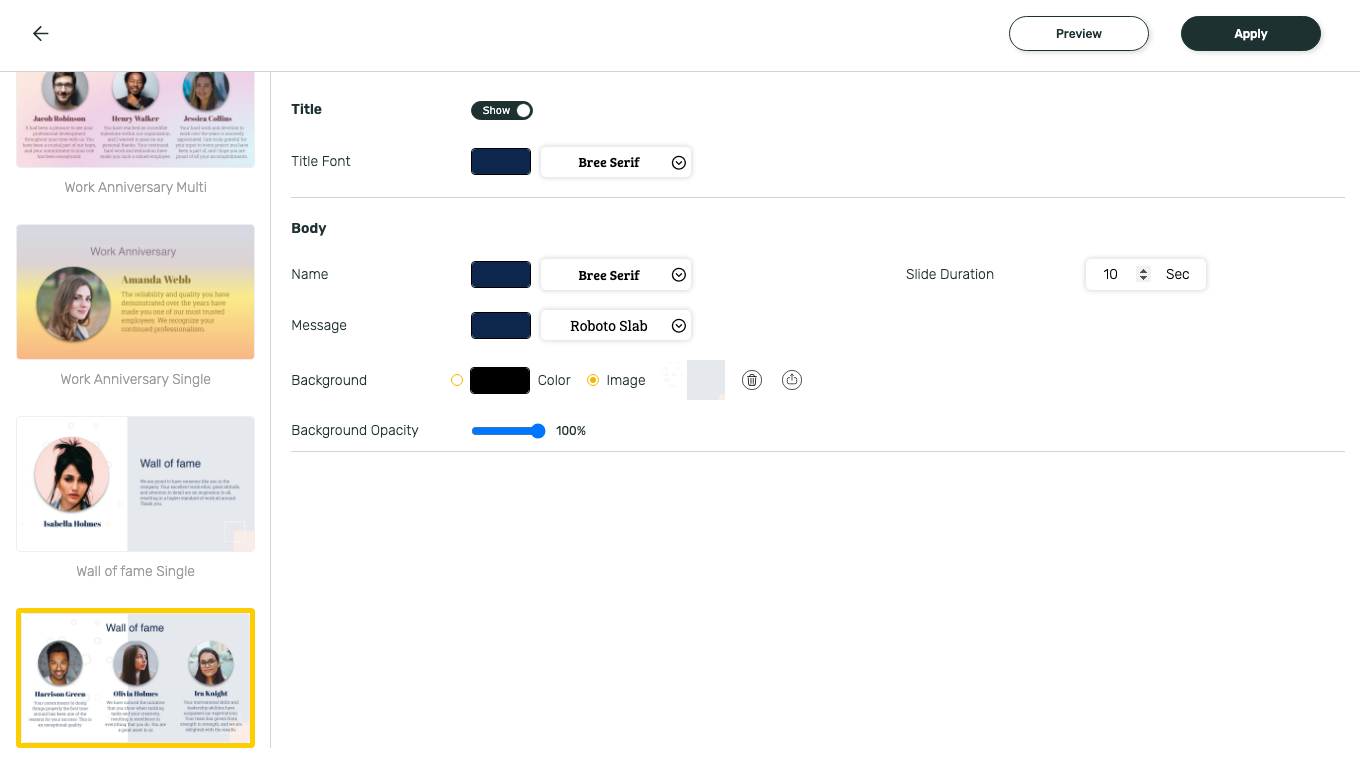 This panel is also where you can switch between the standard templates: click any thumbnail in the left rail and your profiles carry over. Click **Apply** to save the settings and return to the editor.
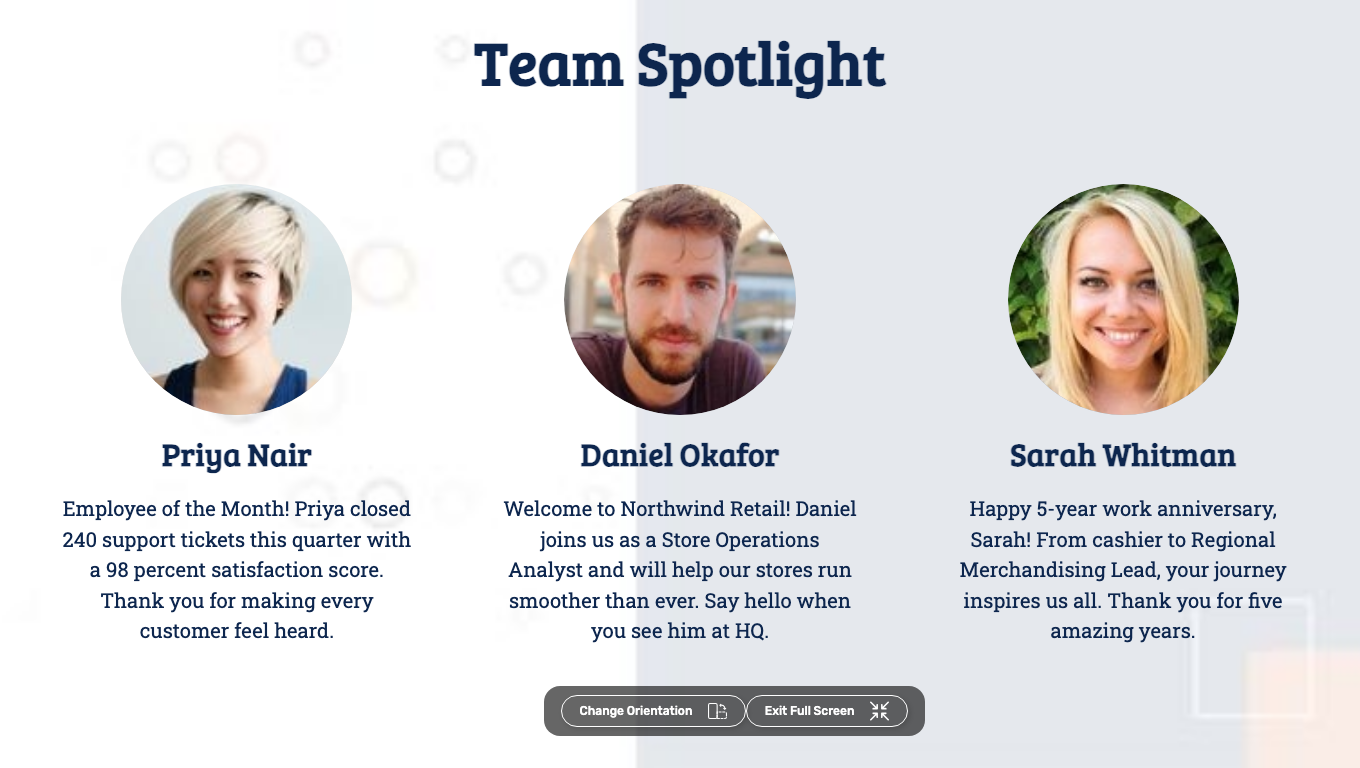
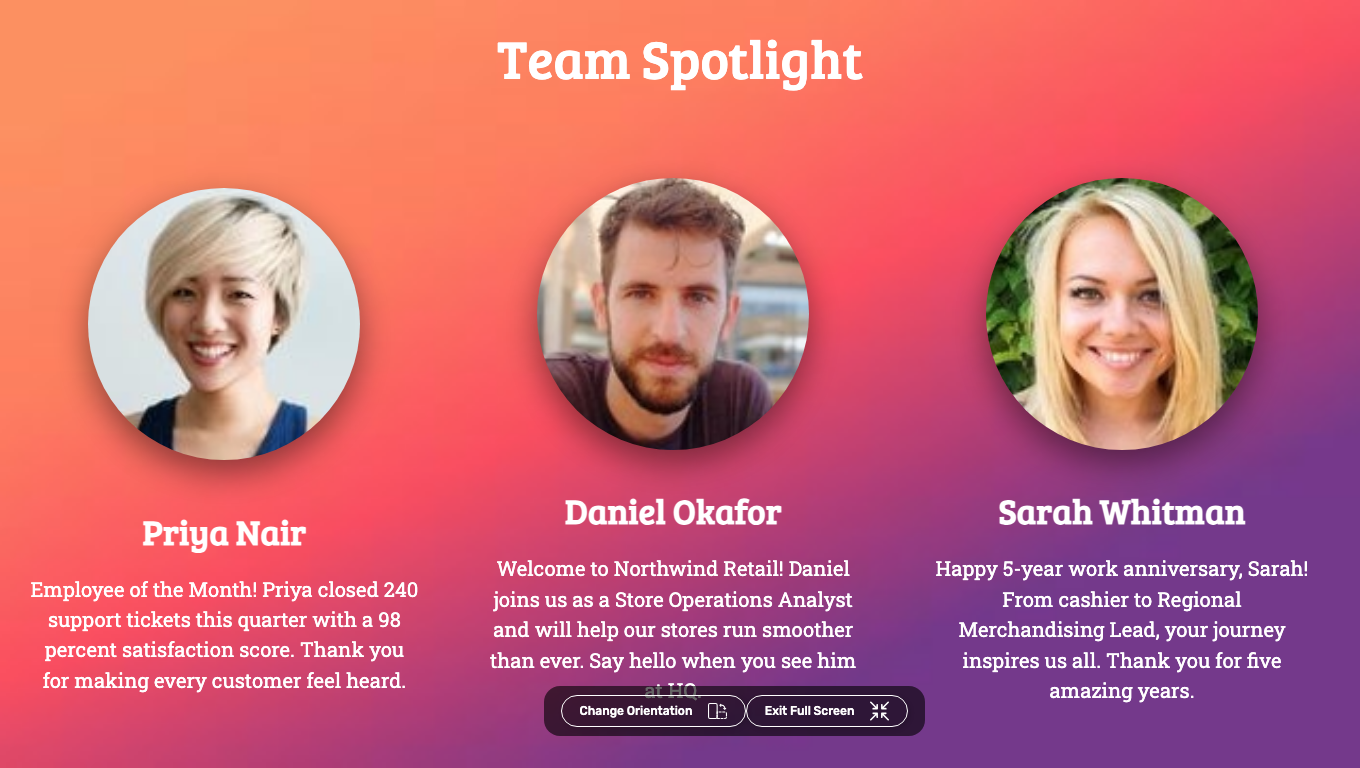
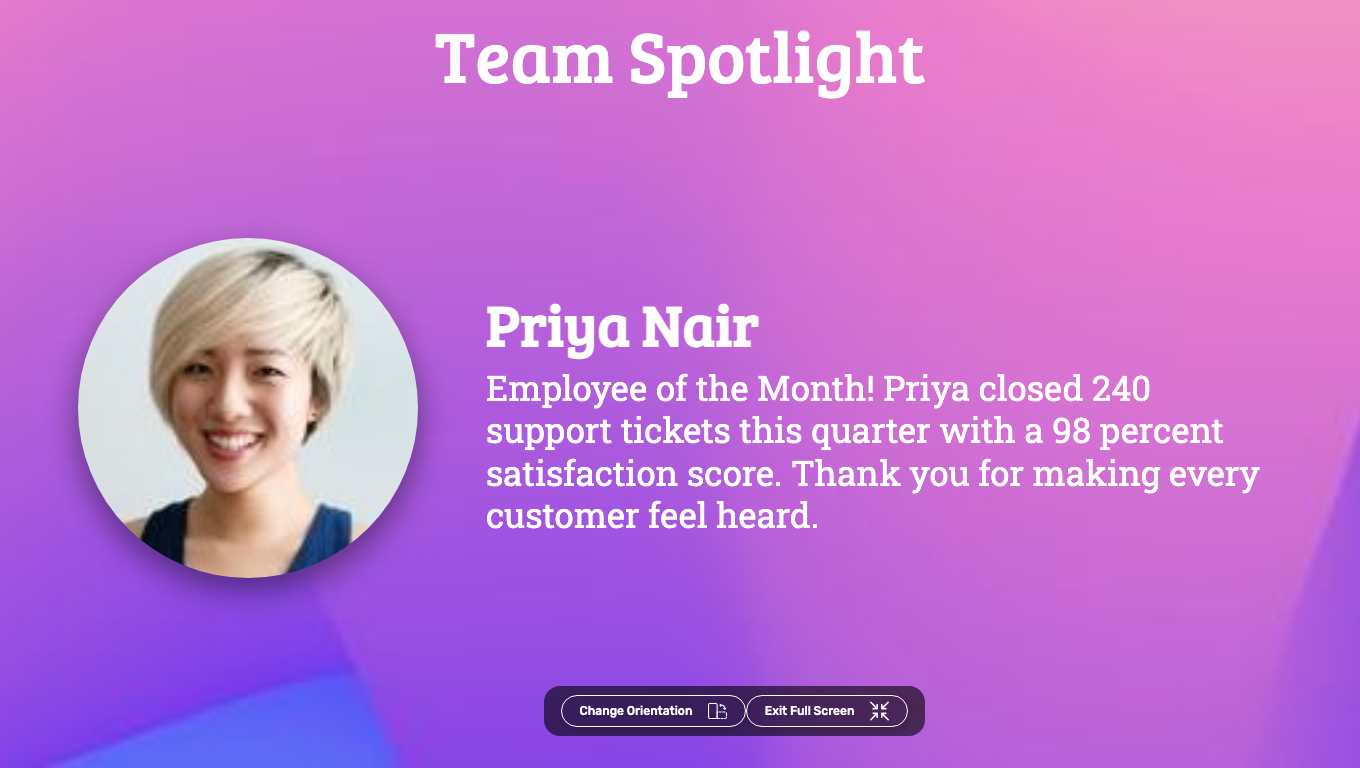
Click **Preview** to watch the board exactly as it will play on screen, including slide rotation. Use **Change Orientation** to check the portrait layout if your screen is vertical, then **Exit Full Screen** to return.
This panel is also where you can switch between the standard templates: click any thumbnail in the left rail and your profiles carry over. Click **Apply** to save the settings and return to the editor.
Click **Preview** to watch the board exactly as it will play on screen, including slide rotation. Use **Change Orientation** to check the portrait layout if your screen is vertical, then **Exit Full Screen** to return.
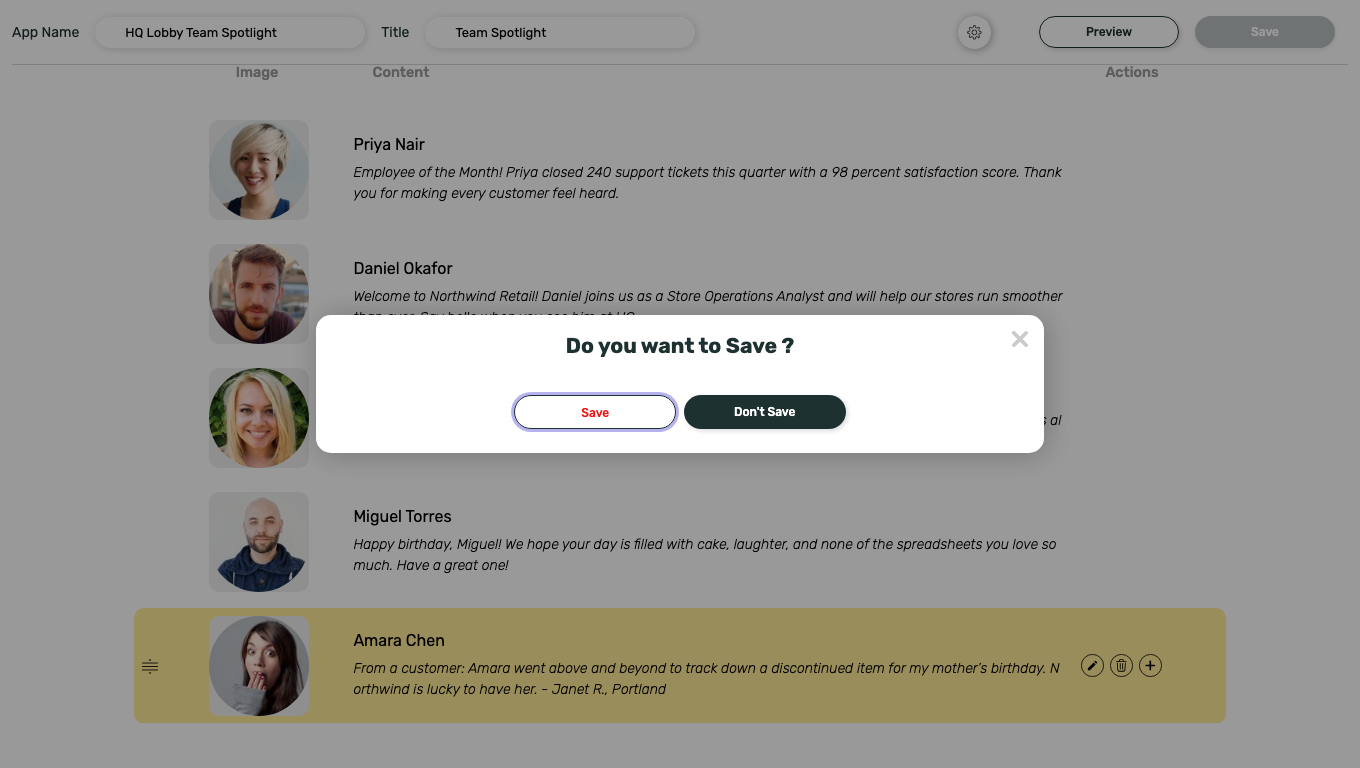
 Click **Save**. A confirmation dialog asks **Do you want to Save ?**; click **Save** again to confirm.
 The app is stored in **Content > Media** under the name you gave it, with type **App**. From there you can click its thumbnail to preview it again at any time.
 ## Template gallery
The same five profiles render very differently depending on the template. **Wall of fame Multi** is shown in the walkthrough above; here is the same board in each of the other standard templates.
## Template gallery
The same five profiles render very differently depending on the template. **Wall of fame Multi** is shown in the walkthrough above; here is the same board in each of the other standard templates.
 ## What's Next?
* Upload and organize photos in the [Media library](/media/add-media)
* Add the board to a multi-zone layout: [Compositions](/compositions/compositions)
* Send it to your screens: [Publish or Schedule Content](/schedule-and-publish/publish-overview)
## What's Next?
* Upload and organize photos in the [Media library](/media/add-media)
* Add the board to a multi-zone layout: [Compositions](/compositions/compositions)
* Send it to your screens: [Publish or Schedule Content](/schedule-and-publish/publish-overview)