> ## Documentation Index
> Fetch the complete documentation index at: https://docs.pickcel.com/llms.txt
> Use this file to discover all available pages before exploring further.
# How to build a custom-designed digital menu board on Pickcel?
> Design your own digital signage menu board from scratch with custom categories, items, and prices using the Pickcel Digital Menu Board app.
The Digital Menu Board app ships with a gallery of ready-made templates, but **Create Your Own Design** skips the gallery entirely and gives you a blank menu you build category by category. Use it when none of the standard templates match your branding, or when you want full control over which categories and items appear.
In this guide we build a two-category lunch and dinner menu for a fictional restaurant, **Riverside Bistro**.
## Prerequisites
* A [Pickcel account](https://console.pickcel.com/) with access to the **Content** module
* The category and item names, descriptions, and prices you want to display (you can also import items from **Square**, covered below)
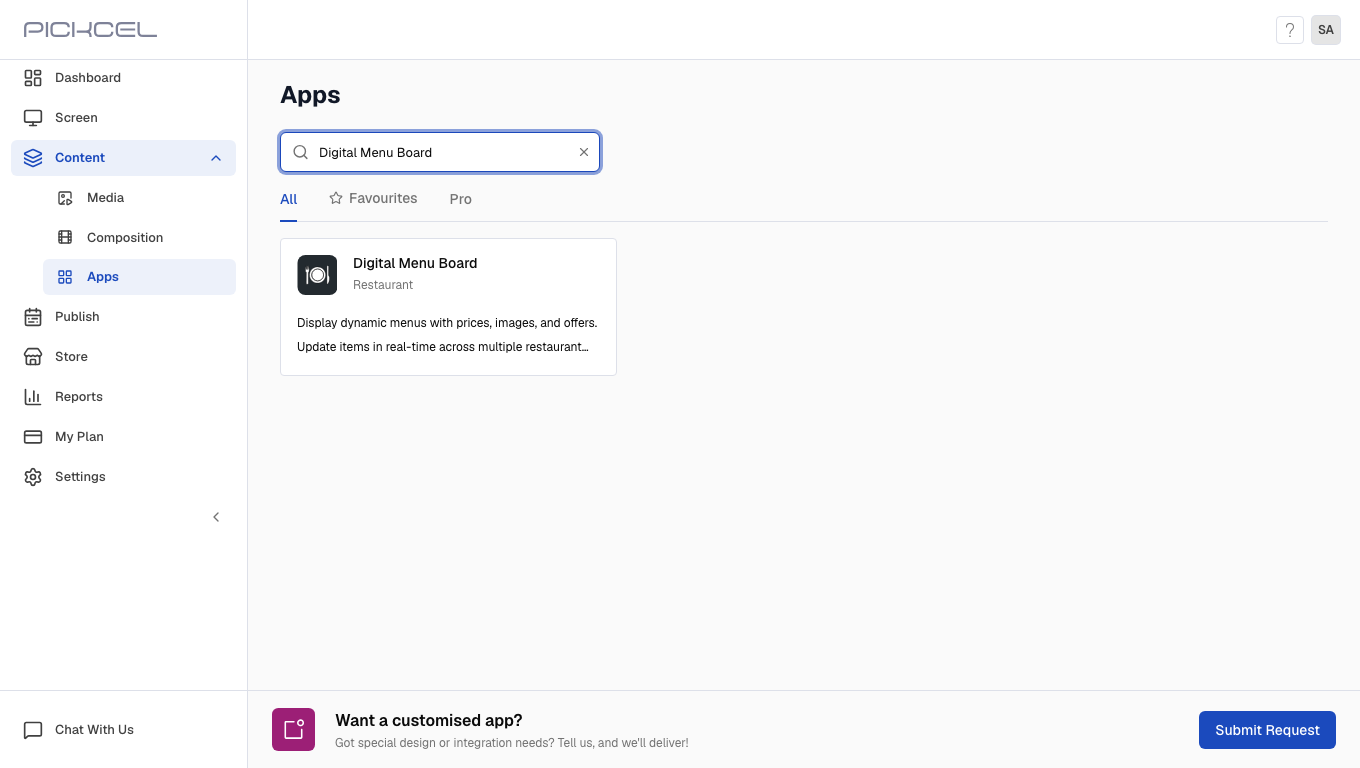
In the Pickcel console, expand **Content** in the left menu and select **Apps**. Search for **Digital Menu Board** using the search field.
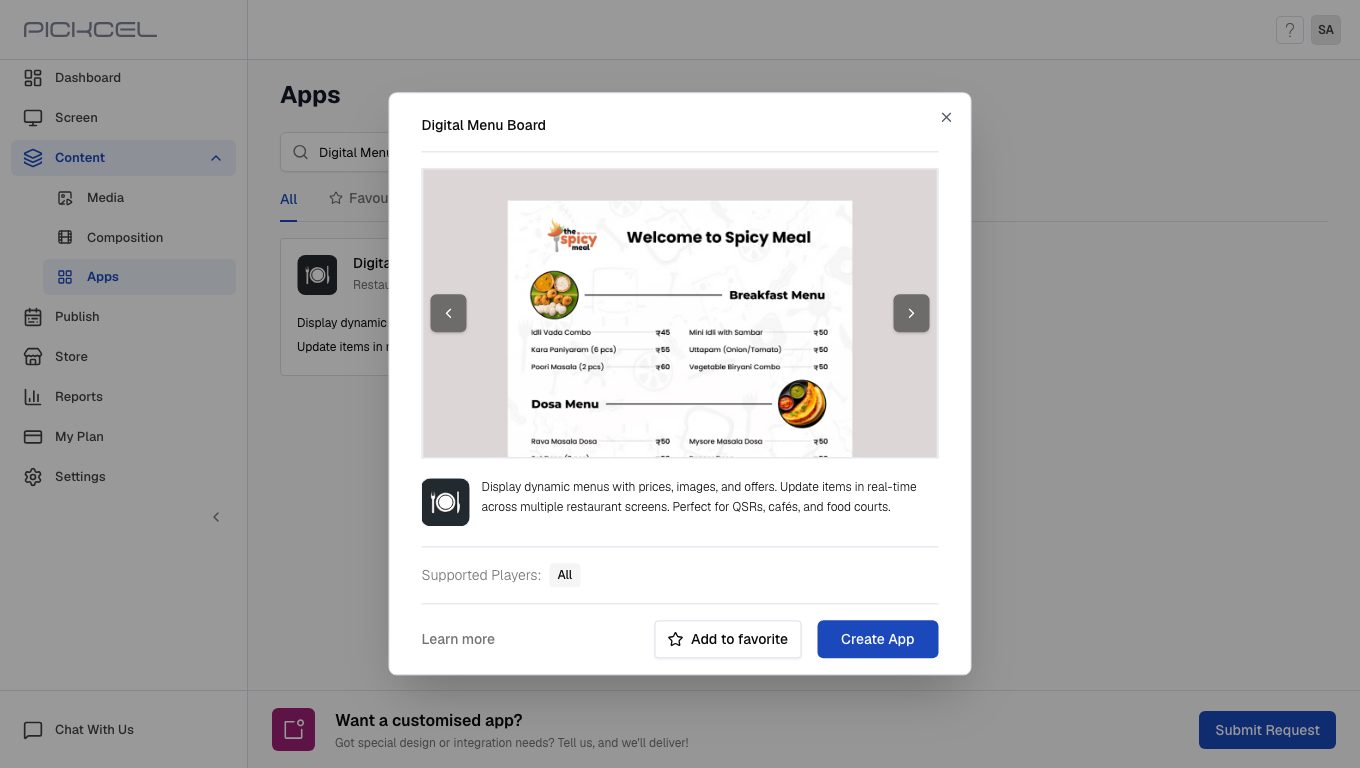
 Click the **Digital Menu Board** card. A details panel opens with a preview of the app. Click **Create App**. The app editor opens in a new browser tab.
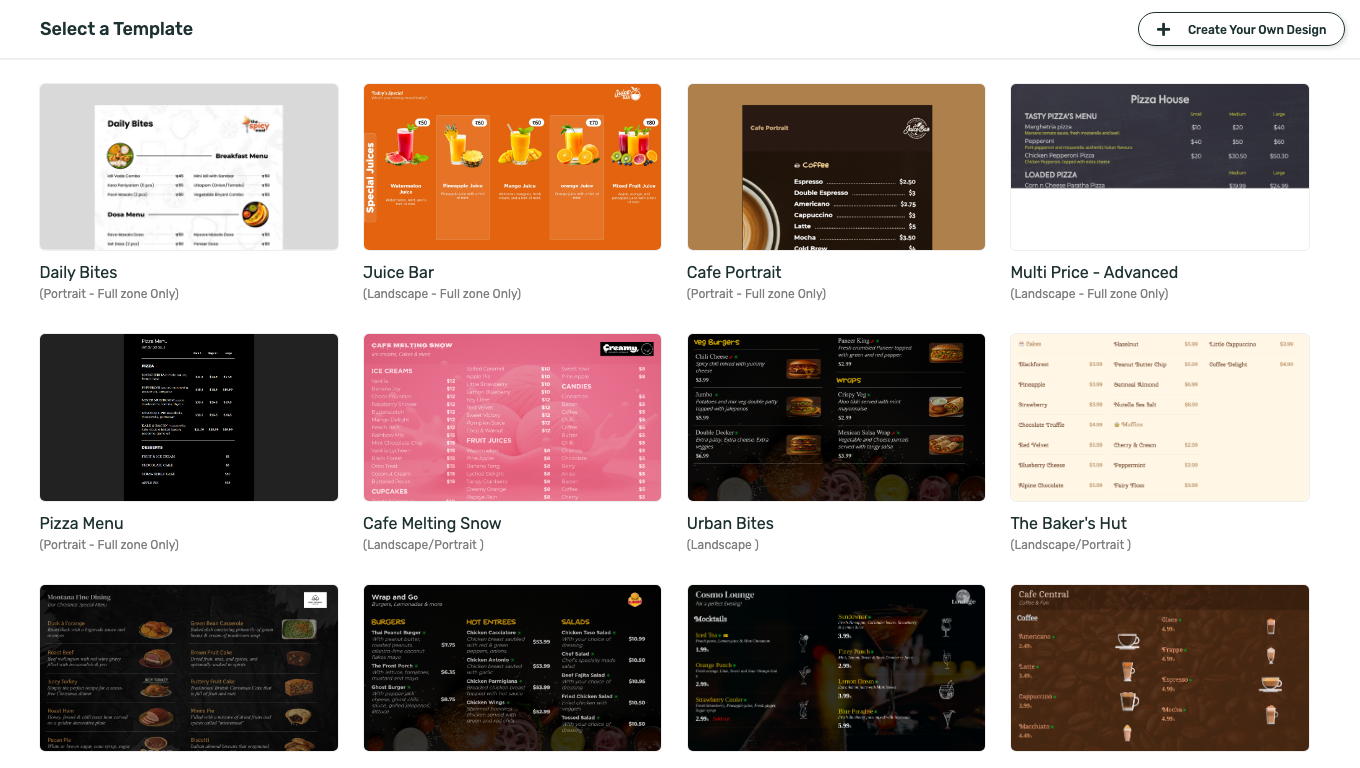
 The editor opens on **Select a Template** with a gallery of pre-built layouts. Click **Create Your Own Design** in the top-right corner to start from a blank menu instead of picking a template.
 If one of the gallery layouts already fits your brand, use it instead. See [Digital Menu Board](/apps/digital-menu-board) for the template-based flow.
Enter a **Menu Title** and **Menu Subtitle**; these display at the top of the screen. Enter an **App Instance Name** too, this is how you'll identify the app later in **Media**. We used **Riverside Bistro**, **Lunch & Dinner Menu**, and **Riverside Bistro Custom Menu**.
If one of the gallery layouts already fits your brand, use it instead. See [Digital Menu Board](/apps/digital-menu-board) for the template-based flow.
Enter a **Menu Title** and **Menu Subtitle**; these display at the top of the screen. Enter an **App Instance Name** too, this is how you'll identify the app later in **Media**. We used **Riverside Bistro**, **Lunch & Dinner Menu**, and **Riverside Bistro Custom Menu**.
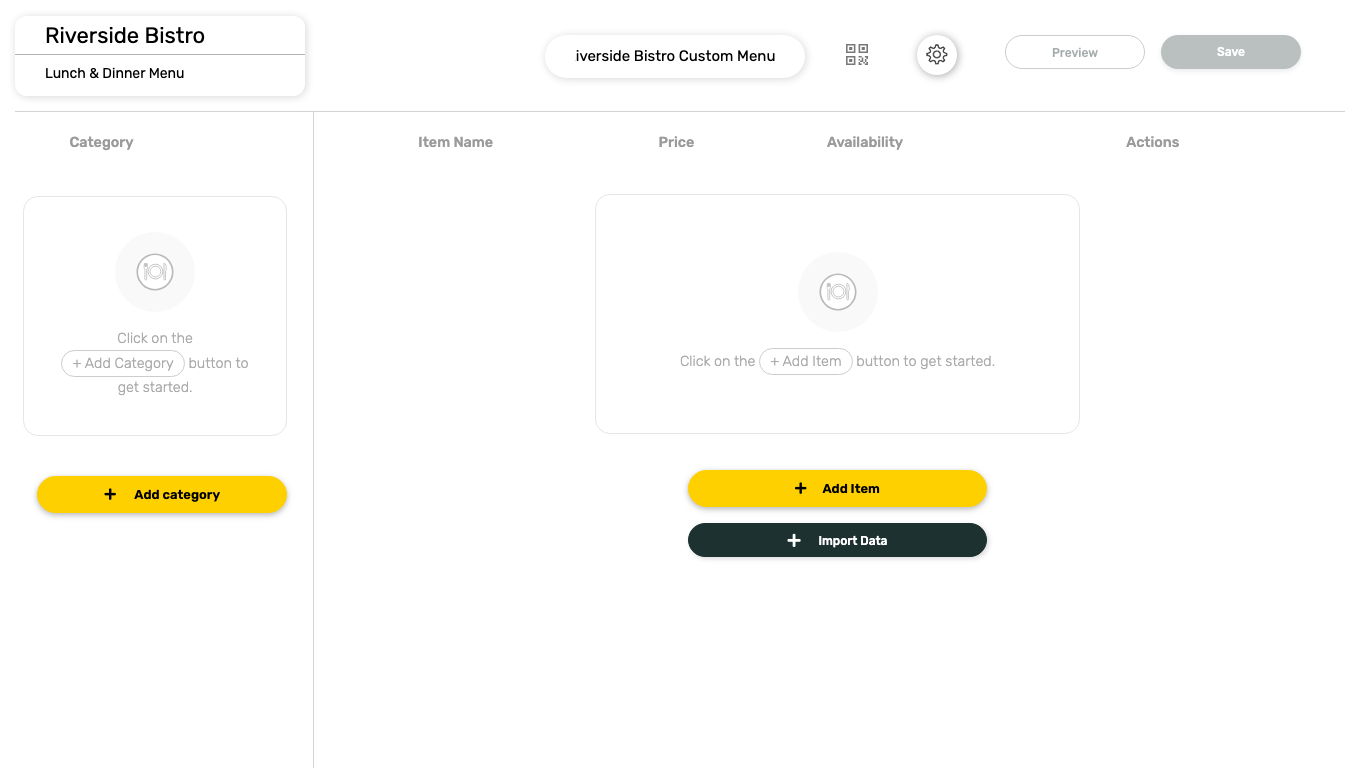 Click **Add category**, then click the new row and type a category name. Press **Enter** to confirm. Repeat for every section of your menu. We added **Appetizers** and **Entrees**.
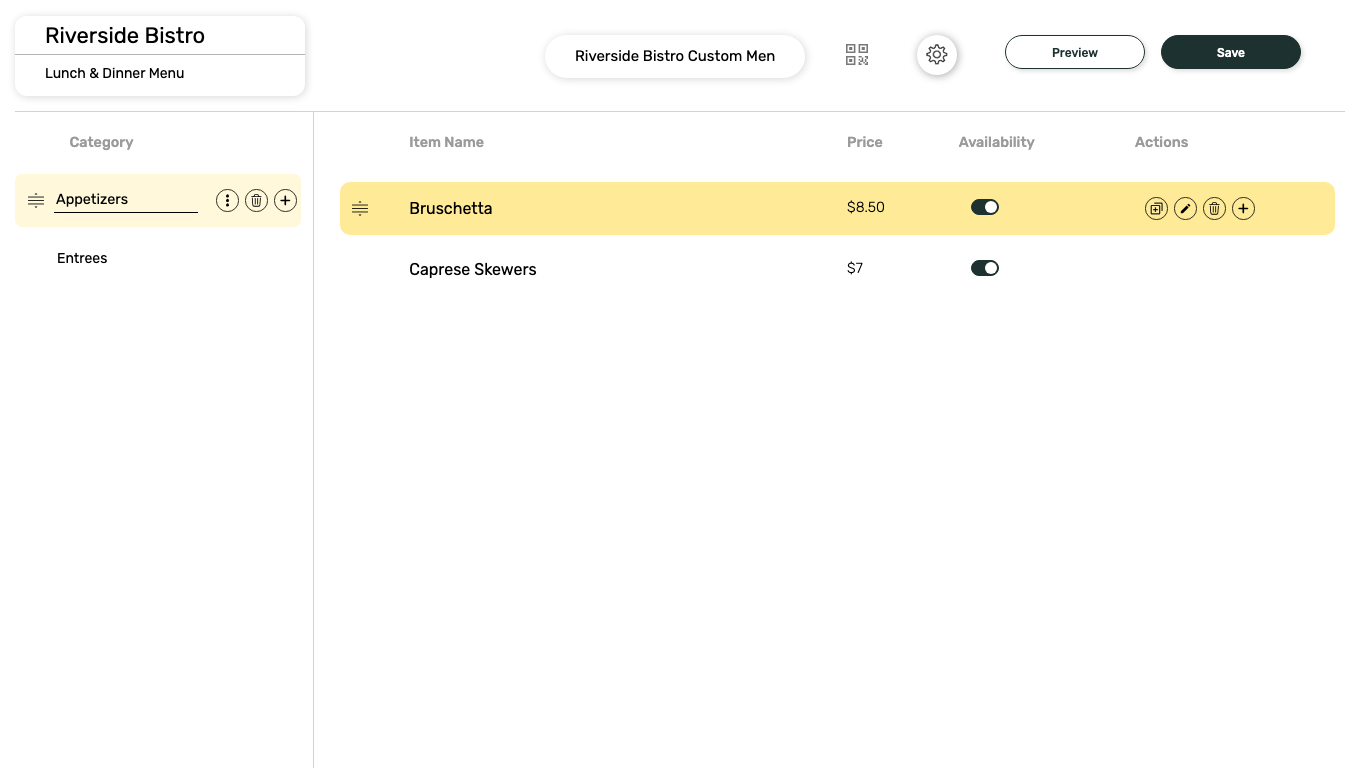 Select a category, then click **Add Item**. Enter the item's **Name** and **Price**, then click **Add**.
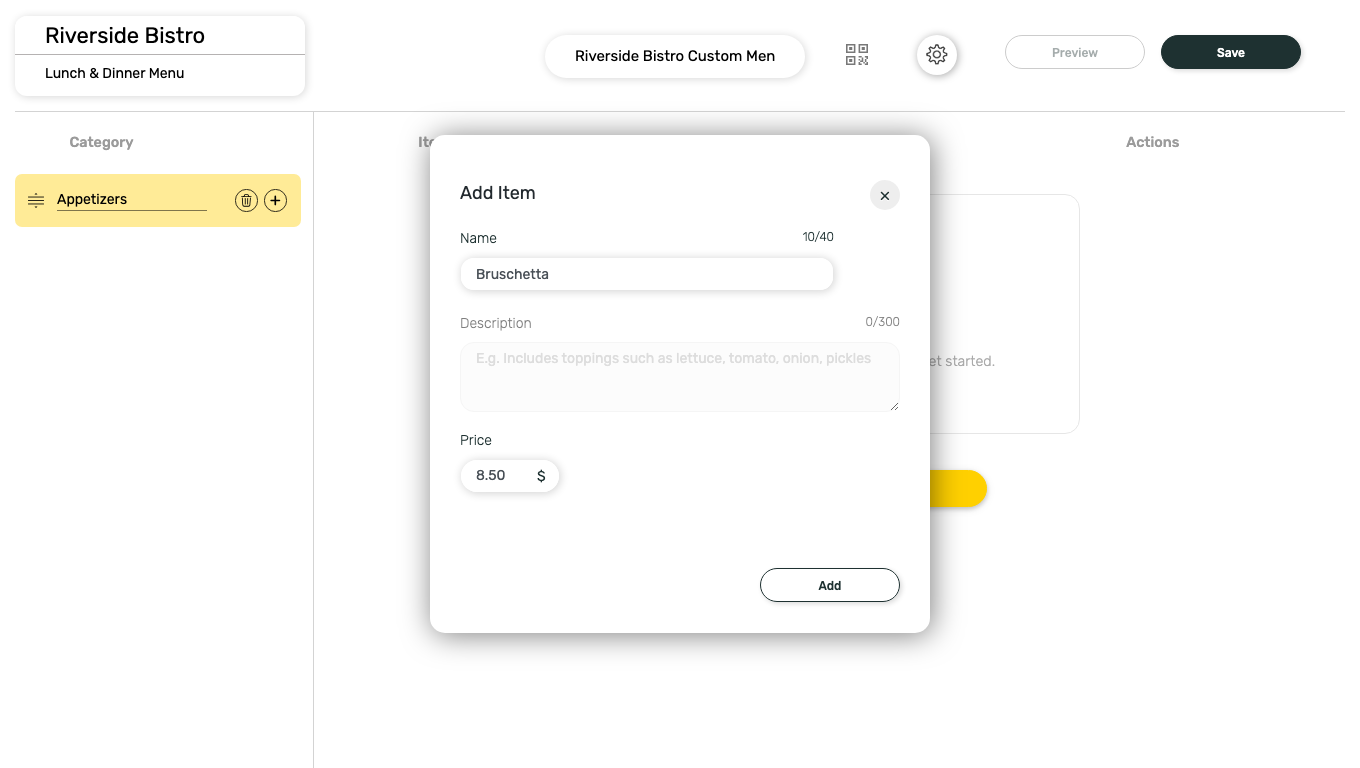 **Description** is disabled for custom-built menus (it only applies to a few gallery templates), so the item card shows just the name and price. Repeat for every item; use the row's **+** icon to add the next item without reopening the category list.
Once an item exists, hover its row for the **Actions** icons: copy, edit, delete, and add another item. Use **Import Data** above the item list to pull items from a connected **Square** account instead of entering them by hand.
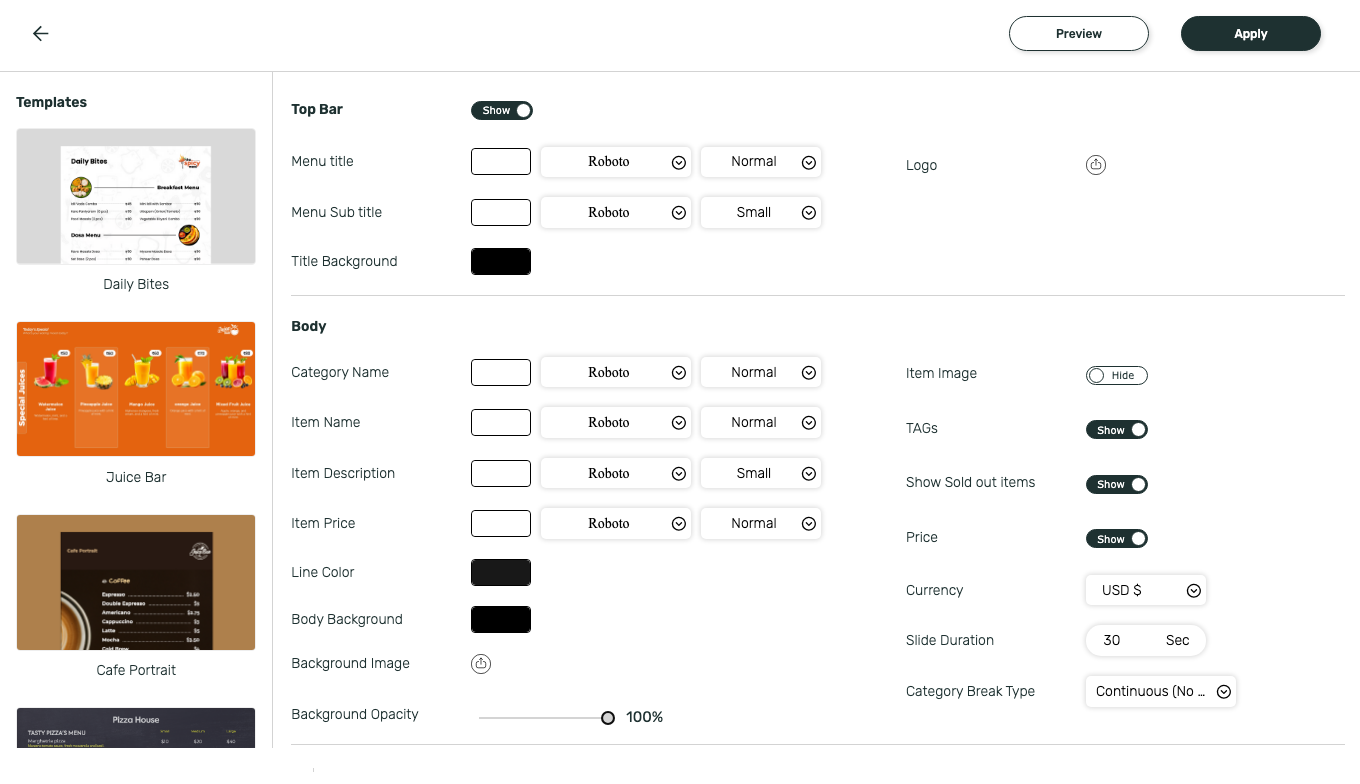
Click the settings icon next to **Preview**. The panel controls every visual element of the board:
* **Top Bar**: show or hide it, and set the menu title, subtitle, background, and logo
* **Body**: fonts and colors for category names, item names, descriptions, and prices; body background color, image, and opacity
* **Item Image**, **Tags**, **Show Sold out items**, and **Price** toggles, plus **Currency** and **Slide Duration**
* **Category Break Type**: whether categories scroll continuously or break to a new screen
You can also switch to any gallery template from this panel without losing the categories and items you already entered. Click **Apply** when you're done.
**Description** is disabled for custom-built menus (it only applies to a few gallery templates), so the item card shows just the name and price. Repeat for every item; use the row's **+** icon to add the next item without reopening the category list.
Once an item exists, hover its row for the **Actions** icons: copy, edit, delete, and add another item. Use **Import Data** above the item list to pull items from a connected **Square** account instead of entering them by hand.
Click the settings icon next to **Preview**. The panel controls every visual element of the board:
* **Top Bar**: show or hide it, and set the menu title, subtitle, background, and logo
* **Body**: fonts and colors for category names, item names, descriptions, and prices; body background color, image, and opacity
* **Item Image**, **Tags**, **Show Sold out items**, and **Price** toggles, plus **Currency** and **Slide Duration**
* **Category Break Type**: whether categories scroll continuously or break to a new screen
You can also switch to any gallery template from this panel without losing the categories and items you already entered. Click **Apply** when you're done.
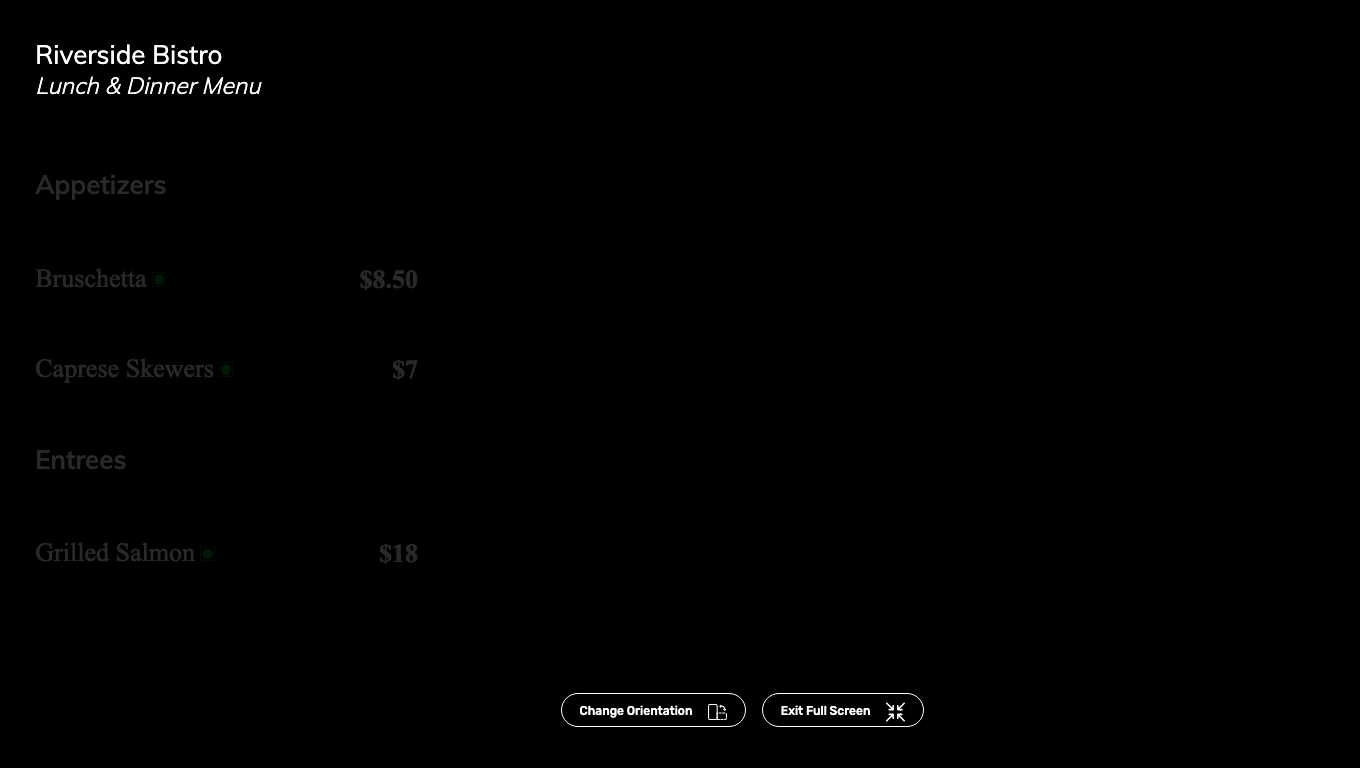
 Click **Preview** to see the board exactly as it will play on screen, including both categories rotating in.
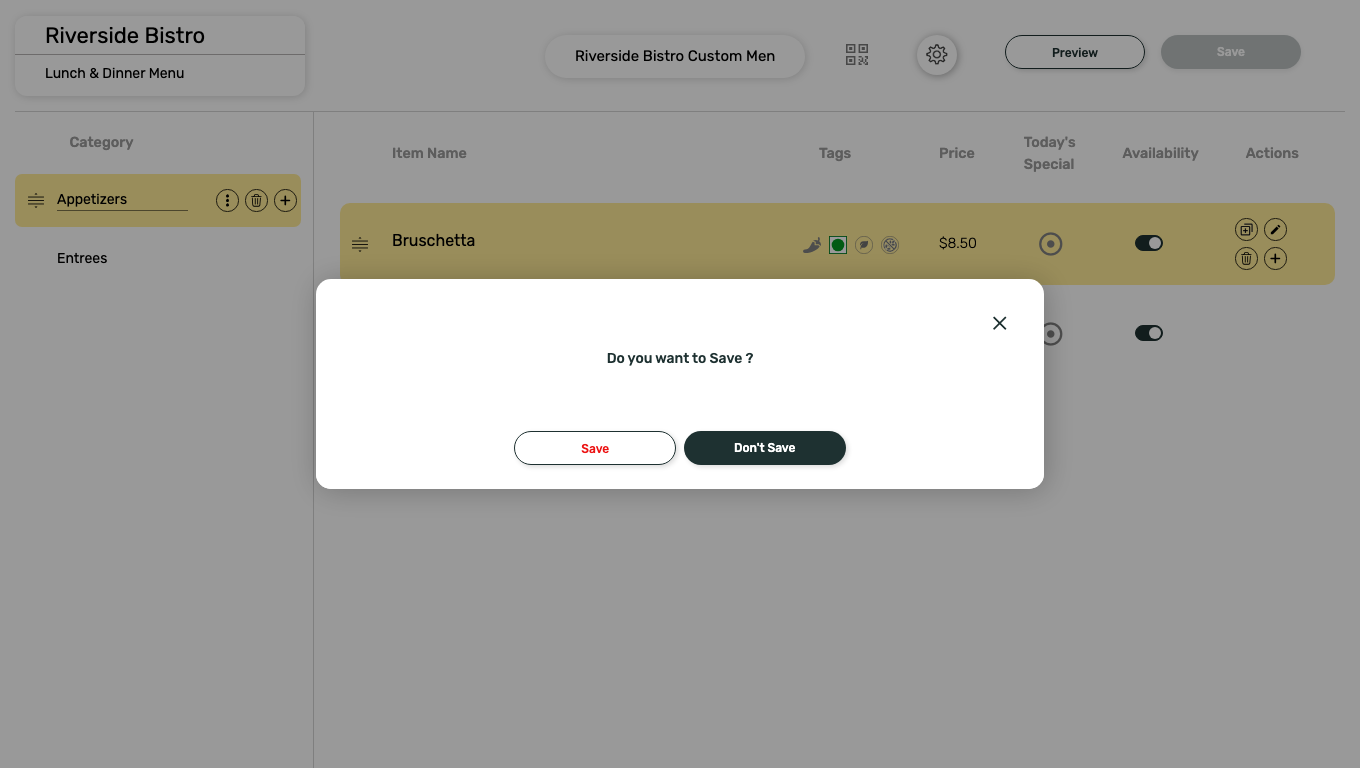
 Click **Save**, then confirm in the **Do you want to Save?** dialog.
 A success dialog confirms the app was created and offers to walk you through adding it to a composition.
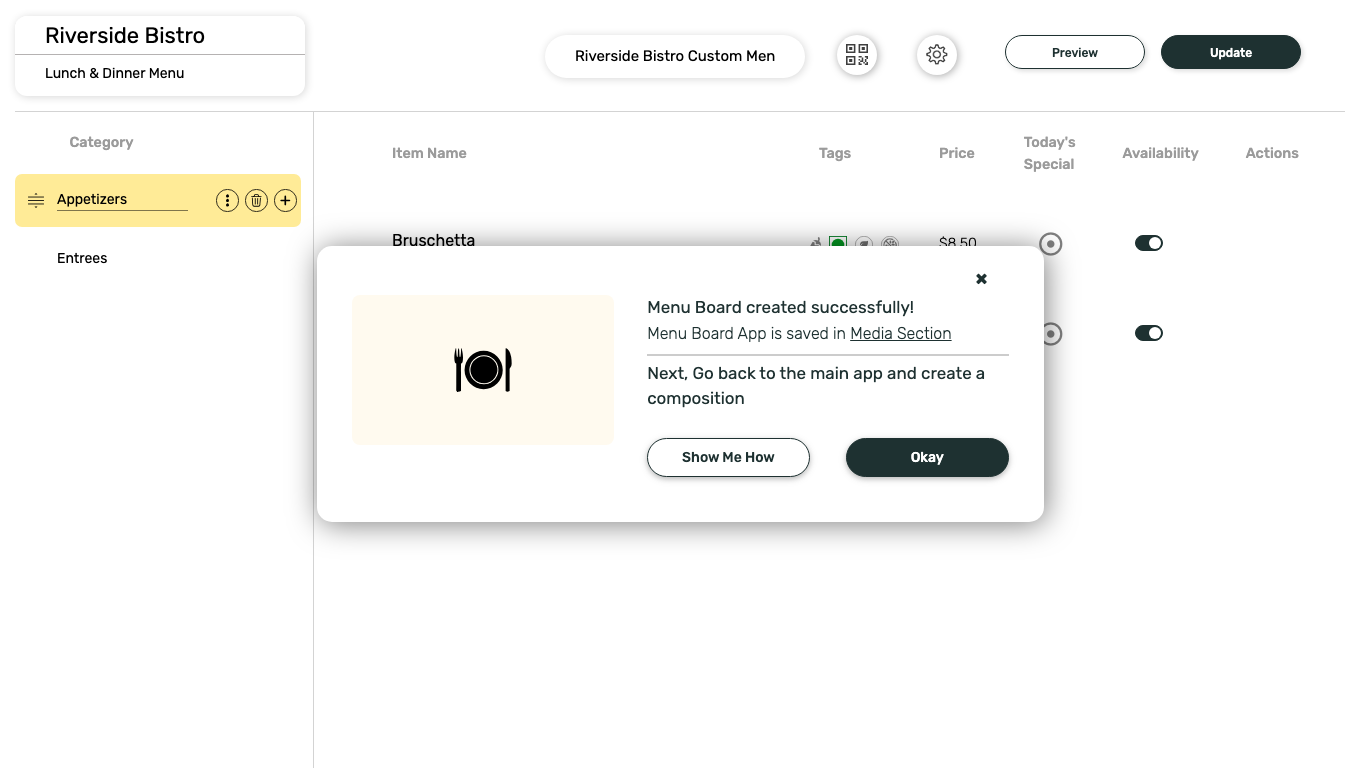 The app is stored in **Content > Media** under the App Instance Name you gave it, with type **App**.
## What's Next?
* Add the menu to a multi-zone layout: [Compositions](/compositions/compositions)
* Send it to your screens: [Publish or Schedule Content](/schedule-and-publish/publish-overview)
The app is stored in **Content > Media** under the App Instance Name you gave it, with type **App**.
## What's Next?
* Add the menu to a multi-zone layout: [Compositions](/compositions/compositions)
* Send it to your screens: [Publish or Schedule Content](/schedule-and-publish/publish-overview)