> ## Documentation Index
> Fetch the complete documentation index at: https://docs.pickcel.com/llms.txt
> Use this file to discover all available pages before exploring further.
# How to Display a Public Website on Digital Signage?
This guide explains how to display any public-facing website that does not require a login, such as a news site, company blog, a social media feed wall, or a public dashboard, on your digital signage screens.
## Prerequisites
Before you begin, make sure you have:
* The full URL of the public website you wish to display
This app is not suitable for websites that require a login. To display content behind a login (such as Jira, Trello, or Power BI), use the matching dashboard connector instead.
**Before configuring:** Ensure the website's content is appropriate for public display and that its layout is suitable for a digital signage format. Some websites with heavy animations or pop-ups may not display as expected.
***
## Step-by-Step Configuration
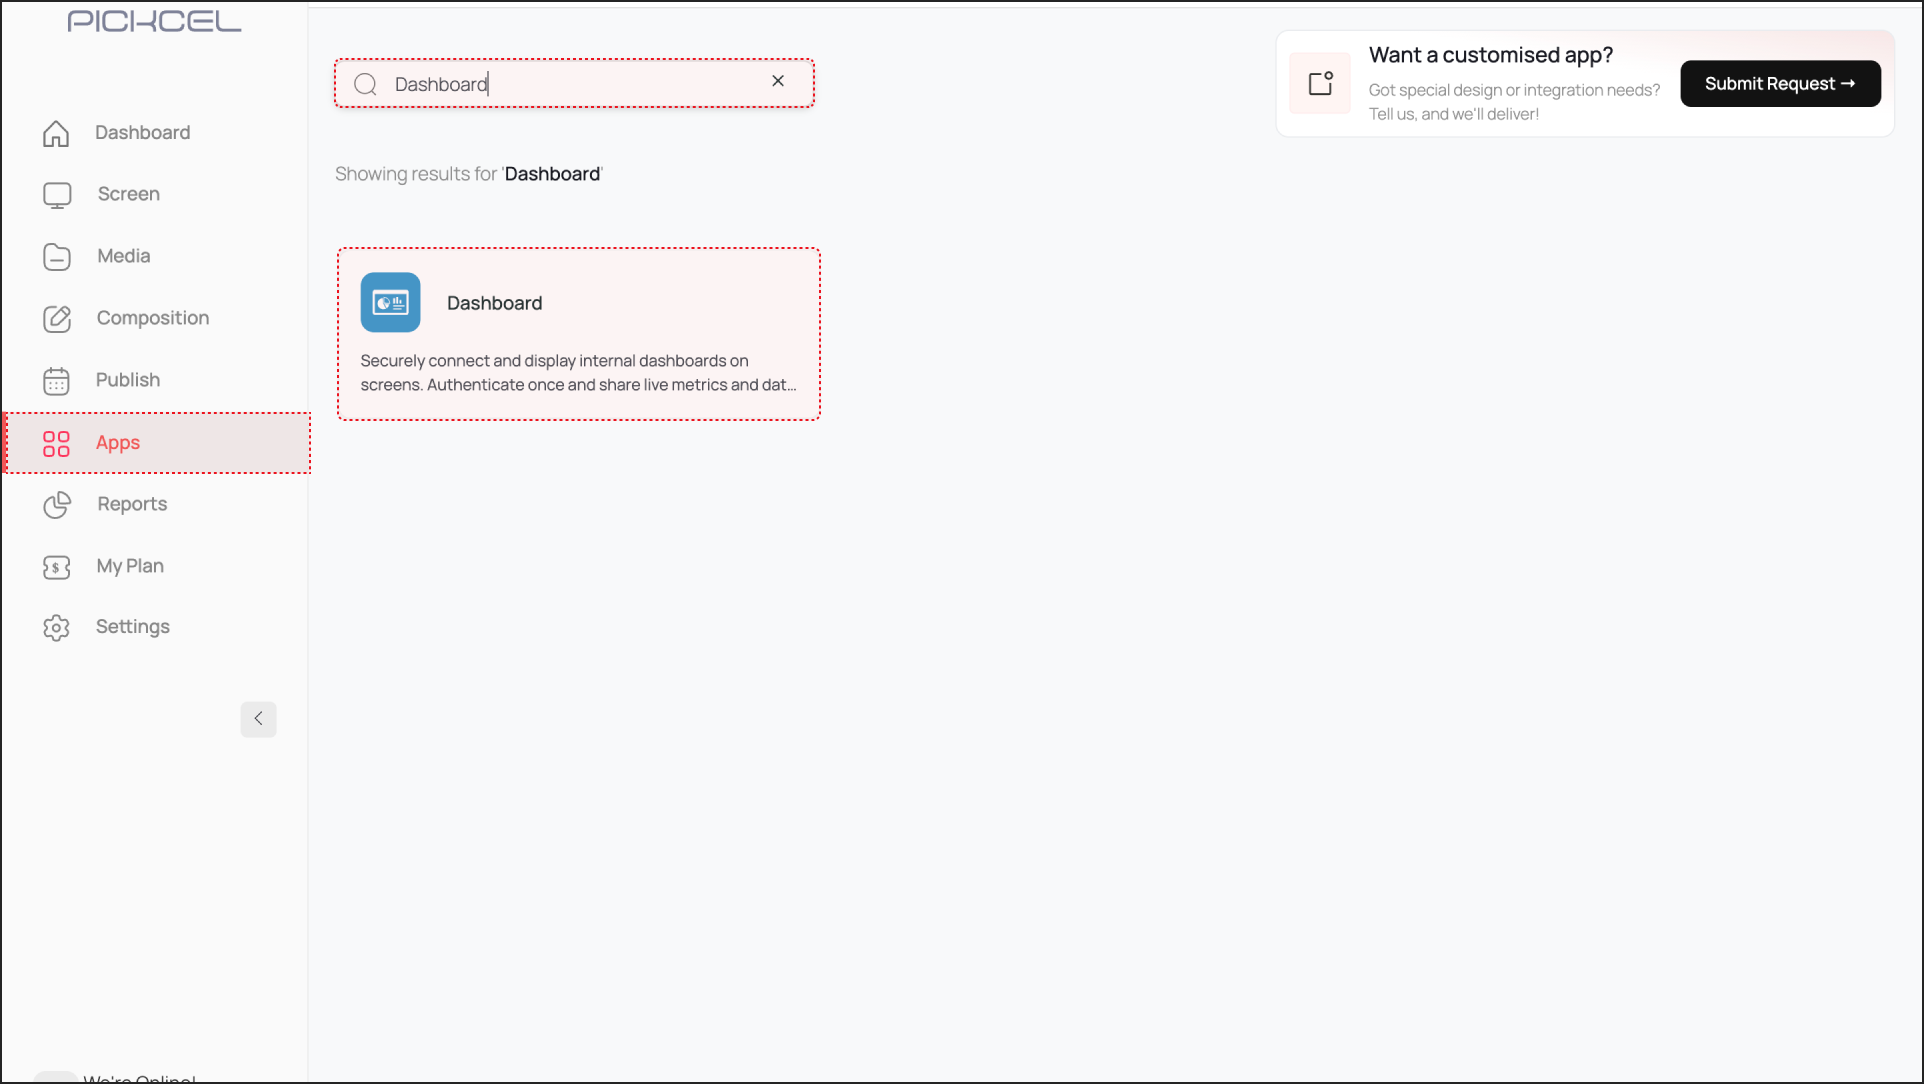
Log in to the Pickcel Console and navigate to **Apps**. Search for the **Dashboard** app and click on it. Then, click **Create App**.
 * Give a name to the app instance based on the webpage you are configuring (e.g., "Flipkart").
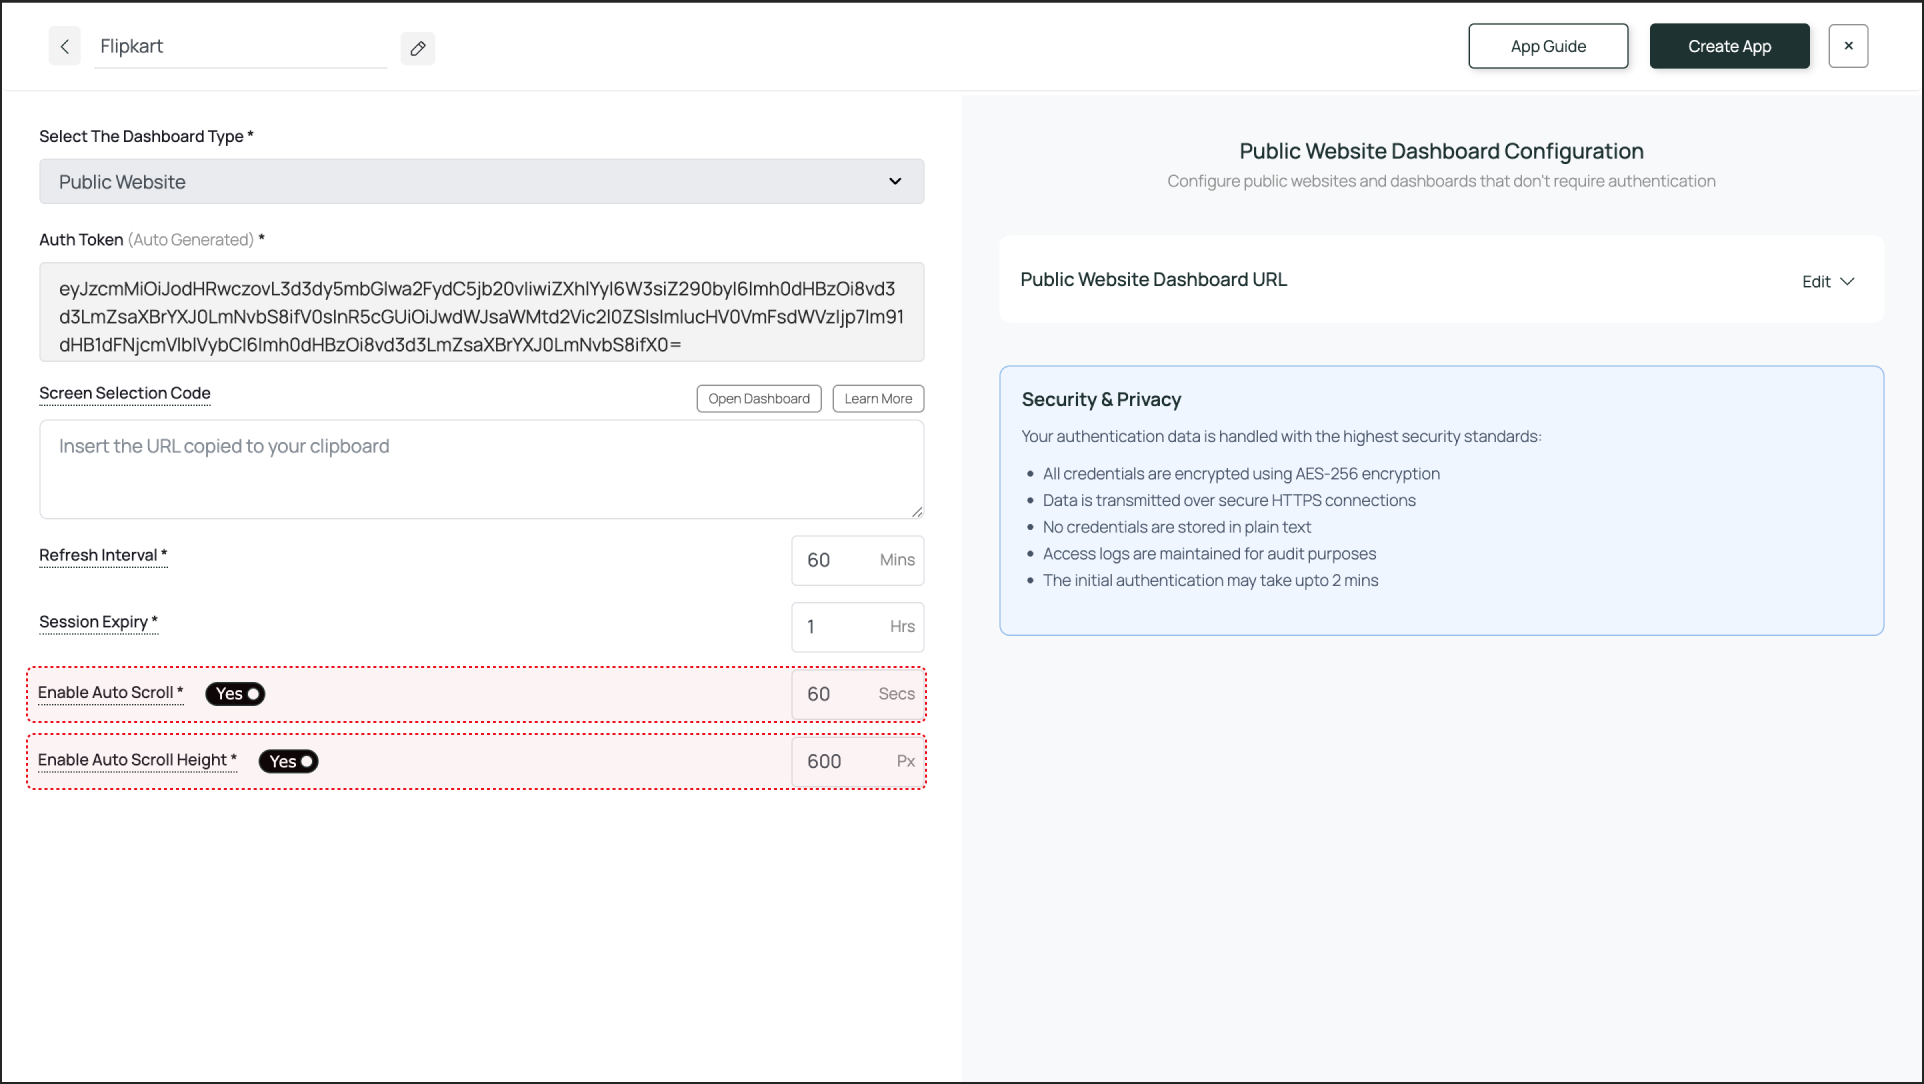
* Select **Public Website** from the dropdown menu. The fields required for configuring your webpage will open on the right-hand side.
* Give a name to the app instance based on the webpage you are configuring (e.g., "Flipkart").
* Select **Public Website** from the dropdown menu. The fields required for configuring your webpage will open on the right-hand side.
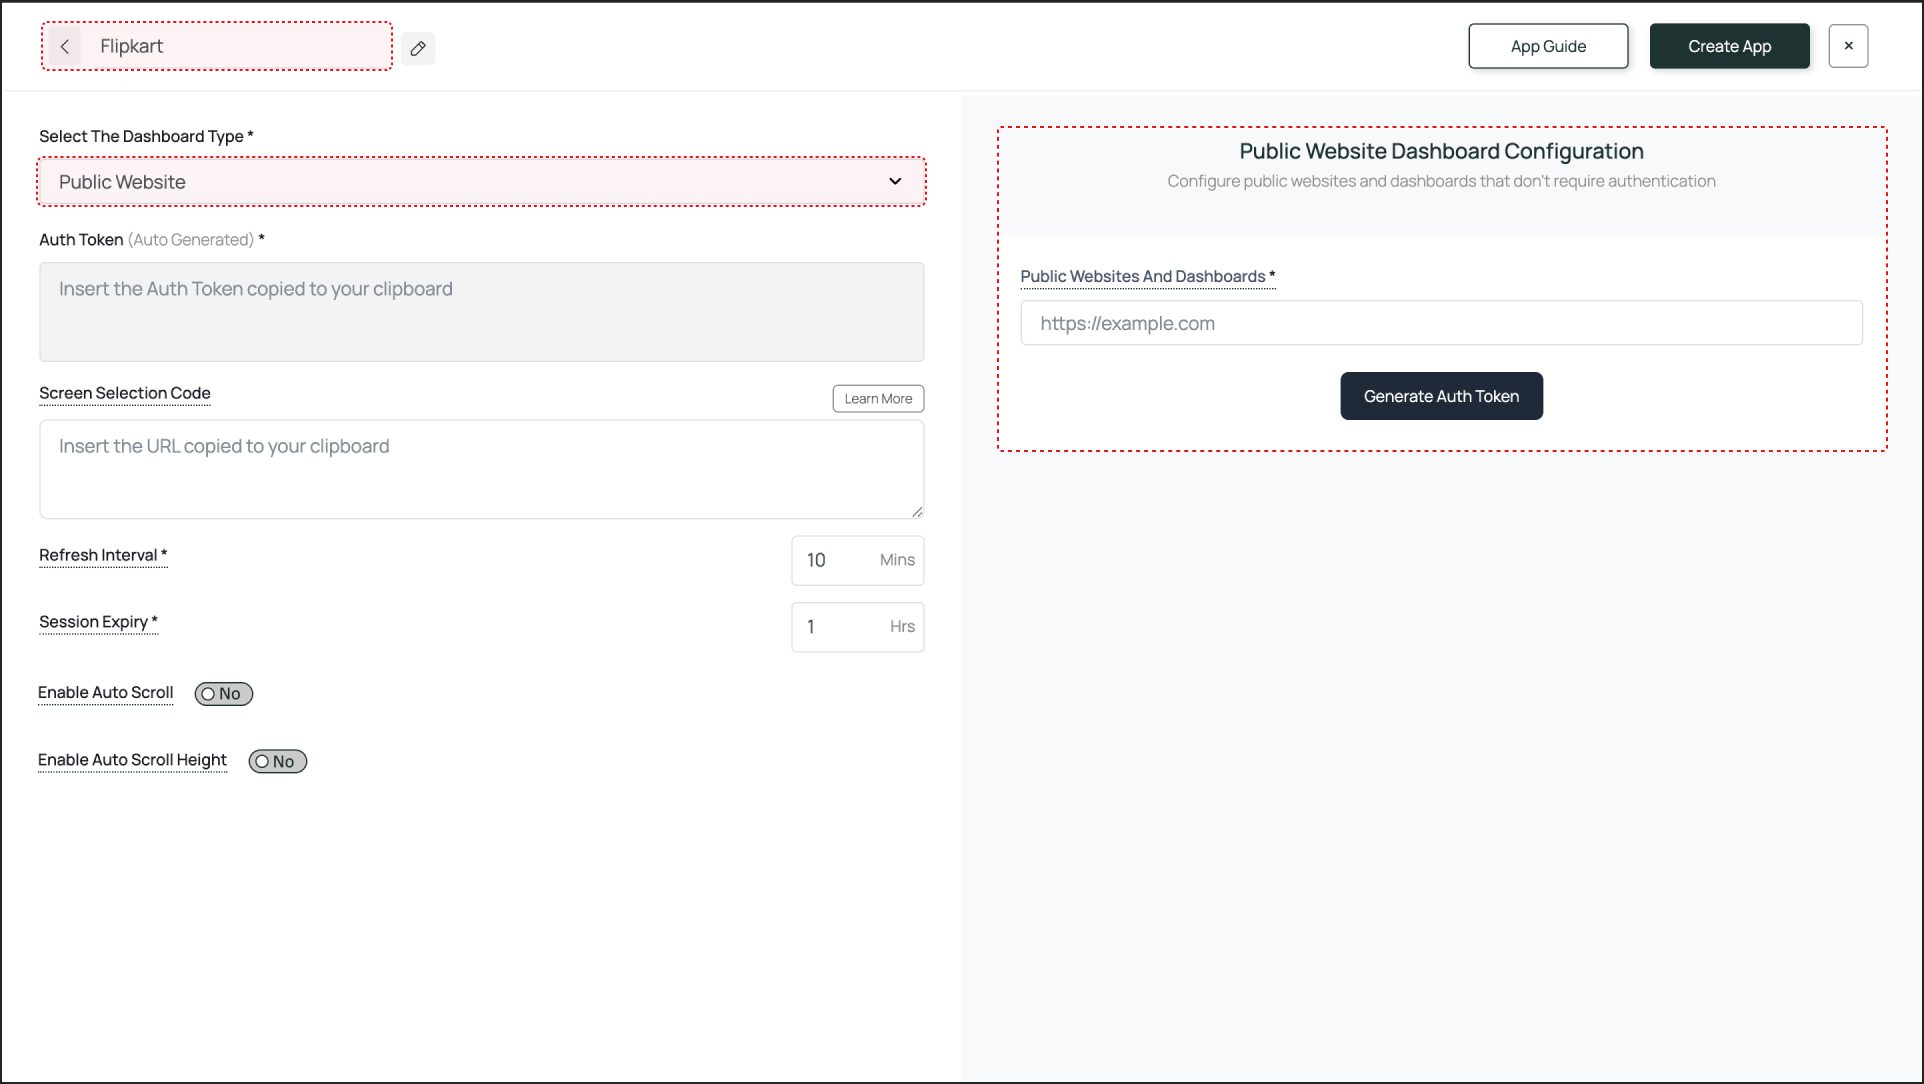 This section requires the website URL to generate a configuration token.
* **Public Websites And Dashboards**: Enter the full URL of the public website you want to display (e.g., `https://www.yourcompany.com/blog`).
This section requires the website URL to generate a configuration token.
* **Public Websites And Dashboards**: Enter the full URL of the public website you want to display (e.g., `https://www.yourcompany.com/blog`).
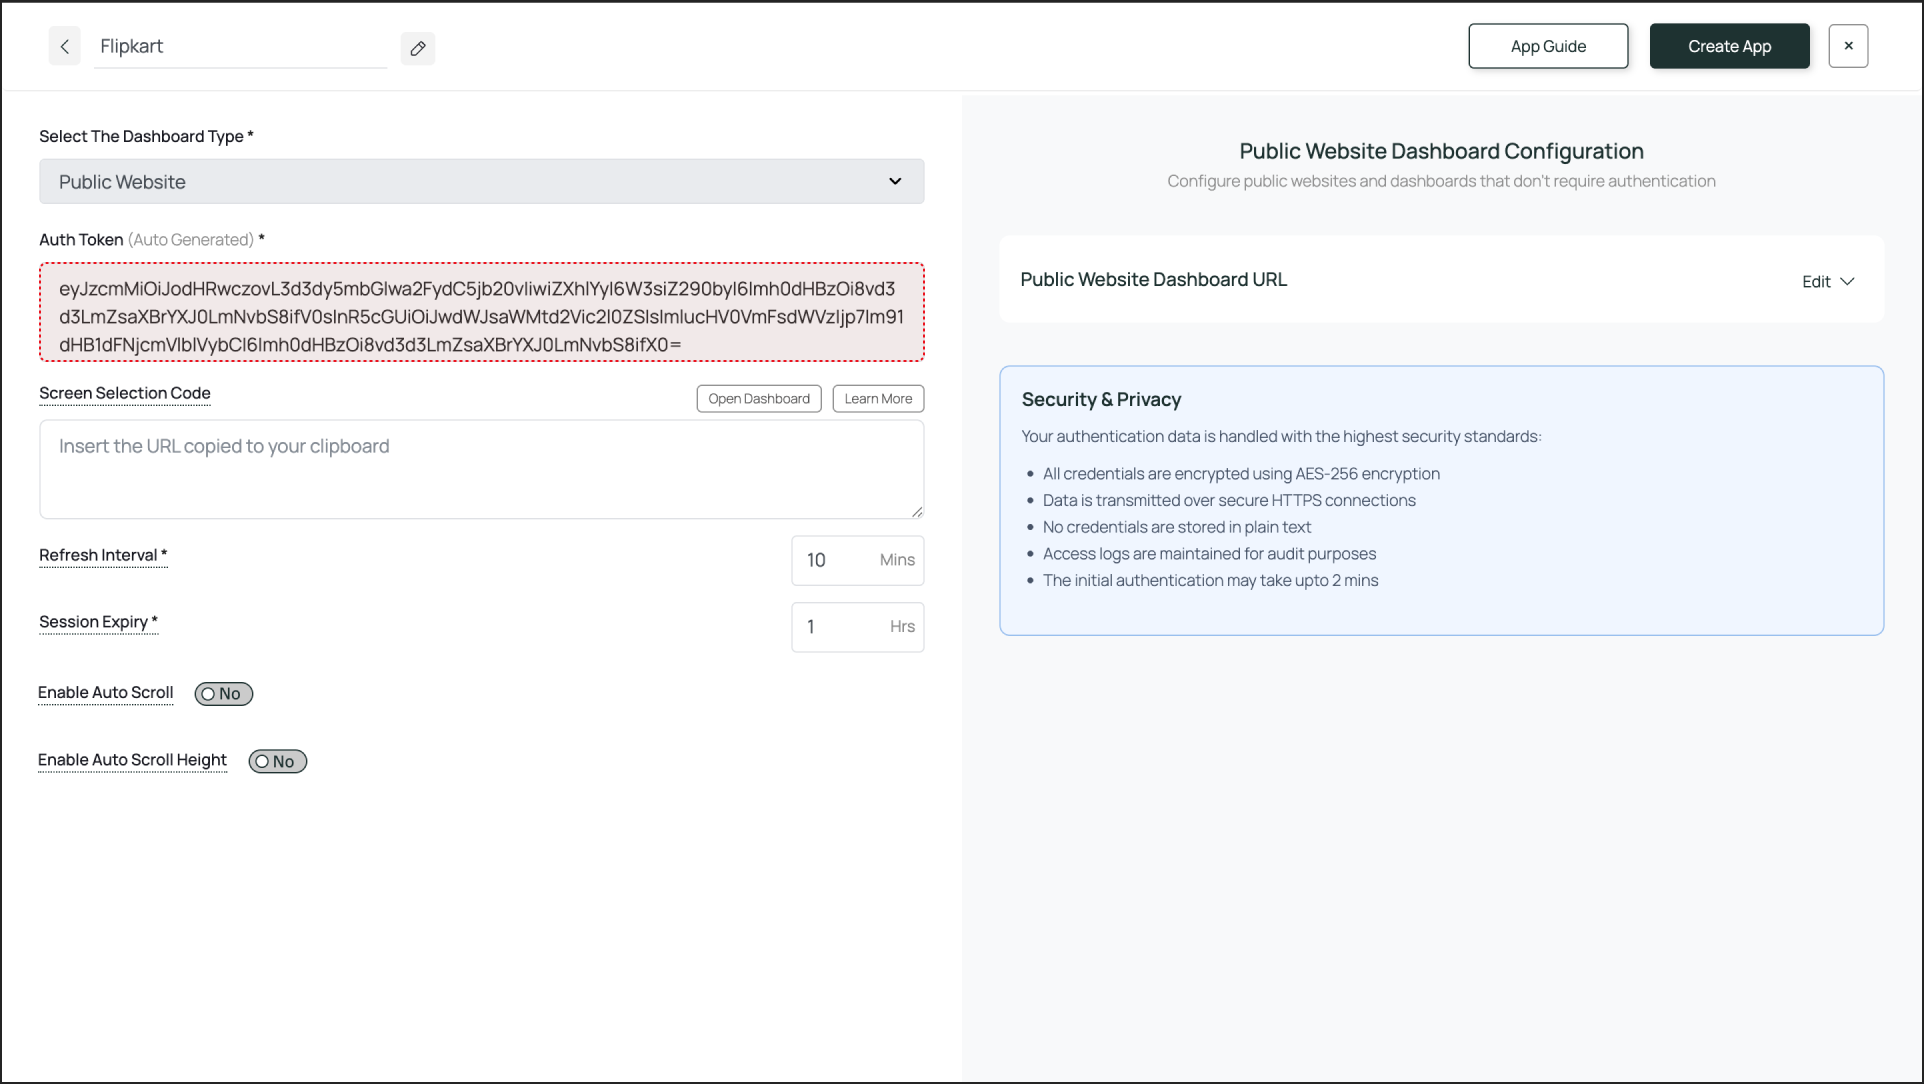
 Click **Generate Auth Token**. The token will be generated and automatically pasted into the **Auth Token** field on the left. This step is necessary to save the URL configuration.
 ### Enter Screen Selection Code (Optional)
If you want to display only a specific part of the webpage (like a "Latest News" section), use the Pickcel Dashboard Screen Mapper Extension. Select the area you want to display, and upon confirming the selection, the code will be copied to your clipboard. Paste this code into the **Screen Selection Code** field.
Check this guide for more info: [How to Use the Dashboard Screen Mapper Chrome Extension?](/apps/dashboard-apps/screen-mapper)
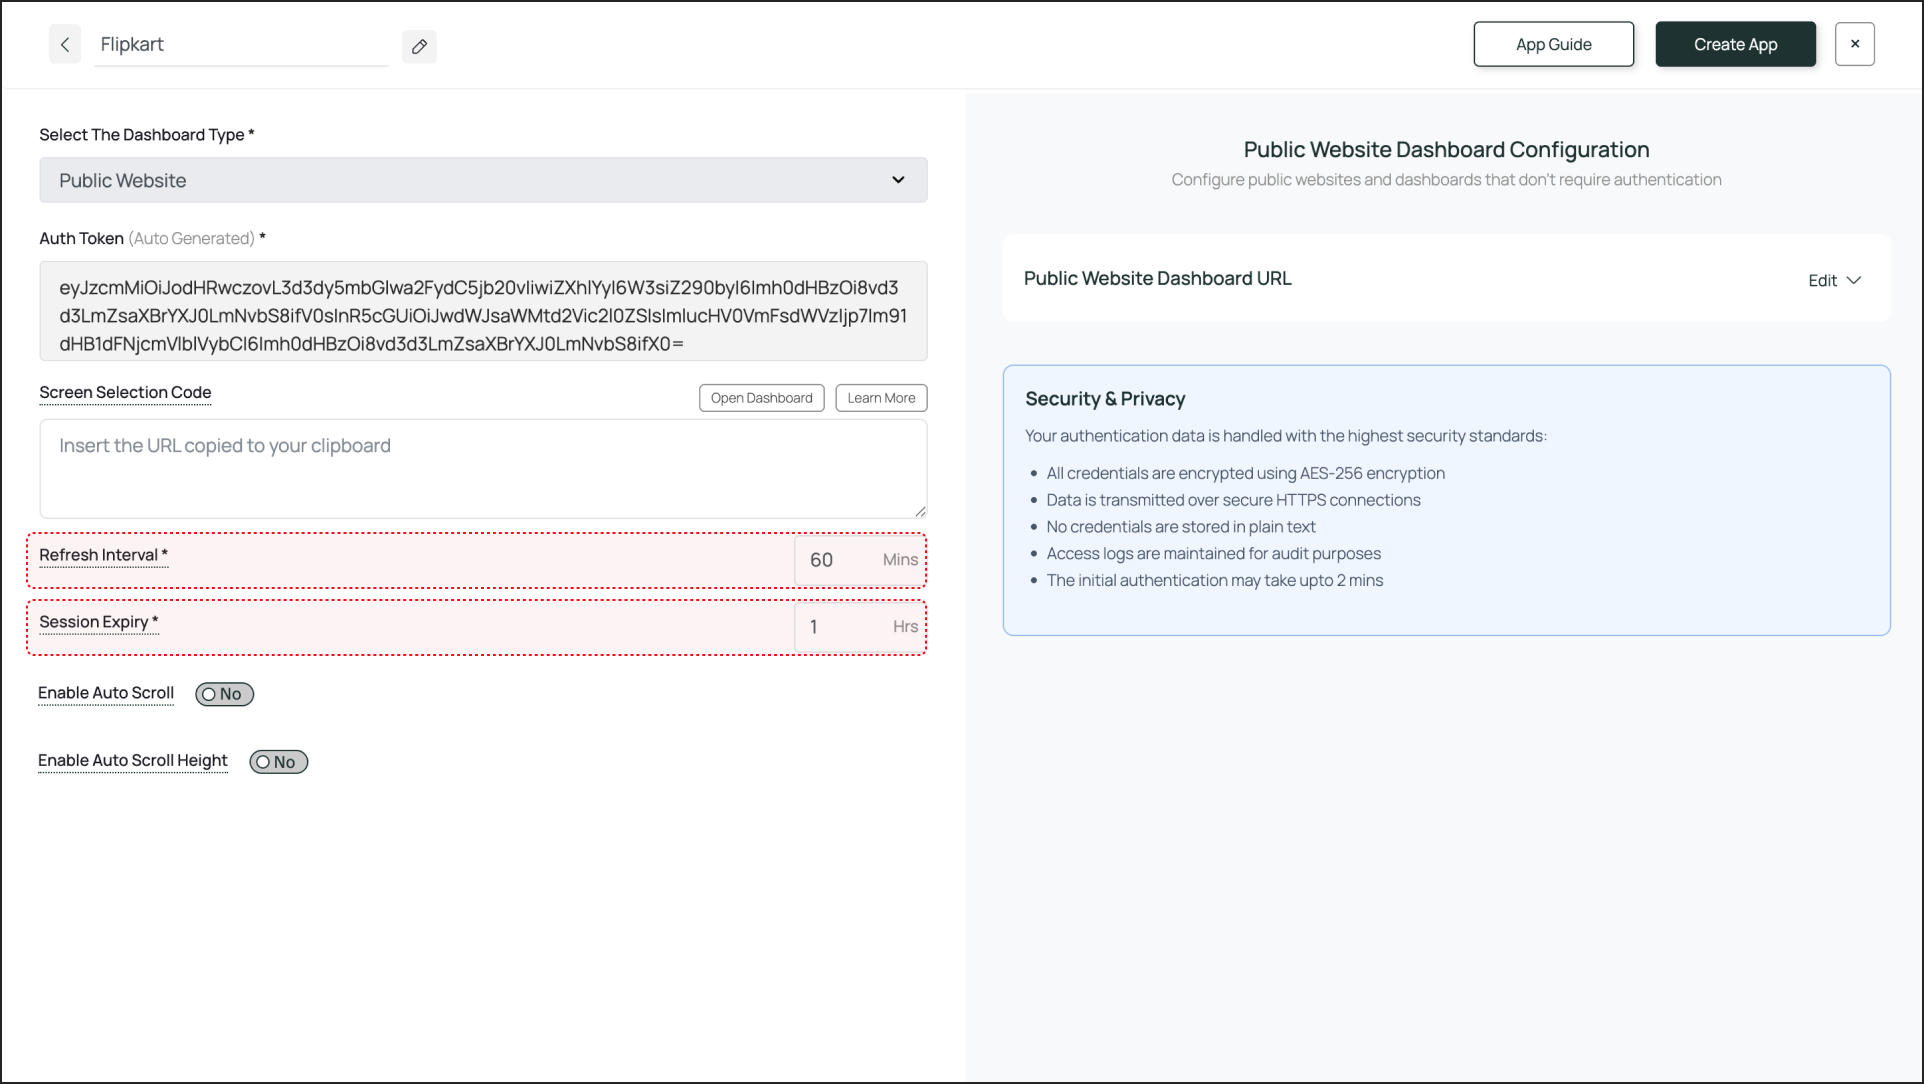
* **Refresh Interval**: This setting defines how often the webpage screenshot is updated. For a dynamic news site, **30 minutes** is a good interval. For a more static page, **60 minutes** or more is fine.
* **Session Expiry**: This defines how often the app performs a full refresh of the webpage from the ground up. A value of **1 hour** is a good default.
### Enter Screen Selection Code (Optional)
If you want to display only a specific part of the webpage (like a "Latest News" section), use the Pickcel Dashboard Screen Mapper Extension. Select the area you want to display, and upon confirming the selection, the code will be copied to your clipboard. Paste this code into the **Screen Selection Code** field.
Check this guide for more info: [How to Use the Dashboard Screen Mapper Chrome Extension?](/apps/dashboard-apps/screen-mapper)
* **Refresh Interval**: This setting defines how often the webpage screenshot is updated. For a dynamic news site, **30 minutes** is a good interval. For a more static page, **60 minutes** or more is fine.
* **Session Expiry**: This defines how often the app performs a full refresh of the webpage from the ground up. A value of **1 hour** is a good default.
 There are two ways to scroll through the webpage:
* **Enable Auto Scroll**: Set a scroll duration in seconds. For example, at 20 seconds, the entire page scrolls from top to bottom over 20 seconds.
* **Enable Auto Scroll Height**: Set a scroll height in pixels. The screen scrolls down by the defined pixel height.
There are two ways to scroll through the webpage:
* **Enable Auto Scroll**: Set a scroll duration in seconds. For example, at 20 seconds, the entire page scrolls from top to bottom over 20 seconds.
* **Enable Auto Scroll Height**: Set a scroll height in pixels. The screen scrolls down by the defined pixel height.
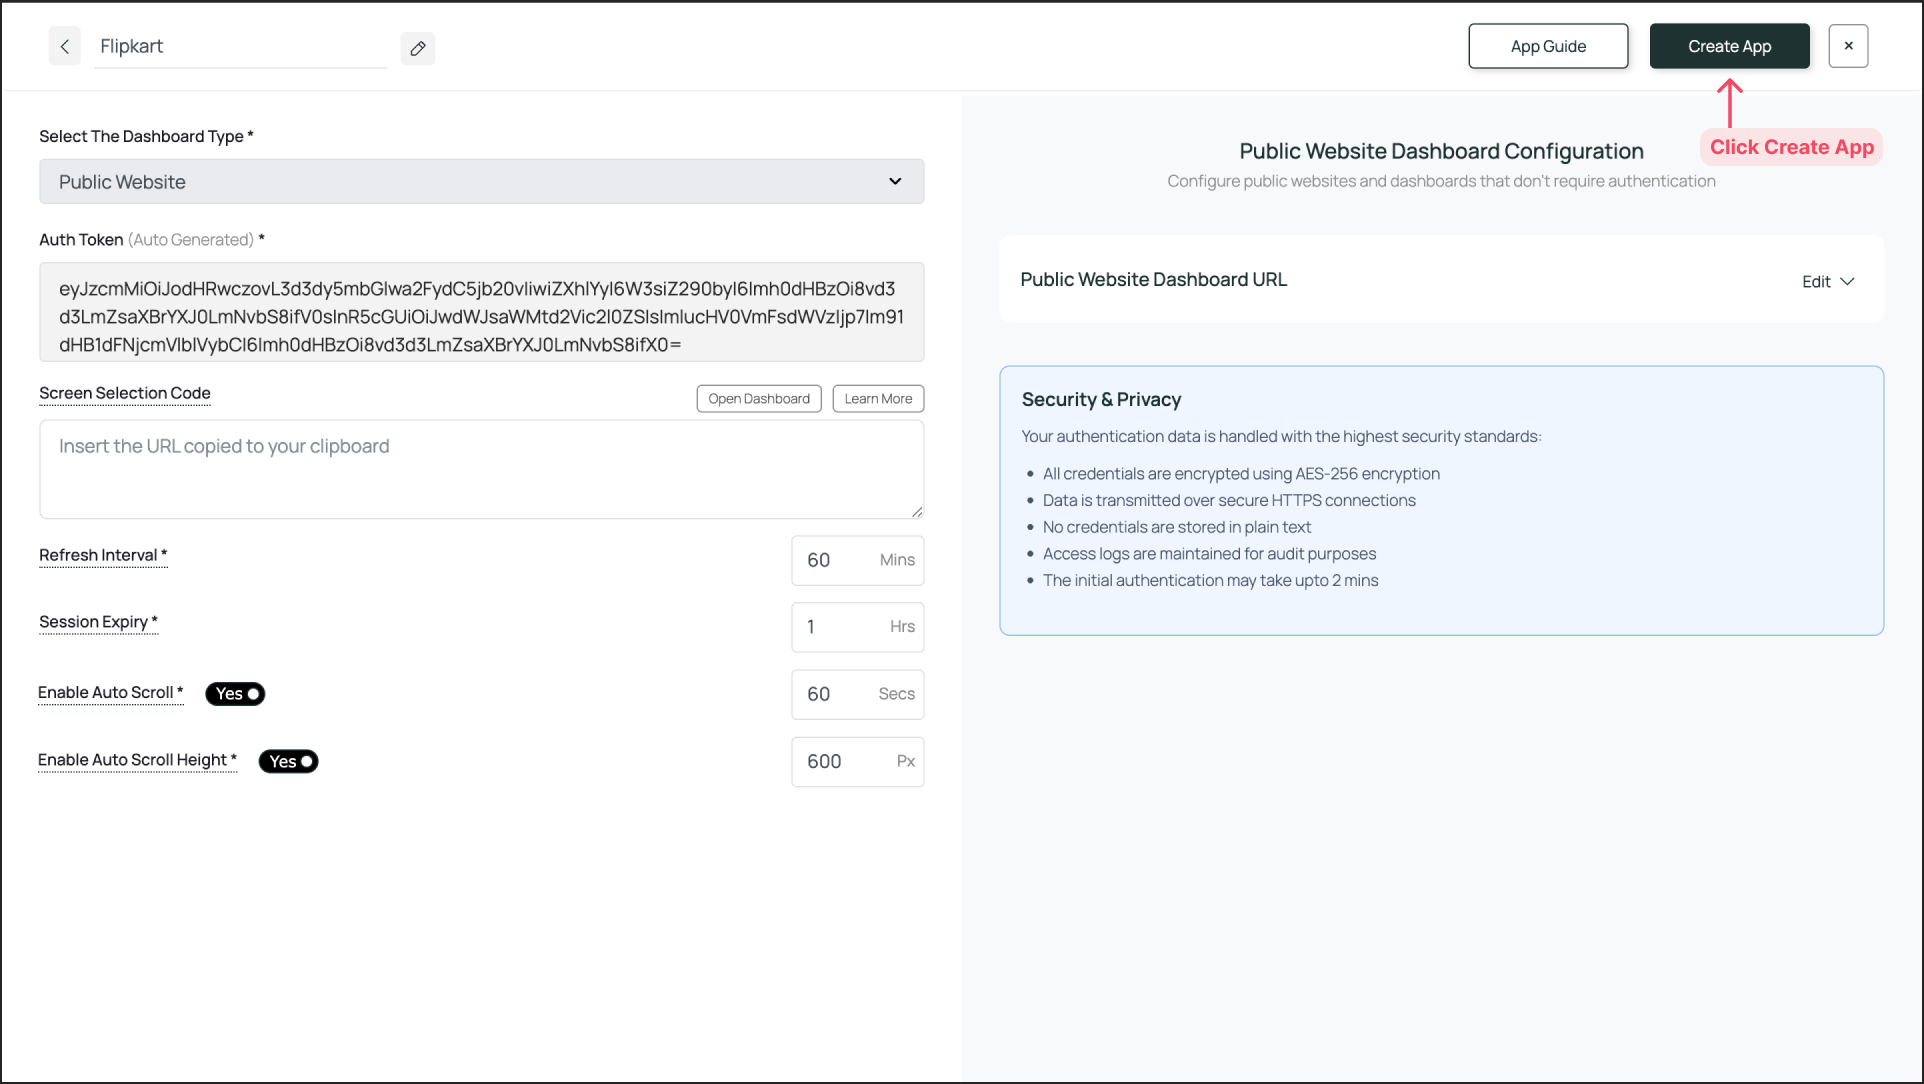
 Once the configuration is complete, click **Create App**. The app instance will be available in the **Media** section.
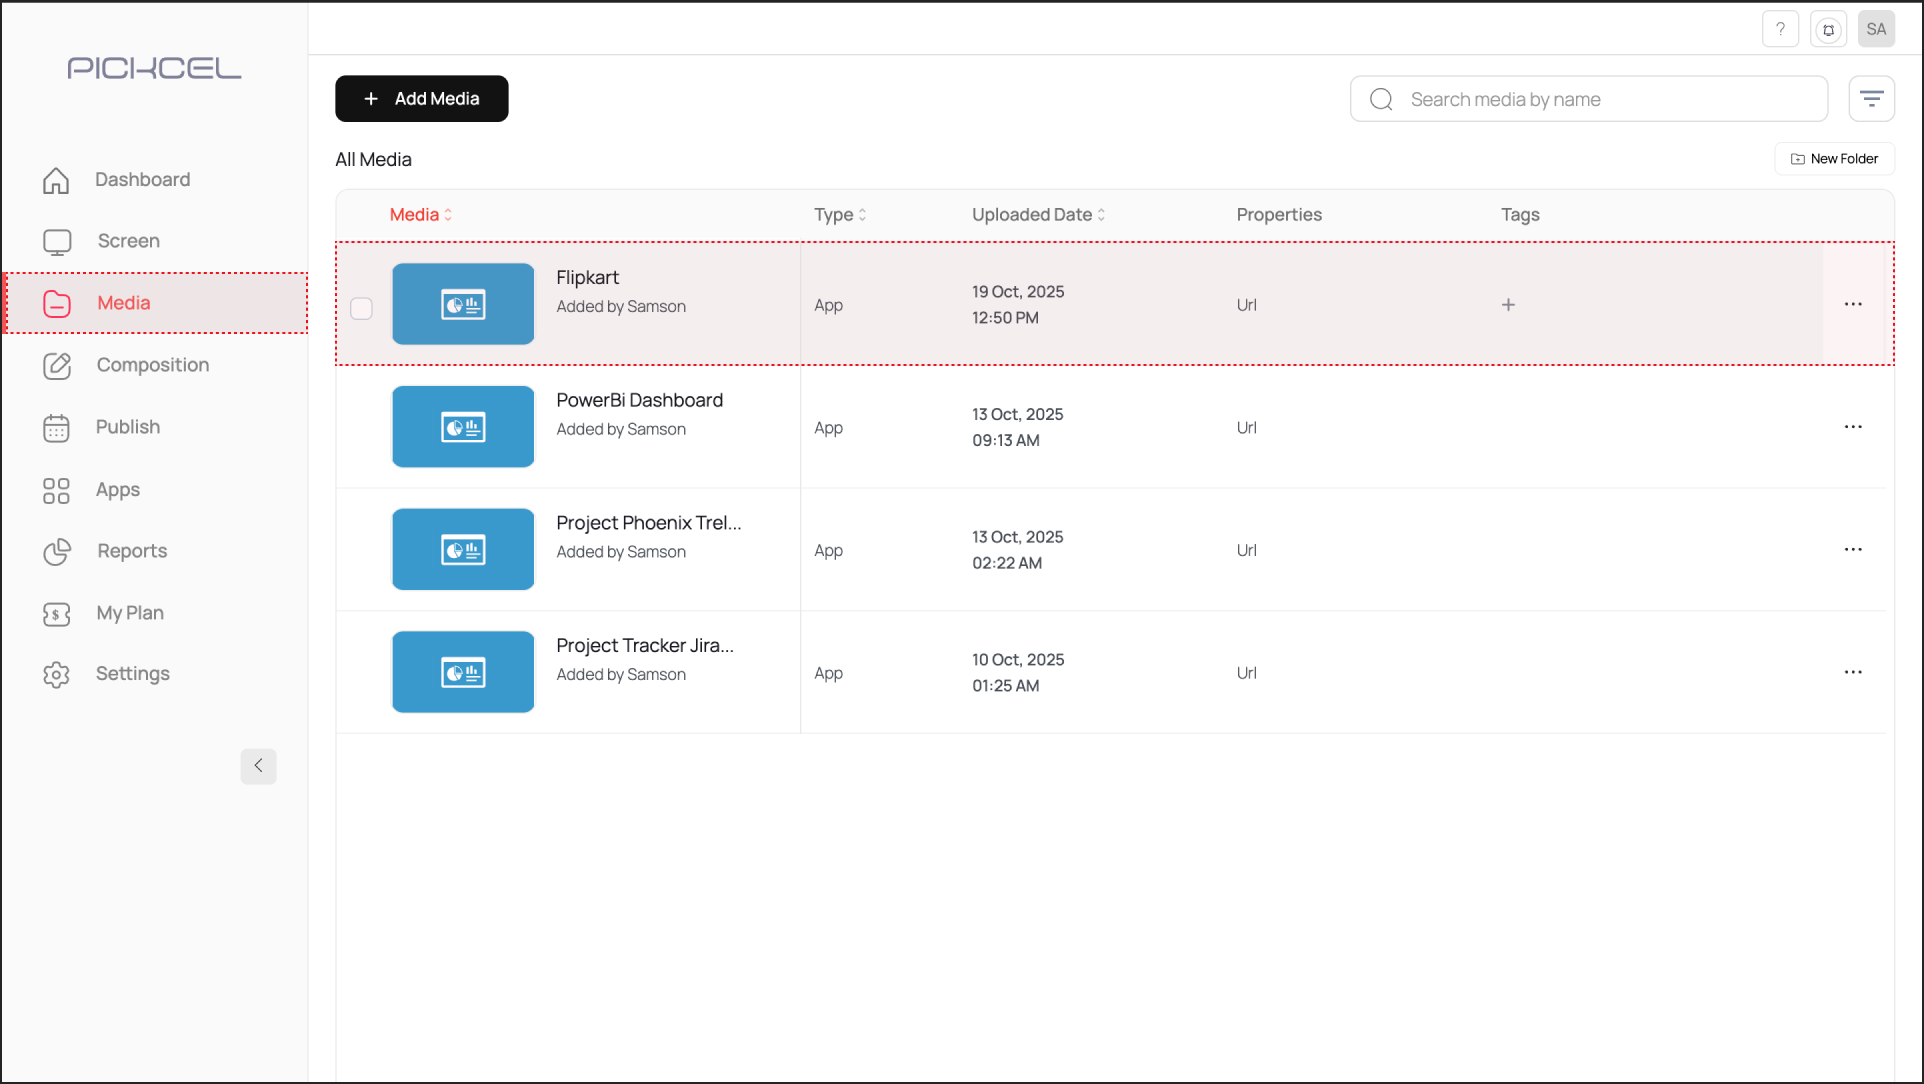
 To preview the webpage, go to **Media**, find the app instance by name, and click its thumbnail (magnifier icon). If you are happy with the result, assign it to your digital signage screens.
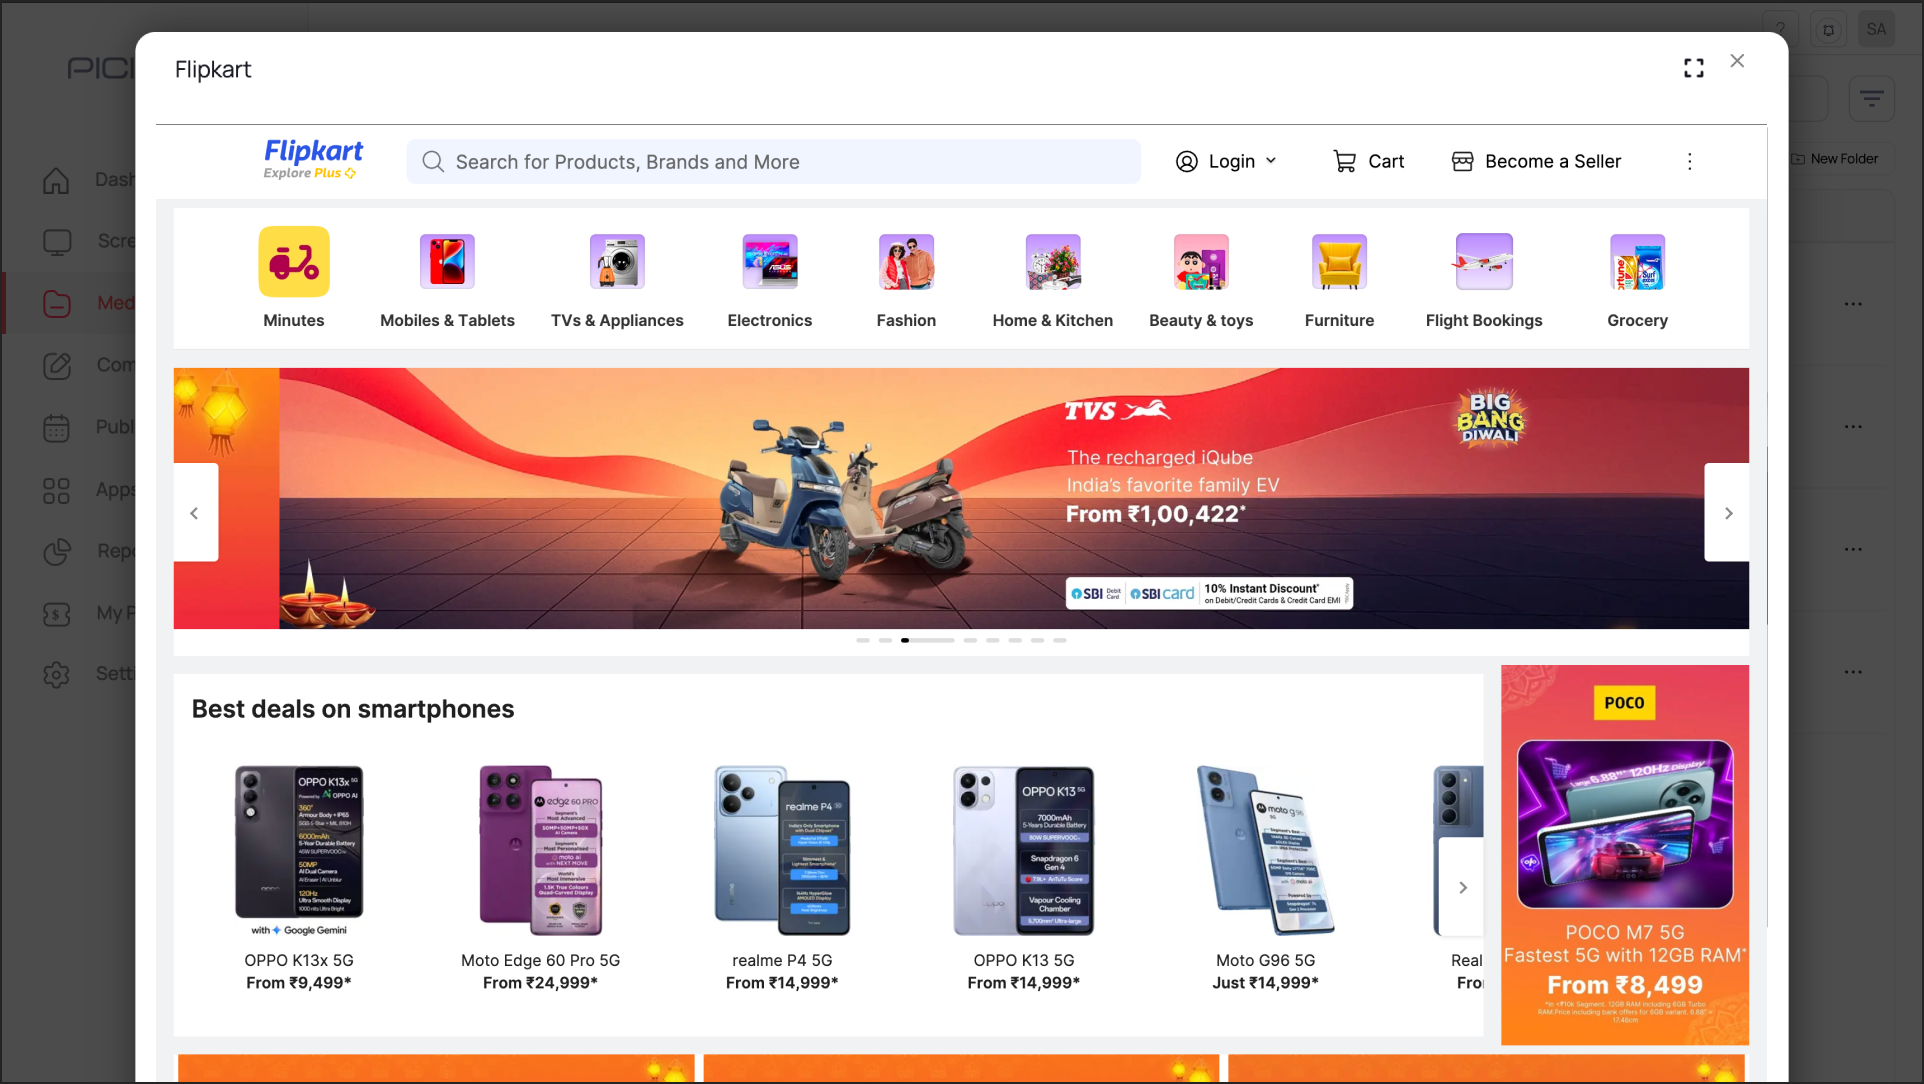 It may take some time for the webpage screenshot to load, depending on the complexity of the site.
***
## What's Next?
Your Public Website App is now ready. For further reading:
* To create a multi-zone layout: Learn about [Compositions](/compositions/compositions)
* To send it to your screens: Learn how to [Publish or Schedule Content](/schedule-and-publish/publish-overview)
It may take some time for the webpage screenshot to load, depending on the complexity of the site.
***
## What's Next?
Your Public Website App is now ready. For further reading:
* To create a multi-zone layout: Learn about [Compositions](/compositions/compositions)
* To send it to your screens: Learn how to [Publish or Schedule Content](/schedule-and-publish/publish-overview)